
Bulk Resize Product Images for Ecommerce: A Complete Guide
Learn to bulk resize product images for ecommerce in 2026. Speed up your catalogue workflow, boost page speed, and keep image quality sharp.
You're staring at a folder full of raw product photos, supplier shots, and old marketplace images, and every one of them needs to look clean on Shopify, Amazon, and Etsy before the day's over. The job isn't editing one image well. It's getting hundreds of SKUs into the same shape, with the same framing, the same background rules, and the same file discipline, without turning your afternoon into a manual crop-and-resize marathon.
The fastest way to stay sane is to treat bulk resize product images for ecommerce like a catalog operation. Sort first, standardize second, resize last, and keep every output tied to a channel. That's the only way to avoid a storefront full of mismatched grids, blurry zooms, and filenames you can't trace back later.
Why Bulk Resizing Is a Catalogue Operations Problem
A seller usually feels this problem the moment the third vendor folder lands in the same inbox. One set of photos came from a phone, another from a studio, and a third from a marketplace download, and now the catalog has to look like one brand instead of three unrelated sources. That's why bulk resizing is not really a design chore. It's an operations problem with a visual output.
Practical rule: if an image workflow can't be repeated across a full catalog, it isn't a workflow yet. It's a one-off fix.
The difference shows up fast at scale. A single product photo can be nudged into shape by hand, but a collection of 300 images needs consistent rules for framing, margins, and export paths. That's why platform tools and batch editors exist in the first place, and why Adobe's batch-oriented workflow and channel presets matter for repeatable output across storefronts and social channels, as described in Adobe's bulk resize workflow guidance. It's also why tools like Pixelcut frame bulk resizing around very large batches, while Shopify-focused apps keep talking about uniform grids and catalog consistency in the first place, because the whole point is to make the storefront look intentional at scale Pixelcut bulk resize overview.
For a store owner, the operational win is simple. One target size, one visual rule set, one upload lane for each channel. That keeps images from arriving in Shopify one way, Amazon another, and Etsy a third way, which is exactly how catalog drift starts.
A clean image library helps too. If product photos are already grouped by source, channel, and status, resizing becomes a mechanical step instead of a guessing game. I'd keep the library organized before I touched dimensions, using a catalog structure like the one described in this product image library management guide.
Source Triage and Pipeline Sequencing
Start by refusing to process everything. Import only approved originals, and throw out files that are visibly soft, low-resolution, or obviously not meant for production. A catalog gets messy when bad source files slip into the same batch as clean ones, because a resize job can hide the problem until the image is already in a live listing.
Sort by channel before you resize
Group every image by what it needs to do. Marketplace main images, gallery images, paid social crops, and storefront hero shots should not sit in the same pile, because they don't need the same framing or canvas rules. If the filenames already map to SKU and channel, the upload sheet or PIM can stay in sync after export.
A good workflow keeps status visible. Approved, cleaned, queued, exported. That sounds basic, but at catalog scale it saves you from reprocessing the same image three times because nobody can tell what already went through the pipeline.
The order matters too. Cleanup comes first, then canvas standardization, then channel-specific padding or cropping, and only then the final resize and export. When you do it the other way around, you end up resizing files that still need background work, then rebuilding them again after the cleanup step. That is wasted time and avoidable inconsistency.
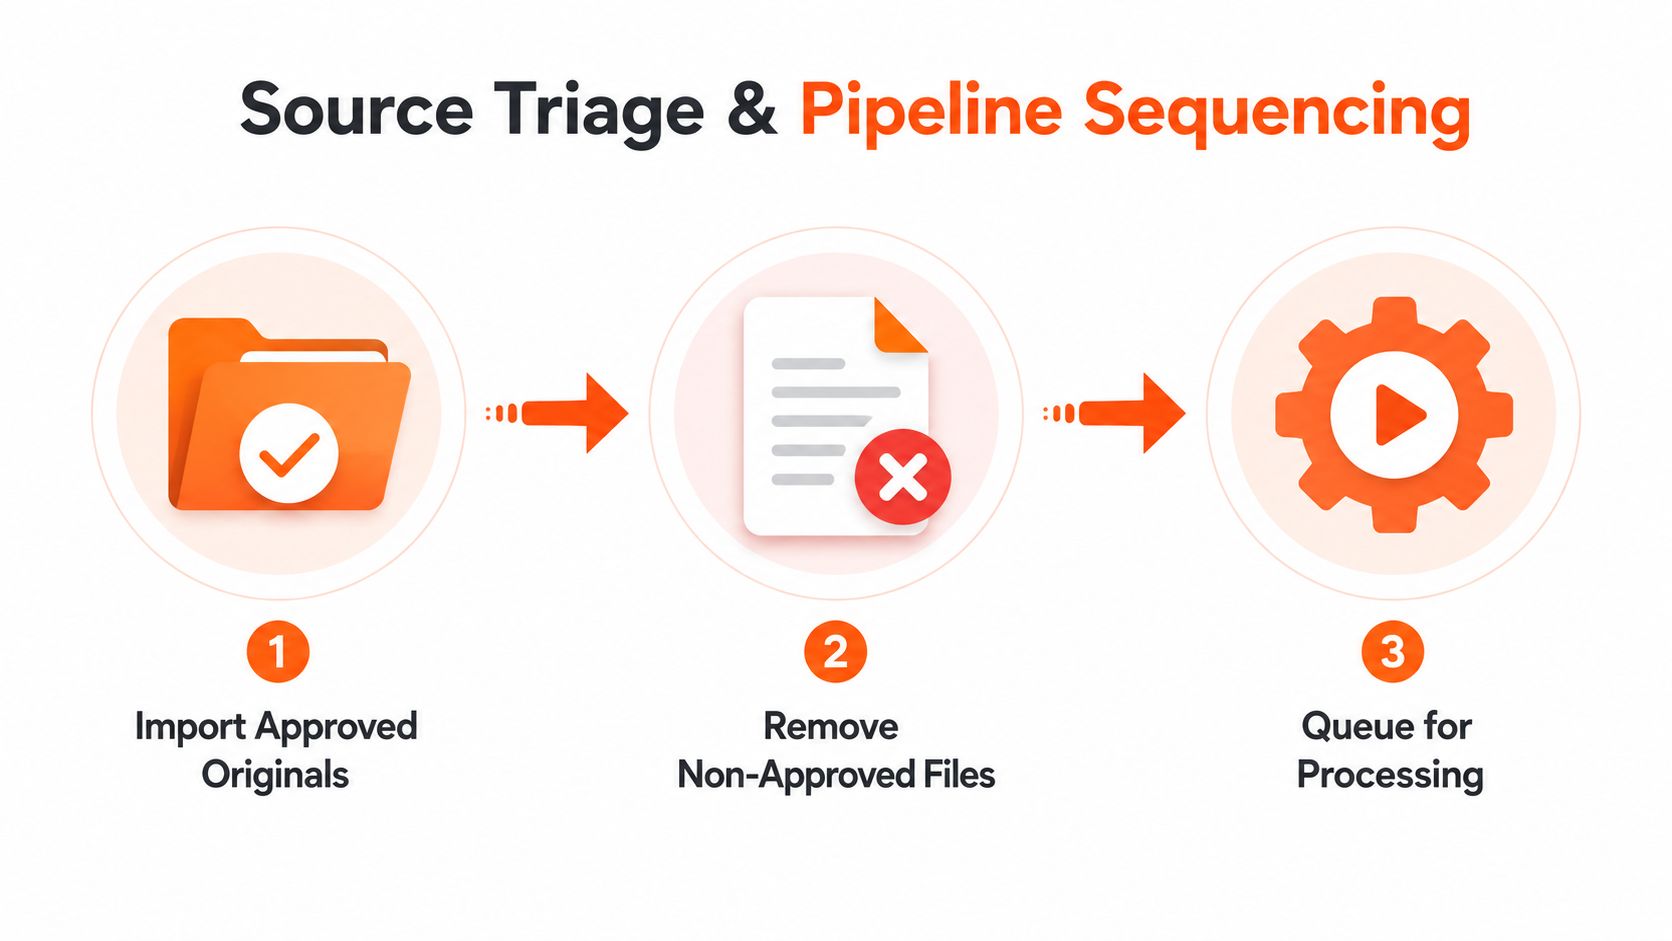
If the output folder doesn't match the upload sheet, someone on your team will waste time reconciling filenames later.
Build the pipeline around the destination
Use the destination system as the final checkpoint. If the images are going into Shopify, Amazon, or a PIM, the exported folders should already be labeled for that system. That keeps uploads predictable and makes it easier to catch a missing crop or the wrong file weight before listings go live. For a catalog operator, that matters more than having a prettier batch preview.
If you need a reference for channel prep logic, the Amazon product photography guide from Million Dollar Sellers is useful context because it keeps the discussion tied to marketplace output instead of creative theory. For a related workflow on channel-aware preparation, this MerchLoom guide on Amazon S3 image handling fits the same operational mindset.
Platform-Specific Dimensions and Canvas Rules
A universal export sounds efficient until you try to upload it to multiple channels. Amazon, Etsy, and Shopify all care about different framing rules, and a single canvas size rarely serves all of them well. That's why the smarter move is a dimension matrix, not a single default preset.
The rules that actually matter
Amazon's main image needs a pure white background and a longest side of at least 1600 pixels. That rule matters because the same requirement has to hold across the entire catalog, not just a few clean hero shots Amazon image guidance summary. Etsy centers on a 2000-pixel shortest side, which pushes sellers to standardize source files at or above that threshold before upload Etsy batch image guidance. Shopify is more flexible, but square images are common, and its practical ceiling is 4472x4472 for product image sizing guidance Shopify image size guide.
| Platform | Minimum Dimension | Background Rule | Aspect Ratio |
|---|---|---|---|
| Amazon | 1600 px longest side | Pure white RGB 255,255,255 for the main image | Keep the product centered and uncropped where required |
| Etsy | 2000 px shortest side | Follow listing presentation needs, keep the product clear and consistent | Match the listing crop and keep the subject readable |
| Shopify | Up to 4472x4472 | No single mandatory background rule for all stores | Square is common, but the theme decides the final display |
For a practical store setup, I'd map every SKU to its target channels before resizing anything. That way, a product destined for Amazon main image treatment can be held to a white-background square or near-square canvas, while the same SKU's Shopify gallery images can keep more breathing room. If you try to force one crop onto both, something breaks. Usually it's the zoom view, the grid alignment, or the way the product sits in the frame.
Canvas padding beats blind cropping
Preserve the aspect ratio when the product itself is fine and only the surrounding frame needs correction. Add white space when the product would otherwise get chopped, and crop only when the channel demands it or when the subject is already centered enough to survive the change. That is the difference between a clean catalog and one full of awkward edge cuts.
For a deeper look at the Shopify side, keep this MerchLoom note on Amazon listing image size handy when you're translating the same source photo across channels. It's the same catalog, but the rules are not the same.
Upscaling and Downscaling Decisions
Doing this for a whole catalog?
MerchLoom runs background removal, upscaling and AI editing across every product photo you have — one prompt, whole batch. Try 2 batches free, no signup.
Try it freeMost resizing errors show up before export, when the source file is already too small or too large for the channel you need. The fix is not to guess from the preview. It is to sort files by source resolution, then choose the resize path that fits the catalogue.
Match the source to the target
If a source image is under 800 px, it usually needs a 4x to 8x upscale to reach a 2000 px target. If it sits between 800 and 1500 px, the usual move is 2x to 4x. If it is 1500 to 2000 px, 2x is often enough to give you a retina safety margin, based on the workflow guidance in the provided research bulk upscale workflow reference.
That sizing matrix matters because it keeps you from overprocessing files that are already close to the finish line. A 1800 px source does not need the same treatment as a 640 px marketplace download. If you run both through the same aggressive pass, you create extra artifacts, more cleanup, and more files that fail zoom checks later.
Test the hardest files first. The smallest text, the softest image, the worst lighting. If those survive, the rest of the batch is usually safer.
The same workflow guidance recommends testing about 20 representative images before you roll anything into production, then backing up originals, checking one hidden or staging product on desktop and mobile, and releasing changes in waves by category or top-revenue SKU. That is the right level of caution for a catalogue, because it catches distortion, unreadable text, and broken zoom behavior before the mistake spreads across the store. The earlier bulk upscale workflow reference covers that rollout order in practical terms, and it is the kind of sequence that saves rework when you are dealing with thousands of SKUs.
Downscale only when the output needs it
Downscaling sounds harmless, but it still needs rules. If the target channel wants a smaller longest side or a specific canvas, shrink the file after the composition is stable, not before. That keeps the subject from drifting in the frame as the output gets smaller.
For a hands-on example of how resolution handling affects batch output, this MerchLoom note on resolution in AI workflows is relevant because the same pixel discipline applies whether you are upscaling, reframing, or preparing listings for a marketplace. The machine can help, but it still needs the right starting point.
If you want to keep the process from turning into manual cleanup, use ecommerce image optimizer tools to compare outputs, check file weights, and catch cases where a resize improved the dimensions but damaged the product edges.
File Formats, Compression, and Naming Conventions
Format choice affects upload speed, display quality, and how painful the catalog is to maintain later. JPEG is the default for most product photos, PNG still has a place when transparency matters, and WebP is useful when you want a smaller web file without changing the visible size. The problem is not picking a format once. It's keeping the whole catalog consistent after that choice.
Compare the output, not just the extension
JPEG works well for standard product and lifestyle images because it keeps file size manageable. PNG is for transparency or image elements that need cleaner edges. WebP is helpful for web delivery because it can be smaller than equivalent JPEG output, and the provided workflow guidance says it can be about 30% smaller in that context, with a common web target of keeping output under 500 KB ecommerce image workflow guidance. For a related compression walkthrough, this image file size guide is a practical companion.
| Format | Best Use | Strength | Trade-off |
|---|---|---|---|
| JPEG | Most product photos | Smaller files, broadly compatible | No transparency |
| PNG | Logos, transparent assets | Clean edges, transparency support | Heavier files |
| WebP | Web storefront delivery | Smaller output for the web | Less useful if a downstream system needs older formats |
Naming matters just as much as format. Keep filenames tied to SKU and stage, such as source, cleaned, resized, and channel-specific variants. If you do that, you can trace a file through the pipeline without opening it. If you don't, the catalog becomes a pile of nearly identical exports with no clear owner.
Keep the folder structure simple
Use platform-labelled folders and keep the outputs predictable. Amazon main images should not sit next to Etsy gallery exports, and a Shopify-ready square shouldn't share a folder with a paid social crop. The whole point is to make uploads boring.
For image optimization context outside resizing itself, this ecommerce image optimizer tools resource is useful because it reinforces the idea that compression and metadata are part of the same operational job. And yes, alt text still matters. It's part of keeping the catalog usable and searchable, not just pretty.
Batch Automation and Cost Optimization
At some point, manual work stops being craftsmanship and becomes drag. That's where batch automation pays off. The goal is to describe the pipeline once, then run it across the whole catalog without redoing the same steps image by image.
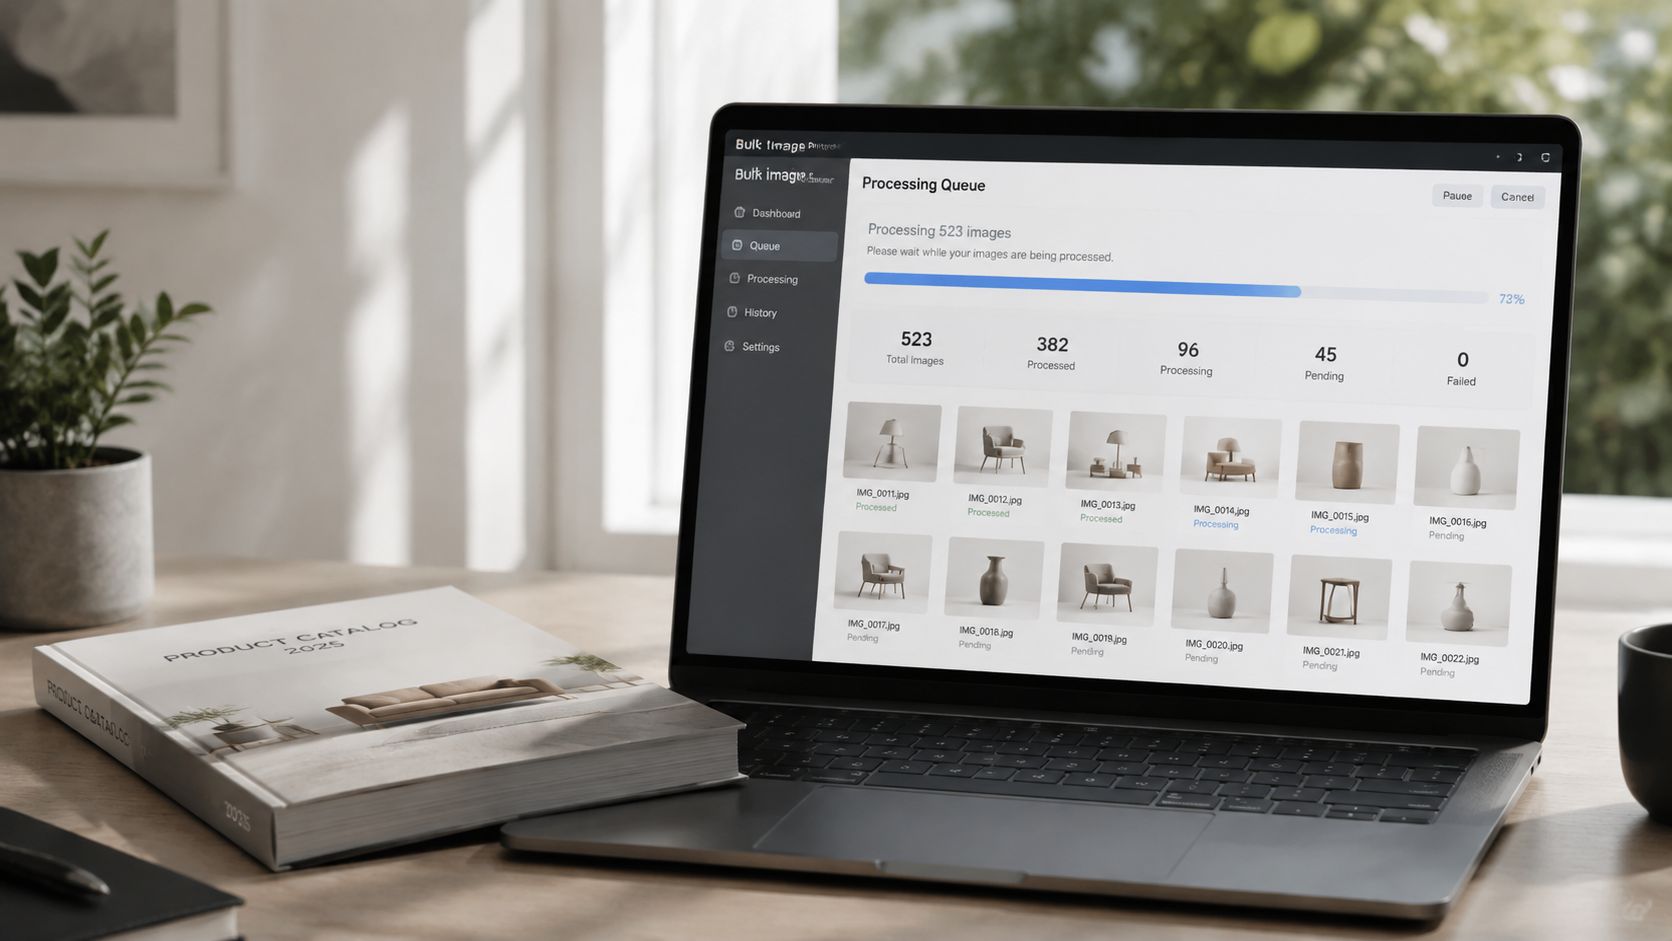
MerchLoom fits that model because it runs chained AI pipelines across batches, not single files. You can import hundreds of product photos, describe the output in plain English, and process the same resize-related steps across the catalog. The first images can be tried with no account, and pricing is pay-per-image with credits that never expire, which matters if you want to test a workflow before you commit to a full run.
The biggest cost control is order of operations. If you remove backgrounds before upscaling, you shrink the image before the expensive step, and that can save up to 87% on processing costs according to the publisher's workflow guidance. That doesn't mean you skip human review. It means you stop paying to upscale pixels you're going to delete anyway.
Automation is useful when it makes review faster, not when it replaces review.
Results should stream in while the batch runs, so you can spot a bad frame early and adjust the workflow before the rest of the catalog inherits it. You also want the ability to reuse processed images as inputs without re-uploading, because that keeps iteration cheap when the first pass needs a small correction. That's how a catalog workflow stays controllable instead of turning into a black box.
If you're still resizing product images one by one, stop and switch to a batch pipeline before the next collection drop hits. MerchLoom lets you run the same catalog workflow across whole batches, so you can standardize dimensions, clean up source files, and export channel-ready images without rebuilding every step by hand. Use it to process the first set of images, check the output, then roll the same logic across the rest of the catalog.
Stop editing product photos one at a time
Upload your catalog or connect your store. Describe the result once. MerchLoom does the rest.
Try it free — no signup