
Bulk Resize Product Images Online: A Guide for Sellers
Learn how to bulk resize product images online for Shopify, Amazon, and Etsy. Our guide helps sellers save time with batch workflows and perfect settings.
You finish a shoot, export the selects, and open a folder packed with product images. Then the demanding work starts. Shopify needs clean catalogue shots, Amazon needs marketplace-safe mains, Etsy wants large images that still look sharp, Instagram needs social-friendly crops, and your ad team wants banners that don't cut off the product. Resizing one file at a time stops being a design task and turns into an operations problem.
That's why sellers who need to bulk resize product images online usually hit the same wall. The issue isn't finding a resize button. The issue is building a repeatable process that keeps the whole catalogue consistent across storefronts, marketplaces, ads, and content.
The E-Commerce Seller's Image Resizing Dilemma
A launch week folder rarely contains one clean image set. It contains front angles, detail crops, color variants, model shots, marketplace mains, ad creatives, and the last-minute replacements that came in after approvals. The resizing problem starts there. One catalogue has to turn into several platform-ready sets without breaking consistency, file quality, or deadlines.
At catalogue scale, resizing is an operations decision, not a finishing step. The order matters. Remove backgrounds after you enlarge a weak source file and edge problems get worse. Crop too early and you limit what the same image can do for Amazon, Shopify, Meta ads, and email. Export everything to one generic size and someone ends up rebuilding assets because the product sits correctly for a collection grid but fails in a marketplace main image.
This is why image prep slows down launches. The team is no longer changing pixels. The team is trying to keep framing rules, aspect ratios, file weights, naming, and channel requirements aligned across hundreds of SKUs. If that process is loose, errors show up late, usually after upload, review, or ad rejection.
I see the same failure pattern in large product drops. Teams treat resizing as a tool function, then pay for it as a workflow mistake.
Why this becomes a launch bottleneck
The bottleneck usually appears after merchandising, copy, and SKU mapping are already done. At that point, every image decision has a cost. Reframing a hero image for one channel can force a second crop for another. Upscaling before cleanup can waste credits or processing time on files that still need retouching. Running the whole batch without separating marketplace mains from social crops often creates outputs that are technically resized but commercially wrong.
Three problems cause most of the rework:
- Dimension drift: Different exports are created for the same product type, so listings look uneven across channels.
- Framing inconsistency: The product occupies a different share of the frame from one SKU to the next, which makes a catalogue look unpolished fast.
- Wrong processing order: Teams resize, crop, remove backgrounds, compress, and rename in the wrong sequence, then have to redo part of the batch.
The fix is to treat resizing as one part of a larger production system. Teams that already use a structured batch product photo editing workflow usually avoid the expensive version of this problem because they define rules before files enter the batch.
For a single listing, almost any online resizer can produce a usable file. For a multi-platform catalogue launch, the job is stricter. You need repeatable sizing rules, platform-specific reframing, controlled output sets, and a process that protects image quality while keeping the whole catalogue moving.
Preparing Your Image Catalogue for Batch Resizing
A 2,000-SKU launch can go sideways before the first resize job finishes. If the source set is messy, batch processing just produces bad files faster, in more versions, across more channels.
Start by deciding what counts as the master image for each SKU. Use the highest-resolution original available, but do not treat every large file as production-ready. A big JPEG with compression artifacts, weak edges, or uneven framing will stay problematic after resizing. In practice, the goal is not just “largest file wins.” The goal is one clean, traceable source image per angle, per SKU, before derivatives start multiplying.
Build a clean source set first
This prep stage saves money because it stops you from processing files that should have been rejected earlier. It also protects consistency across the catalogue, which matters more at scale than it does on a single listing.
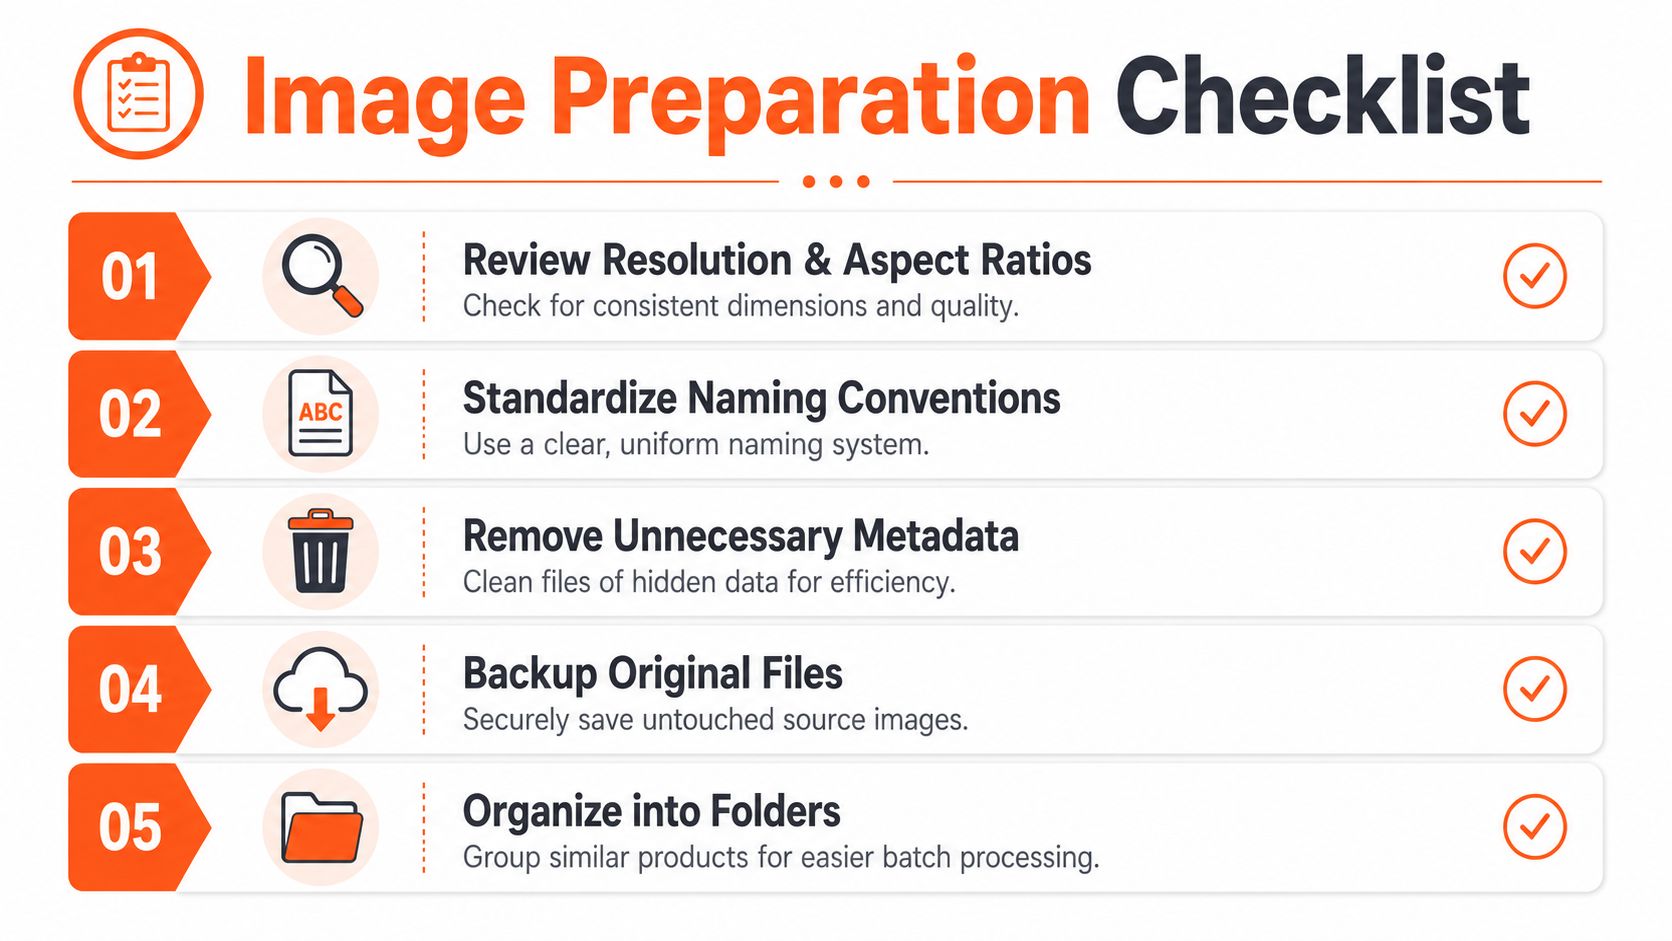
A clean source set usually includes five controls:
- Remove weak files early: Cut duplicate exports, screenshots, low-resolution supplier images, and any shot with obvious softness or clipped product edges.
- Standardize file names: Keep SKU, color or variant, angle, and image role in the filename so outputs remain traceable after bulk export.
- Protect originals: Store untouched masters in a locked source folder. Send all resized or retouched versions to separate output folders.
- Sort by production group: Organize files by product family, channel set, or workflow need, such as marketplace mains, gallery images, and paid social crops.
- Keep status visible: Mark which files are raw, retouched, background-removed, approved, or export-ready. That prevents teams from resizing the wrong version.
For teams building this at catalogue scale, a structured batch product photo editing workflow helps keep folder rules and processing order consistent.
Set the processing order before you resize
Resizing sits in the middle of the workflow, not at the start. That distinction matters because the wrong order creates avoidable cost.
If a product image needs background removal, heavy dust cleanup, or edge correction, do that before generating channel outputs. Upscaling or resizing first means you spend processing time and storage on files that still need manual correction. Then you export them again. On large catalogues, that extra pass adds up quickly.
Marketplace mains are the clearest case. Amazon requires a pure white background for main product images. Seller Labs' Amazon product image requirements explain the standard. If that image is going to Amazon, clean the background first, then frame and resize it for the final use case.
The same logic applies to reframing. A square marketplace main, a tighter category thumbnail, and a vertical social crop should not all come from the same blind resize preset. Prepare the image so the product sits correctly in frame, then export the versions you need.
Separate catalogue groups before batch output
Different product types need different framing rules. Apparel usually needs more top and bottom space. Cosmetics packaging often performs better with stricter centering. Furniture needs safer margins because thumbnails can crop aggressively on some storefronts.
This is also where platform mix matters operationally. A seller running both Shopify and WooCommerce storefronts may keep similar source photography, but merchandising layouts, theme crops, and thumbnail behavior can still differ. The 2026 Shopify vs WooCommerce guide is a useful reminder that platform choice affects more than storefront setup. It affects how your image set needs to behave after upload.
Do not run one giant batch across the whole catalogue unless those groups share the same framing tolerance, background treatment, and output requirements. Separate first. Resize second. That order prevents the kind of rework that burns hours late in a launch week.
Decoding Resize Settings for Major E-Commerce Platforms
A multi-platform launch usually breaks at the image stage, not because the files are missing, but because each channel renders them differently after upload. One square export can look fine on a PDP, crop badly in a collection tile, fail Amazon zoom, and sit awkwardly in an ad placement.
The practical fix is to set resize rules by destination and merchandising use, not by a single blanket preset. Pixel dimensions matter, but aspect ratio, safe margins, and how the platform reframes thumbnails matter just as much.
Cropping versus padding
If a source image does not match the target ratio, there are only a few real options:
- Crop the image.
- Force the dimensions and distort the product.
- Expand the canvas and pad the background.
For catalogue work, padding is usually the safer choice. It protects the full product outline, keeps packaging edges intact, and reduces the chance that marketplaces or theme templates will cut off details later. Cropping has a place, but usually in creative assets, not primary listing images.
This choice affects cost, too. If a product was shot tight and needs more breathing room for Amazon or category tiles, adding clean canvas is cheaper than discovering after export that hundreds of images need manual recropping.
Practical reference by platform
Use one source set, then export controlled variants for each channel.
| Platform | Recommended Dimensions (px) | Aspect Ratio | What to watch |
|---|---|---|---|
| Shopify | Use a consistent square or theme-matched standard across the catalogue | Often 1:1, but theme-dependent | Collection grids and featured sections may crop differently from product galleries |
| Amazon | Main images should meet marketplace sizing and zoom requirements | Usually 1:1 for mains | Background, framing, and minimum size rules are stricter than most storefronts. Review these Amazon listing image size requirements before setting your batch preset |
| Etsy | Export listing-safe images with enough resolution for zoom and merchandising flexibility | Commonly square-friendly, but listing use varies | Thumbnail presentation can differ from the full listing image, so avoid edge-to-edge framing |
| eBay | Keep dimensions consistent across the batch | Often square or near-square | Mixed supplier photos create uneven thumbnails if scale is not normalized before export |
| WooCommerce | Match the active theme's gallery, grid, and thumbnail behavior | Theme-dependent | A technically correct file can still display poorly if the theme crops aggressively |
| Build separate exports for feed, story, and ads | Placement-dependent | Social placements need reframing, not just resizing | |
| Ads and banners | Create dedicated wide or vertical assets | Placement-specific | Do not reuse square listing images for banner inventory unless the crop was planned |
Storefront choice changes the image work after upload. The 2026 Shopify vs WooCommerce guide is a useful reminder that platform decisions affect theme crops, gallery behavior, and the amount of image versioning your team needs to maintain.
What actually works in mixed-channel batches
The cleanest setup is a small output matrix, not one universal file. In practice, that usually means one marketplace-safe master, one storefront version tuned to your product grid, and separate social or ad crops where composition needs to change.
A workable batch structure looks like this:
- Marketplace master: Full product visible, clean background, safe edge spacing.
- Storefront square: Consistent visual scale across category and search results.
- Social variants: Reframed for vertical and feed placements.
- Banner assets: Built from the source image with a new crop, not stretched from a square export.
That order prevents expensive rework. If you resize first and discover later that Amazon needs more whitespace, Instagram needs a taller crop, or your WooCommerce theme cuts off product edges, you end up reopening the same catalogue twice. For large launches, the efficient approach is simple. Set platform targets first, then export each version from the prepared source.
Building Your Automated Online Resizing Workflow
A catalogue launch goes sideways fast when 800 product images are technically approved but operationally unusable. The files exist, but the wrong ones get resized, padded in the wrong step, exported to the wrong folders, or sent to the wrong channel. Resizing at scale is a workflow problem first.
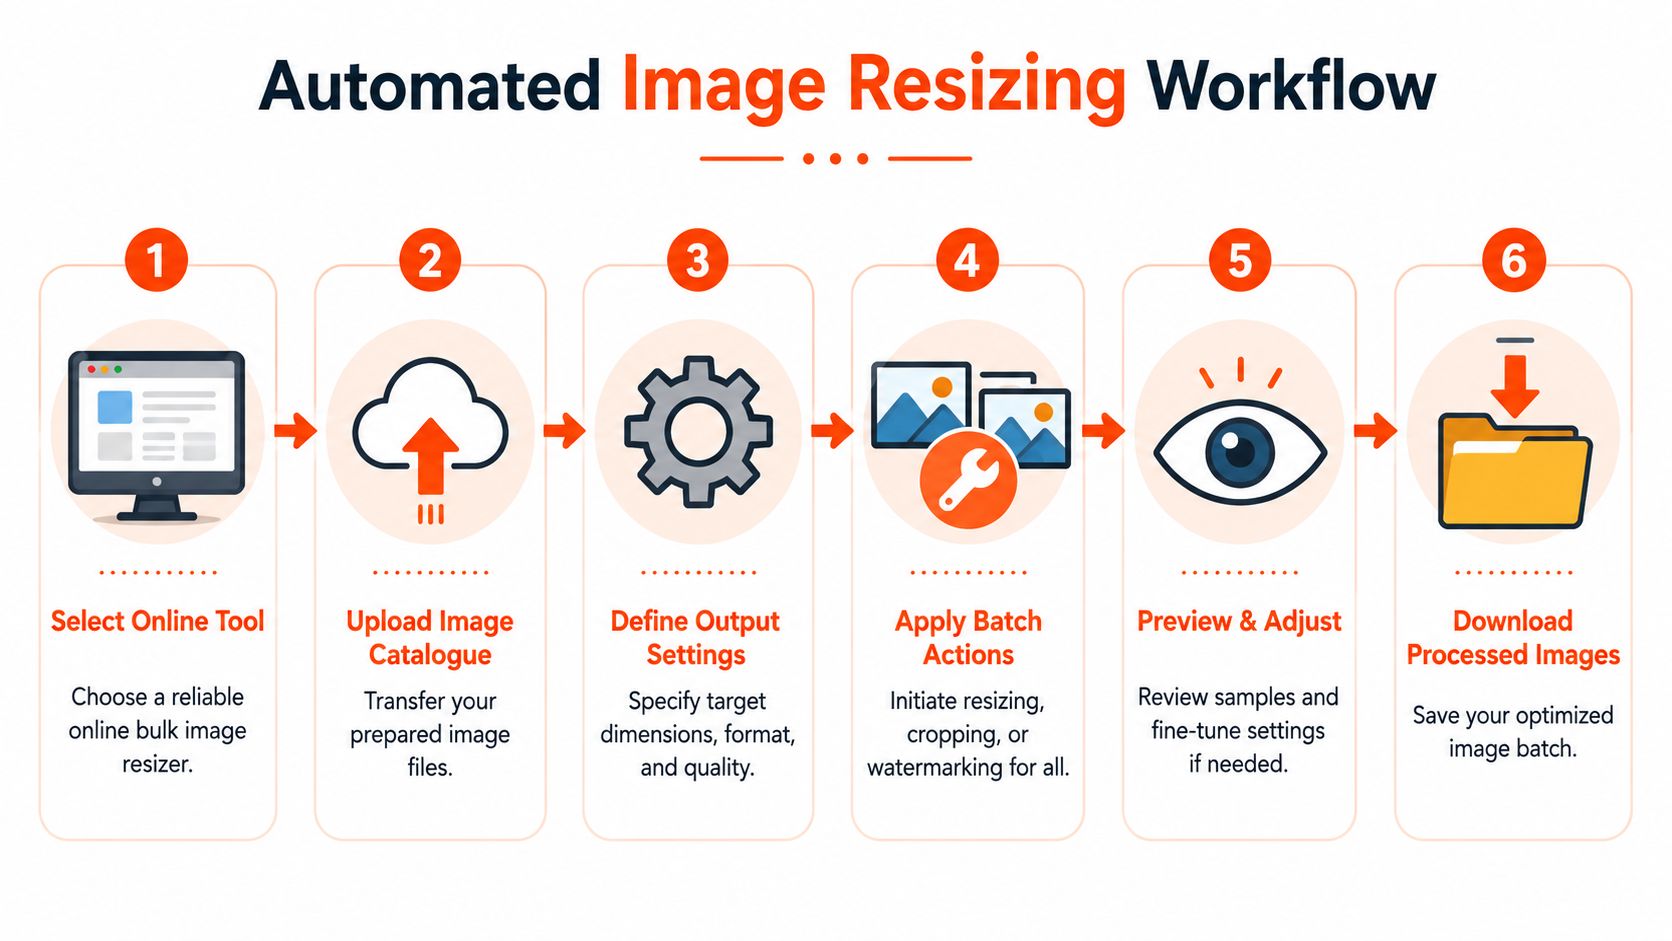
The teams that keep launches on schedule build the process around three fixed points: source, actions, and destination. Source is the approved image set. Actions are the ordered edits applied to each batch. Destination is the exact folder, platform, or review queue that receives the finished files. If any one of those stays vague, the same catalogue gets touched twice.
Build the pipeline around operational order
Doing this for a whole catalog?
MerchLoom runs background removal, upscaling and AI editing across every product photo you have — one prompt, whole batch. Try 2 batches free, no signup.
Try it freeThe order of operations affects both output quality and processing cost. I treat that as a production rule, not a preference.
A workable online resizing pipeline usually includes:
- Source intake: Pull only approved originals from cloud storage, a DAM, or the commerce working folder.
- Pre-resize cleanup: Remove backgrounds, standardise canvas position, and flag weak source files before generating variants.
- Channel-specific framing: Pad, crop, or reframe by destination instead of forcing every product into one ratio.
- Resize and export: Generate exact platform outputs with the right dimensions, format, and compression settings.
- Output routing: Save files into folders named by platform, placement, or campaign so upload teams are not sorting by hand.
That sequence prevents expensive rework. If a team upscales first and removes the background later, it pays to enlarge pixels that may be discarded. If it exports a square batch before handling vertical ad crops, the catalogue gets reopened and processed again. For high-volume launches, small ordering mistakes create real labour cost.
For a practical look at how teams connect those steps, this guide to AI image workflow automation maps the process well.
Here's a practical demonstration of automated image processing in action:
A batch setup that holds up across channels
For multi-platform launches, I separate the workflow by output logic, not by whoever happens to upload first. Amazon mains, storefront grid images, social crops, ad creatives, and banner assets do not have the same framing rules, so they should not sit in one blind resize queue.
A practical batch flow looks like this:
- Import approved originals and isolate any files that are already too small or poorly cropped.
- Group the catalogue by destination logic, such as marketplace listings, storefront thumbnails, paid social, and banners.
- Run background removal only on the groups that need it.
- Apply padding or canvas expansion where product edge safety matters.
- Reframe placement-specific assets before final resizing.
- Export in the required format and file weight for each channel.
- Route outputs into platform-labelled folders with naming that matches the upload team's sheet or PIM.
Studios that price catalogue work correctly already account for this versioning burden. The cost difference becomes obvious when you review guides on mastering photography rates for brands. The editing load is rarely just "resize everything." It is "create the right image set in the right order without breaking margin."
Where automation should stop
Bulk rules handle the repetitive production work well. They should not make final composition decisions for homepage heroes, campaign banners, or lifestyle crops where the product story depends on exact framing.
The efficient split is simple. Automate the catalogue bulk, then send the small set of placement-sensitive images to review. That keeps the resize pipeline fast without letting a one-size-fits-all rule damage the assets that drive clicks.
Advanced Techniques for Quality and Cost Optimization
Resizing gets harder when the target output is larger, cleaner, or more channel-specific than the source file. That's when quality and cost start pulling against each other.
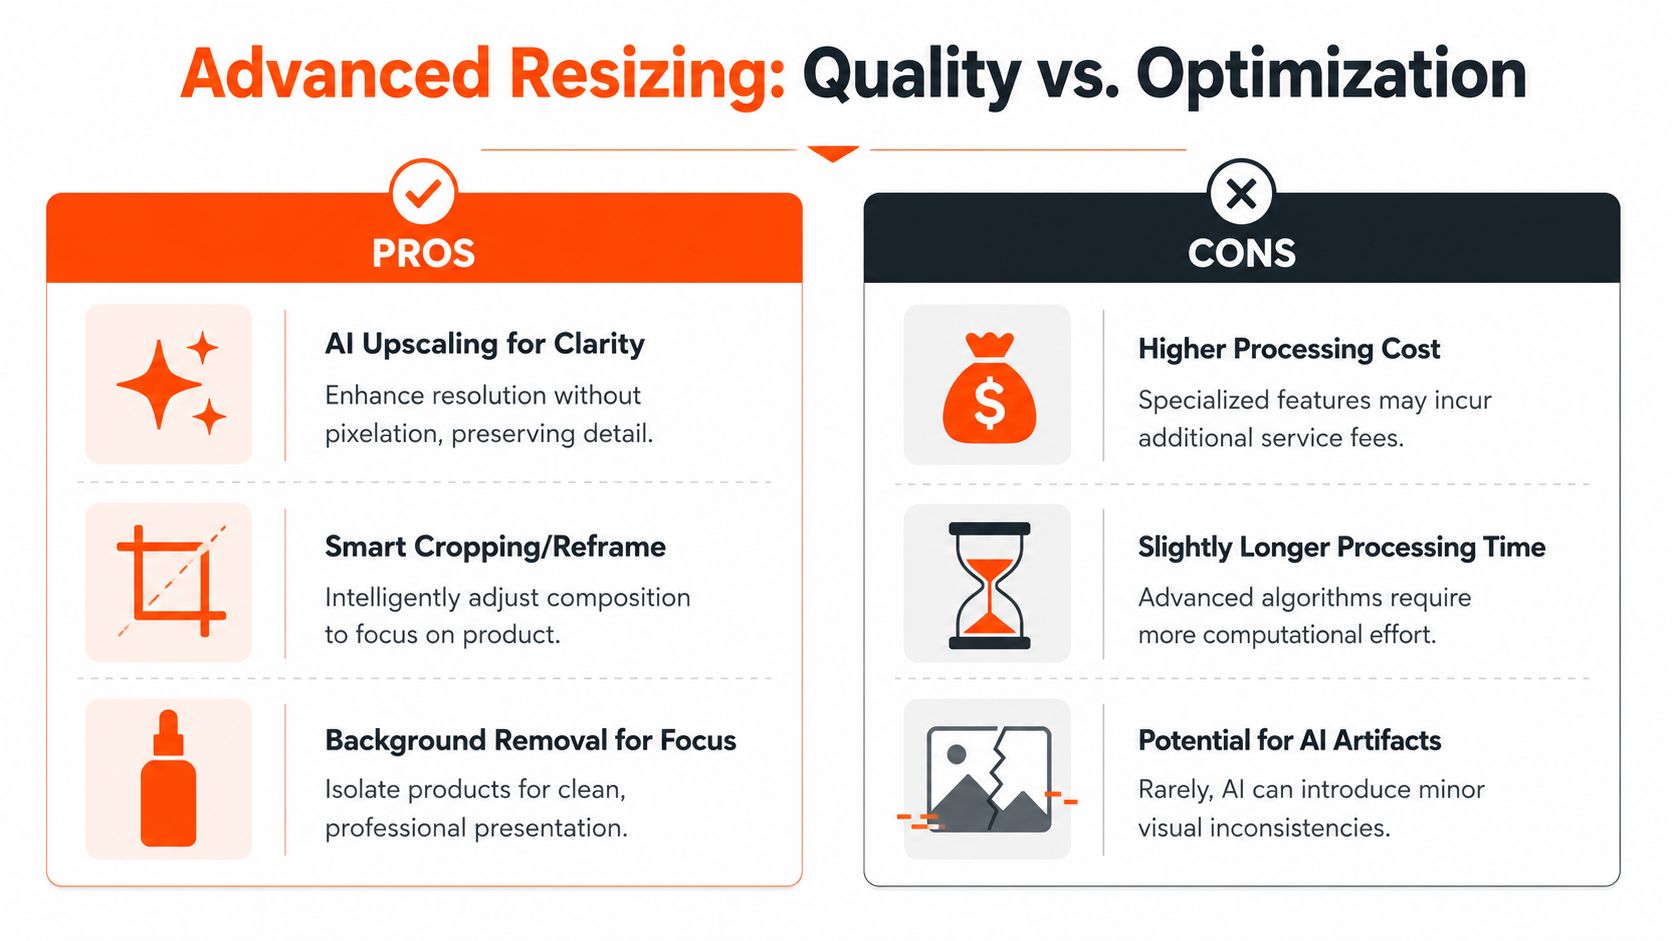
A basic resizer can shrink images well enough. It usually struggles when a seller needs to enlarge an older file, recover clarity after reframing, or create several outputs from one source without making the catalogue look inconsistent. In those cases, AI-assisted upscaling and smart reframing can help, but they're not free operationally. They use more processing and they deserve tighter rules.
Use upscaling selectively
Not every image needs enhancement. If the original file is already strong and you're generating a smaller storefront version, keep the workflow light. Save AI upscaling for cases where the final output must hold more detail, such as marketplace zoom views, cleaner catalogue masters, or reframed images that would otherwise look soft.
That selective approach matters for budget and consistency. A batch full of mixed source quality shouldn't be treated as if every file needs the same expensive processing.
Optimise the order of operations
One of the most overlooked decisions in catalogue workflows is step order. This isn't just technical housekeeping. It affects processing cost directly.
Existing content overwhelmingly ignores the cost-optimization trade-off between resizing order, specifically background removal before upscaling, and total image processing expenses, with optimised workflows potentially saving 87% in processing costs for high-volume sellers, according to Adobe's bulk resizing guidance cited in this workflow analysis.
That insight changes how experienced operators build a batch:
- Remove background first when the marketplace output needs it.
- Reframe and expand canvas second so product visibility is preserved.
- Resize to target output third so each channel gets the correct dimensions.
- Upscale last, and only where required for final clarity.
Cost rule: Don't run expensive enhancement on pixels you plan to throw away later.
That same mindset is useful when reviewing production budgets more broadly. If you manage outside shoots or agency support, this guide to mastering photography rates for brands helps frame where image production costs start long before the editing queue.
Protect quality while keeping files practical
A few practices consistently hold up in production:
- Use quality-preserving resize methods: If your tool exposes algorithms, options like Bicubic or Lanczos are worth choosing for catalogue work, as noted earlier in the Crop.photo guidance.
- Keep lossless formats for preservation copies: PNG or TIFF make sense when quality retention matters more than delivery weight.
- Use JPEG carefully for storefront delivery: Compression is useful, but too much creates visible artifacting around edges, shadows, and textural detail.
- Test compression after resize, not instead of resize: They solve different problems.
If compression damage is something your team runs into often, this explanation of JPEG compression artifacts is worth reviewing before you lock in export settings.
MerchLoom fits into this layer of the workflow when the job goes beyond simple resizing. It can batch reframe, expand canvas to avoid destructive crops, preserve product visibility, and apply Clarity upscale to final outputs where sharper listing images matter. Used selectively, that kind of pipeline helps when a catalogue has uneven source quality or multiple destination requirements.
The Final Check Verifying and Uploading Your Images
The batch isn't done when the files export. The final job is verification, allowing sellers to catch the mistakes that would otherwise show up as listing rejections, stretched thumbnails, or ugly collection pages.
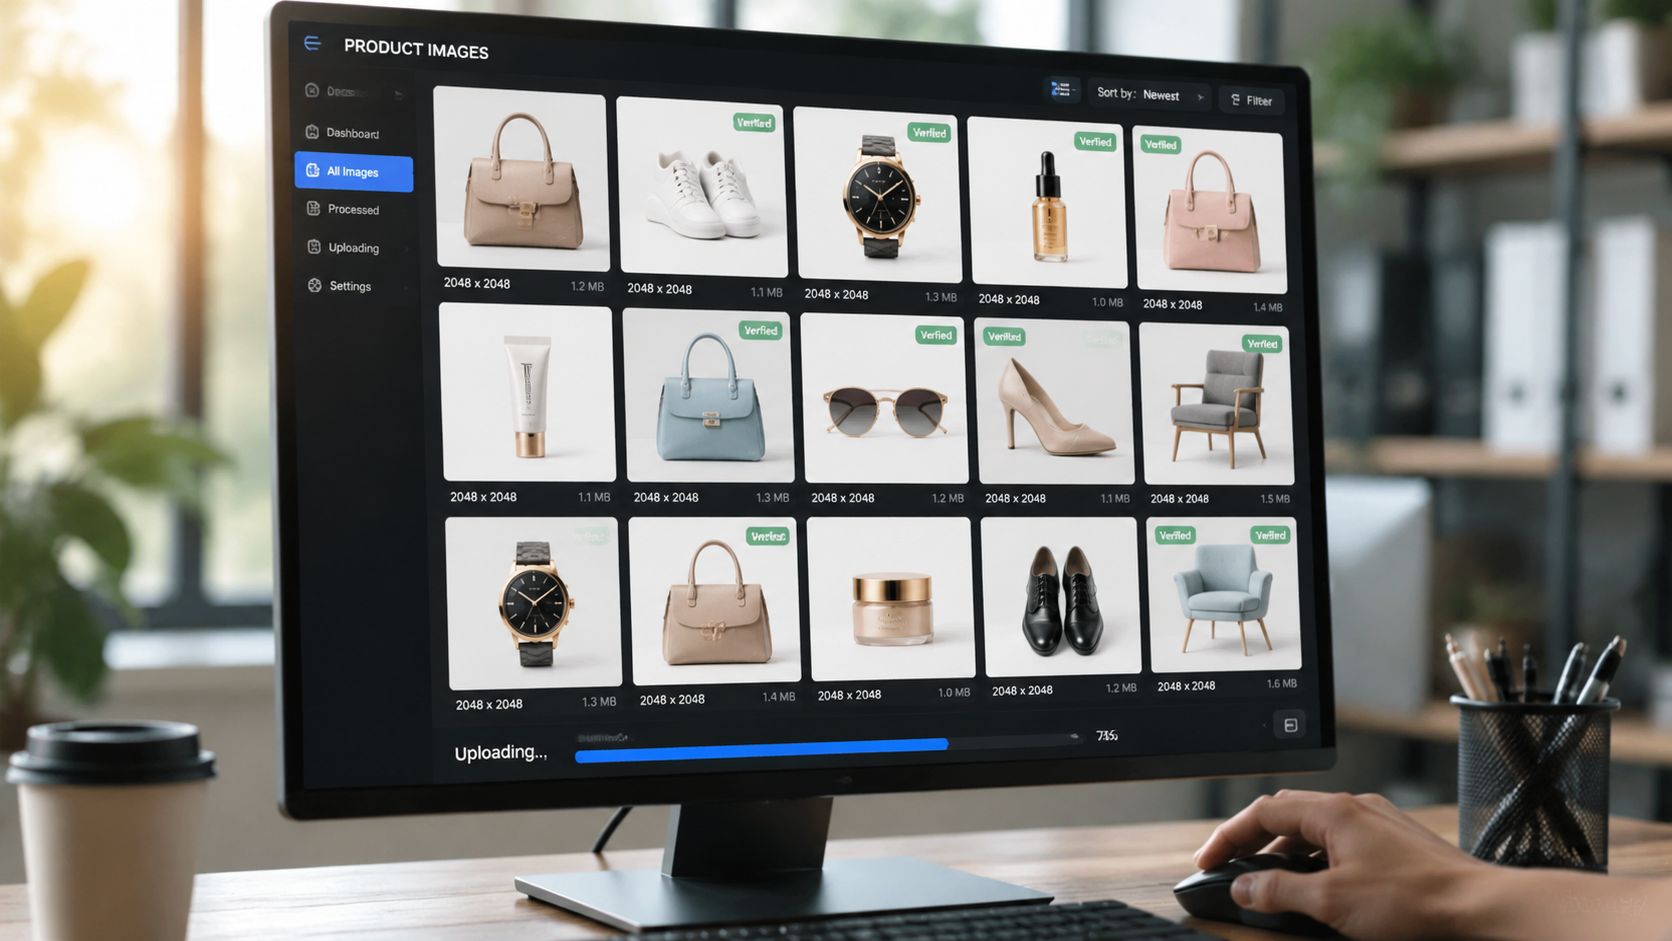
A small QA pass saves a lot of pain later. ImageResizeAI's bulk resize benchmarks note two common failures in unverified workflows: ignoring aspect ratio locking can cause 34% distortion in unverified batches, and skipping pre-test batches of 5–10 images leads to 27% higher rework costs.
What to check before upload
Don't inspect every image the same way. Spot-check by batch, by platform, and by edge case.
- Dimensions are correct: Open sample files from each export folder and confirm the intended size.
- Aspect ratio is preserved: Look for stretched products, compressed packaging, or elongated apparel.
- Padding behaves properly: Confirm that white or neutral borders were added where needed instead of trimming product edges.
- Compression is acceptable: Zoom into edges, labels, and texture-heavy surfaces.
- Names are usable: File names should still identify product, variant, and destination.
Test a small batch first
Run a limited sample before you process the entire catalogue. That sample should include the difficult files, not just the easy ones. Use tall products, wide products, packaging with fine print, and any image with unusual whitespace or shadows.
Check the awkward images first. If the batch works on those, the standard images usually follow.
Export with upload in mind
The handoff matters as much as the resize settings. Keep final outputs in separate folders by destination, such as Amazon, Shopify, Etsy, eBay, WooCommerce, Instagram, ads, and banners. If your team uploads in stages, include status markers in the folder names so nobody confuses approved exports with work-in-progress files.
A clean upload package prevents the last-minute scramble where the wrong image version ends up on the wrong channel. For catalogue teams, that organisation is part of quality control, not admin work.
From Batch Resizing to Catalogue Automation
The efficient way to bulk resize product images online isn't to look for one universal setting. It's to treat image preparation as a system. Clean source files, clear channel targets, safe reframing, selective enhancement, and a final QA gate all belong to the same workflow.
That shift matters because catalogue work scales badly when every image becomes a manual decision. Once you start thinking in batches, outputs, and rules, resizing stops being a repetitive chore and becomes part of launch operations. That's the difference between barely getting a collection live and rolling out Amazon, Shopify, Etsy, eBay, WooCommerce, Instagram, ads, and banners without image chaos.
If you want a broader view of that bigger operating model, this guide to e-commerce image automation is a good next read.
If you're ready to stop editing one product image at a time, MerchLoom is built for catalogue-scale workflows. It can run chained AI pipelines across full image collections, handle reframing and canvas expansion without hiding product detail, and upscale final outputs with Clarity when listing quality needs a boost. It's a practical fit for sellers who need marketplace-ready images across multiple channels without turning every launch into a manual production sprint.
Stop editing product photos one at a time
Upload your catalog or connect your store. Describe the result once. MerchLoom does the rest.
Try it free — no signup