
Transparent Background in Paint for Product Photos? A Reality Check for E-Commerce Sellers
Discover how to make a transparent background in Paint & Paint 3D. Learn why these tools fail for e-commerce and what smart sellers use instead for batch work.
So, you're hoping to create images with a transparent background using good old MS Paint. I get it—it's free, it's already on your computer, and you're just trying to get through a mountain of product photos. But as someone who's been in the trenches with product images, I have to be direct: classic MS Paint simply can't do what you need for a professional e-commerce store.
Its "transparent selection" feature is a bit of a mirage. It only works inside the Paint program itself, making it completely useless for creating the clean, professional PNG files required for any modern e-commerce platform like Amazon, Shopify, or Etsy. For sellers processing hundreds of images, it's a non-starter.
The Hard Truth About Using Paint for Transparent Backgrounds
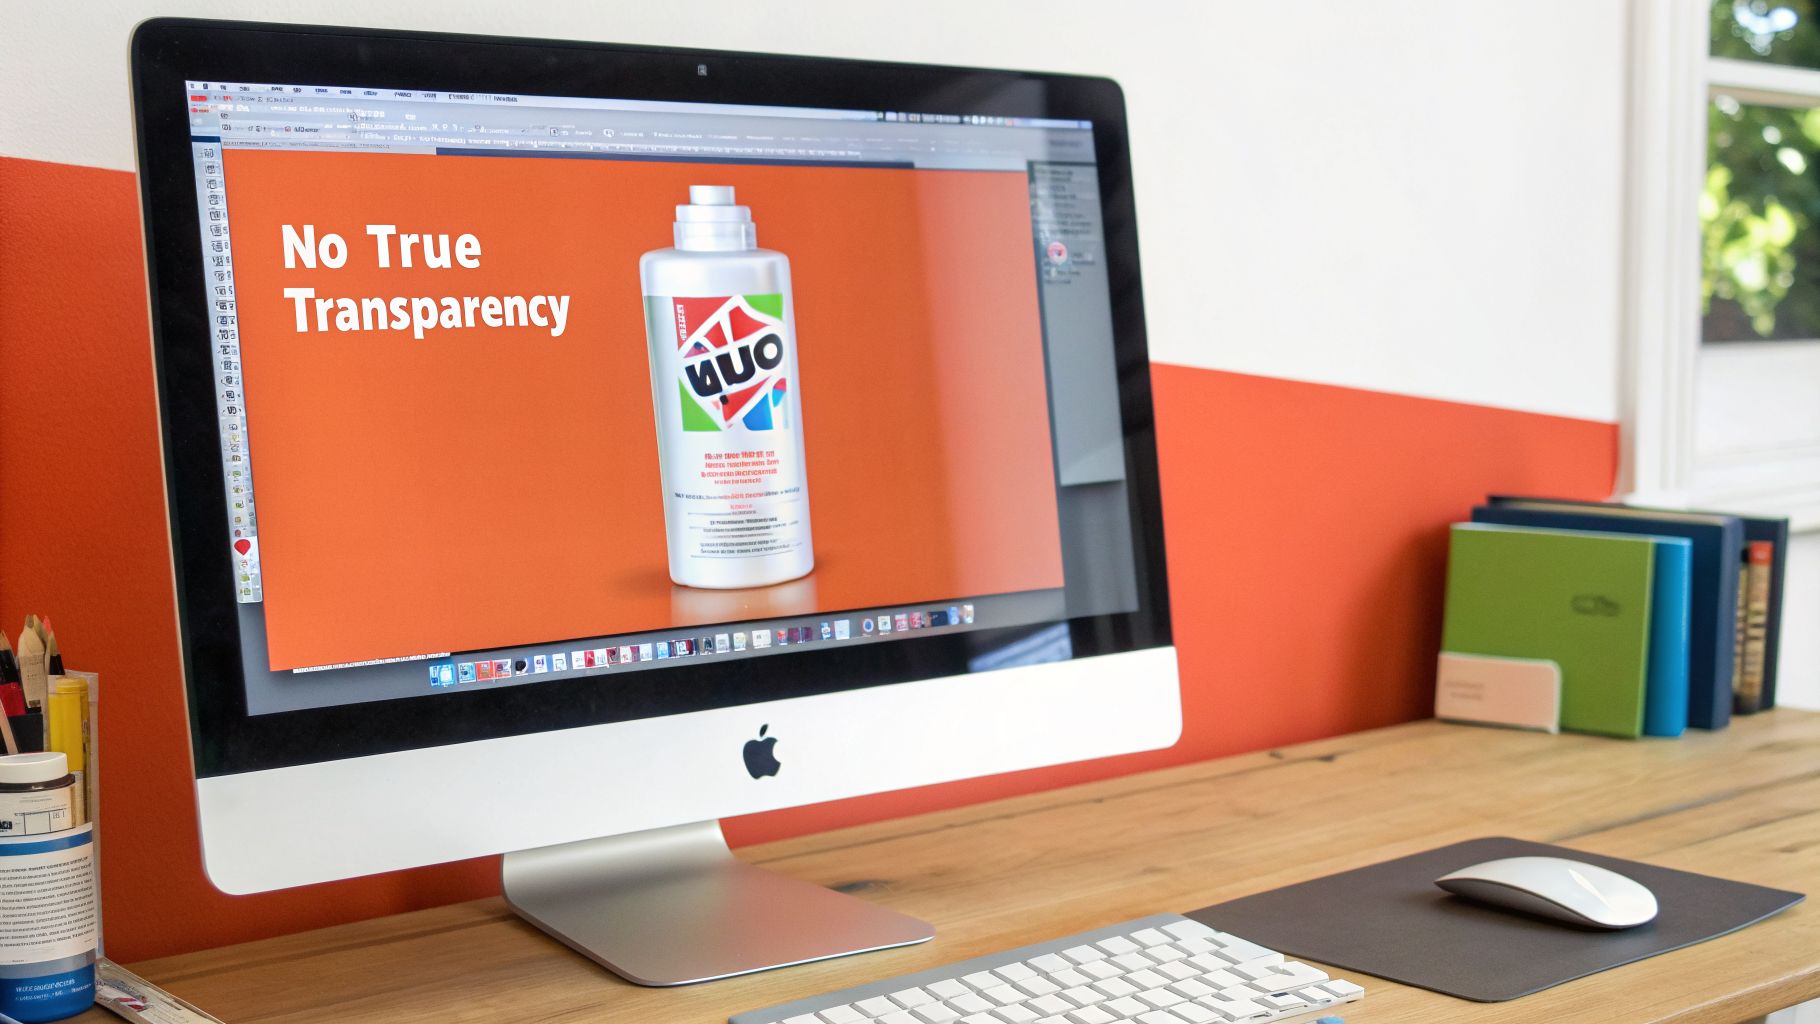
If you’re an e-commerce seller with a mountain of product photos to edit, you've probably stared at that familiar MS Paint icon and wondered if it holds the key. Let’s clear this up right now: for your business, it’s a dead end. The frustration many sellers feel comes from a fundamental misunderstanding of what digital transparency actually is.
True transparency—the kind that lets your product sit cleanly on any background colour on Amazon, Shopify, or your own website—is stored in what’s called an alpha channel. Think of it as an invisible fourth layer of data in file formats like PNG or TIFF, right alongside the red, green, and blue colour data. This channel tells a program which parts of the image should be see-through.
Classic MS Paint was never built to handle or save this kind of information.
The "Transparent Selection" Illusion in MS Paint
So what is that "transparent selection" option doing? It's a clever, but very limited, trick. When you use it, you're not actually making the background disappear. You're just telling Paint to ignore a specific colour (usually white) when you copy and paste your selection somewhere else within the same Paint project.
The moment you try to save that image and upload it to your store, that "transparency" is gone. It gets filled back in with a solid white block, leaving you with a clunky-looking product photo that clashes with your site’s design. It's a neat internal feature, not a real-world export solution for a seller with a catalog to process.
Paint vs E-Commerce Transparency Needs
For an online seller, the requirements are strict. Marketplaces like Amazon demand clean, consistent images. Here’s a quick breakdown of why Paint's feature doesn't meet the mark for your business.
| Feature | MS Paint ('Transparent Selection') | E-Commerce Requirement (True Transparency) |
|---|---|---|
| Output File | Saves as a solid background (JPG, BMP, GIF). | Requires a PNG or TIFF with an alpha channel. |
| Background | Simulates transparency only within the app. | Truly transparent and adaptable to any website background. |
| Edge Quality | Creates jagged, pixelated edges. | Needs clean, anti-aliased edges for a professional look. |
| Use Case | Simple collages inside a single Paint file. | Product listings, logos, and marketing assets for multiple platforms. |
As you can see, what Paint offers and what e-commerce demands are two completely different things. You need a tool that can save a file with its transparency data intact, and do it for hundreds of images consistently.
Why This Fails for Batch Processing
As a seller, you're rarely editing just one photo. You're processing entire collections. Trying to shoehorn MS Paint into this workflow is a recipe for frustration.
- No Real PNG Export: It simply cannot save an image with the genuine transparent background needed for marketplace listings.
- Zero Scalability: The process is 100% manual. Applying it consistently across even a dozen photos is a nightmare, let alone hundreds for your new collection.
- Poor Quality: Even if it did work, the selection tools are far too crude for professional results. You'll be left with messy, jagged edges around your products.
This isn't about one picture. It's about building a workflow that actually scales with your business. While a simple white photoshoot background can create consistency, true transparency gives you far more creative freedom. This is where modern tools like MerchLoom come in, processing entire catalogues automatically through AI pipelines to ensure every single image is perfect without the manual headaches.
How to 'Fake' Transparency in Classic MS Paint
Alright, before we get into the real solutions, let's talk about a common pitfall: trying to make a background transparent in the classic version of MS Paint. I’ve seen countless sellers waste hours on this, so think of this as a quick, hands-on lesson in what not to do. Sometimes, seeing a method fail firsthand is the best way to understand why you need a proper tool for the job, especially when dealing with hundreds of product images.
The culprit is a feature called 'Transparent selection', and its name is pretty misleading. It sounds like exactly what you need for a clean product photo, but the reality is quite different.
The Illusion of Transparency: A Step-by-Step Breakdown
Let's walk through a typical scenario for a product photographer. Imagine you have a product photo—say, a white ceramic mug shot against a plain, light grey background. You just want to lift the mug off that background to use on your Shopify store.
Here’s how the process in MS Paint usually goes, and where it immediately starts to unravel for any real e-commerce workflow:
- First, you’d open your image in MS Paint.
- Next, you’d head to the 'Select' menu and make sure 'Transparent selection' is ticked. This is the key feature we're putting to the test.
- Now, you need to tell Paint which colour to treat as "transparent." You'd set your 'Colour 2' (the background colour) to match the photo's background. The eyedropper tool is perfect for grabbing that exact shade of light grey.
- Finally, you’d grab the 'Free-form selection' tool and carefully, painstakingly trace around your mug.
Once your selection is complete, you can click and drag the mug away. For a second, it looks like magic! The grey background within your selection disappears, and the object sits cleanly on the white canvas. This is the "fake" transparency in action, and it’s where the illusion tricks you.
The core problem is that this "transparency" only exists inside the MS Paint program. The moment you save the file, Paint flattens the image. The background you thought you removed snaps right back, usually as a solid white block.
The final result is completely unusable for any professional purpose. You’re left with jagged, amateur-looking edges from the free-form tool and, most importantly, no true alpha channel transparency. That saved image will have a clunky box around it whether you put it on a Shopify product page or an Amazon listing.
If you’re set on a free tool that offers genuine transparency, you’ll need to look at more advanced software. As you'll see in our guide to removing backgrounds in GIMP, even powerful free programs demand a serious time commitment for each image. This experience usually reinforces why automated tools are a game-changer when you're dealing with an entire product catalogue.
A Better Method With Paint 3D's Magic Select
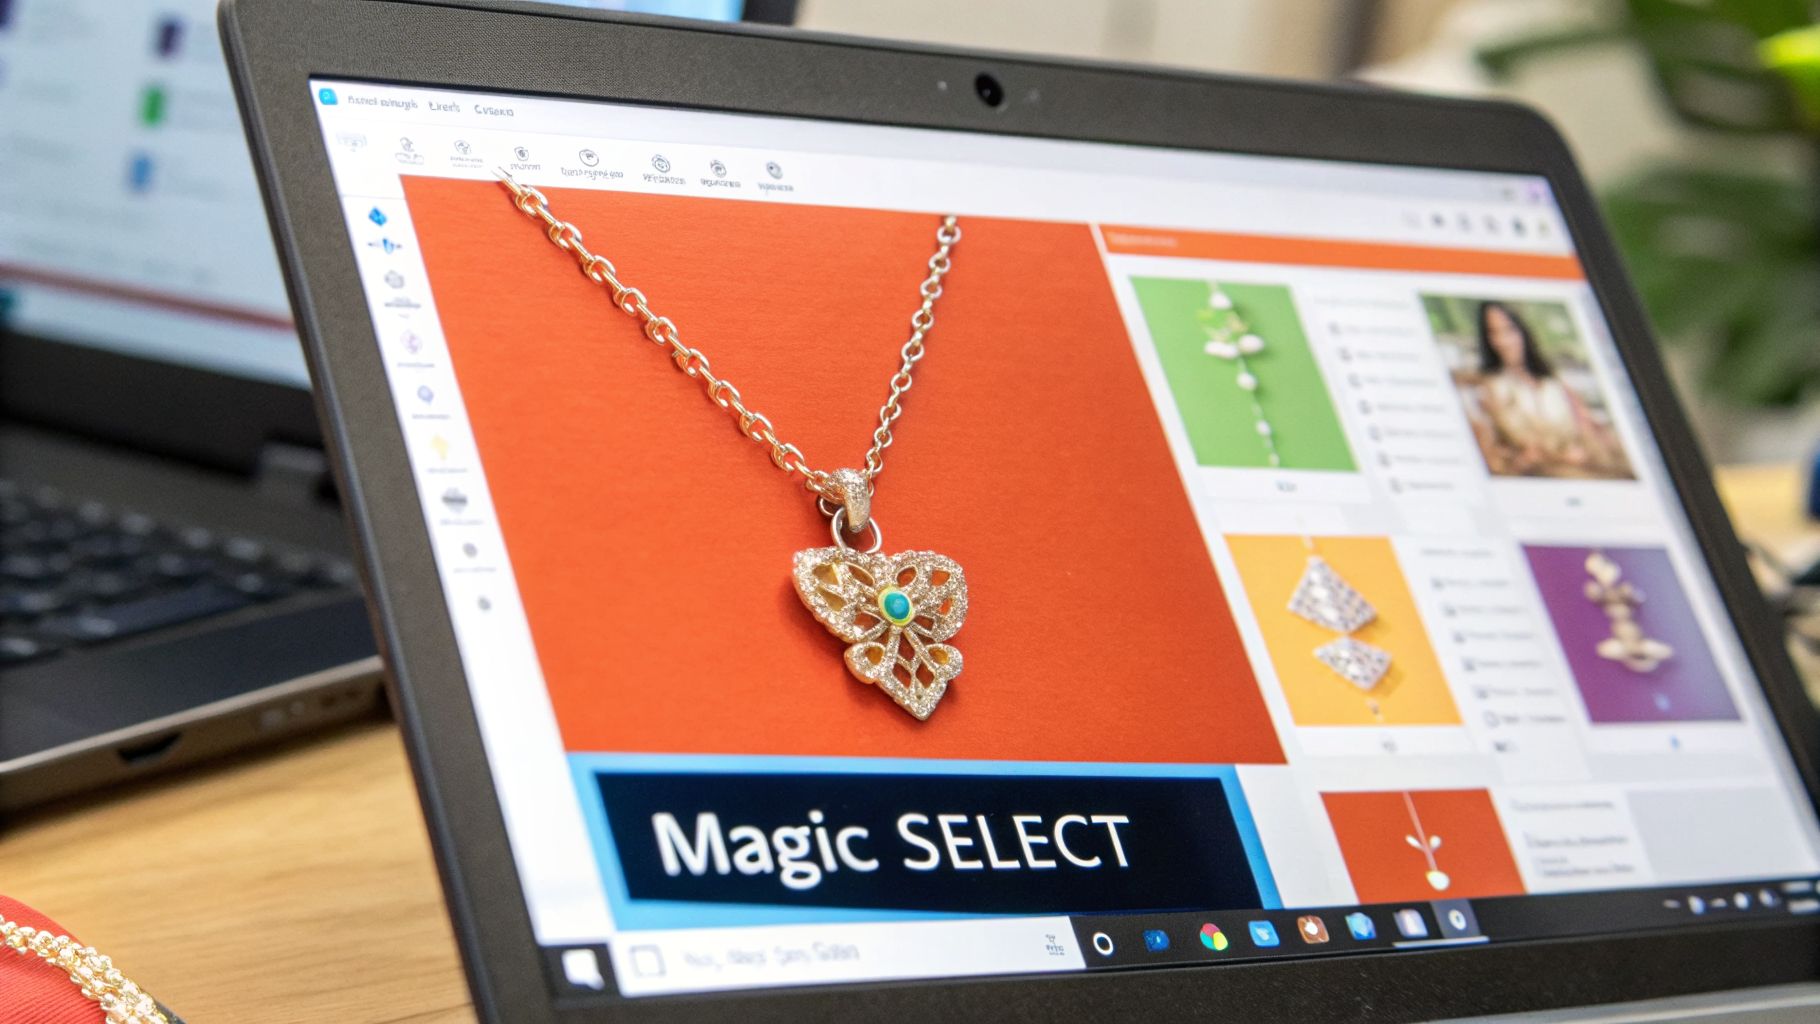
If you're in a pinch and absolutely have to use a free, built-in Windows tool, then Paint 3D is a much better choice than its classic cousin. For a handful of images—maybe for a quick social media post—it can work. It’s certainly not built for the scale of an e-commerce business, but its Magic select tool at least gives you a fighting chance at a true transparent background in paint.
Unlike the old MS Paint, Paint 3D actually understands and can create a file with a proper alpha channel. That’s the key to saving a PNG that will look clean and professional on your Shopify store or Amazon listing. Let's walk through the process, but keep the time investment for your entire product batch front and centre in your mind.
Using The Magic Select Tool
To get started, just open your product photo in Paint 3D. You'll spot the 'Magic select' button right in the top toolbar. This tool is Microsoft's attempt at intelligently finding the main subject in your photo.
Once you click it, you’ll draw a rough box around your product. Paint 3D then does its best to guess the outline. In my experience, this first pass is almost never perfect, especially with tricky items like jewelry chains, stray hairs on apparel, or fuzzy sweaters. This is where you have to roll up your sleeves and get to work.
The real effort in Paint 3D isn't the first click; it's the cleanup. You have to patiently use the 'Add' and 'Remove' brushes to fix the selection, painting over little bits the AI missed or grabbed by mistake. This manual work is what makes or breaks your final image, and it's what makes this method impossible for a full catalog.
This process of refining the selection can be a real time-sink. You'll be zooming way in, carefully tracing contours to get a result that doesn't look choppy. The time cost is a huge factor. Doing this for 100 images could easily take a full day or more—time you should be spending on marketing or sourcing new products.
The Critical Step: Saving Your Transparent PNG
After you’ve painstakingly perfected the selection, you need to save the file correctly. This is where a lot of people go wrong and lose all their hard work.
To make sure you get a genuine transparent background, follow these steps:
- With your selection finalized, you can go ahead and delete the background.
- Head over to the 'Canvas' options on the right-hand side.
- Find the 'Transparent canvas' switch and flick it to 'On'. The background will immediately change to that familiar chequerboard pattern, which is the universal sign for transparency.
- Now, go to 'Menu' > 'Save as' > 'Image'.
- This is the most important part: you must select PNG (image) as the format and double-check that the 'Transparency' box is ticked.
Following that last step ensures your image is saved with its alpha channel, giving you a file that's ready for any product listing. It’s a huge improvement over classic Paint, but you can probably already see the bottleneck. If you need more advanced selection control, our guide on removing backgrounds in Illustrator offers powerful techniques, but it also reinforces just how manual this kind of work can be.
For a one-off edit, Paint 3D gets a pass. But if you're launching a new collection with 50, 100, or even 500 products? The thought of doing this for every single photo is enough to make anyone's head spin. This is exactly why automated pipelines, like those in MerchLoom, are the only sensible solution for a growing business.
Doing this for a whole catalog?
MerchLoom runs background removal, upscaling and AI editing across every product photo you have — one prompt, whole batch. Try 2 batches free, no signup.
Try it freeWhy Manual Editing Fails at E-Commerce Scale
So, you’ve spent ten minutes carefully tracing the edges of a product photo in Paint 3D. The result looks sharp, and you finally have a clean PNG with a true transparent background. It feels like a small victory.
But now, take a look at the folder with the other 150 products for your new collection. This is where the simple, satisfying task of editing one photo crashes into the harsh reality of running an e-commerce business. That’s when you realize manual editing just doesn't scale.
That ten-minute edit has suddenly ballooned into a 25-hour job. That’s more than half a work week dedicated to just one tedious task. And that’s before you even think about resizing for your Shopify theme, upscaling to 2000px for Etsy’s zoom feature, or making sure every photo has a perfectly consistent look. As a business owner, your time is your most valuable currency, and spending it on repetitive clicking is a fast track to burnout.
The Problem of Inconsistency
When you’re editing images one by one, especially over hours or days, human error is guaranteed to creep in. It’s only natural. On Monday, you might be feeling patient, getting those edges just right. By Wednesday, you’re rushing to finish, maybe leaving tiny artifacts or cropping an image slightly off-centre.
This might seem minor, but it creates a subtle, unprofessional look across your store. When a customer scrolls through a product category and the images are almost the same but not quite, it chips away at your brand’s credibility.
- Varying Margins: The centering and white space around each product will inevitably differ.
- Inconsistent Edges: The sharpness or softness of the cutout will change depending on your focus.
- Small Mistakes: You might leave behind tiny specks of the original background on some photos but not others.
It’s a quality control nightmare. To look professional, every single image needs to look like it came from the exact same process—because it should. That's what batch processing delivers.
Calculating the True Cost of Manual Work
Let’s put this into a real-world context. Imagine you run a Shopify store selling vintage apparel and you've just sourced a fantastic new batch of 150 unique items.
At a conservative 10 minutes per image using a manual tool like Paint 3D, you’re staring down the barrel of 1,500 minutes, or 25 hours, of pure editing time. If you value your time at even a modest hourly rate, that's a huge operational cost before you've even listed a single product.
This lost time directly clashes with the tasks that actually grow your business: sourcing new inventory, marketing your collection, providing great customer service, and planning your next move. The cost isn't just measured in hours; it's measured in the growth you're forced to sacrifice.
A 2026 UC Berkeley e-commerce study revealed something telling: product listings with professional transparent or clean white backgrounds get a 42% higher click-through rate on Amazon in California, which can increase conversions by up to 29%. Despite this, only 23% of CA-based vintage resellers use them, citing the time-consuming nature of manual editing as the primary barrier. You can read more about these e-commerce image trends on remove.bg.
This is exactly the problem that automated workflows were designed to solve. Instead of treating each photo as a separate, manual project, tools like MerchLoom let you process an entire collection at once. You upload all 150 photos, define your rules one time—remove the background, resize to a square, add a pure white backdrop—and the system executes it perfectly on every single image.
It's about shifting from being a hands-on editor to becoming the manager of an efficient, automated system. You can learn more about how to create consistently clean images with a white background in our dedicated guide.
Building a Smarter Product Image Workflow
Thinking about your image workflow one photo at a time is a trap I've seen countless sellers fall into. The real breakthrough happens when you stop thinking about "editing one photo" and start thinking about "processing one collection." The most successful sellers don't just click faster; they build an efficient system where each step logically feeds into the next. This saves an incredible amount of time and keeps your product listings looking sharp and consistent.
This modern approach kicks off with a single, powerful action: batch background removal. Forget opening images one by one in Paint 3D. Instead, you upload your entire photoshoot—all 200 images, for instance—at once. An AI tool can then strip the background from every single photo, leaving you with a complete set of clean, transparent PNGs in just a few minutes.
The old, manual way just doesn't scale. This diagram really says it all.
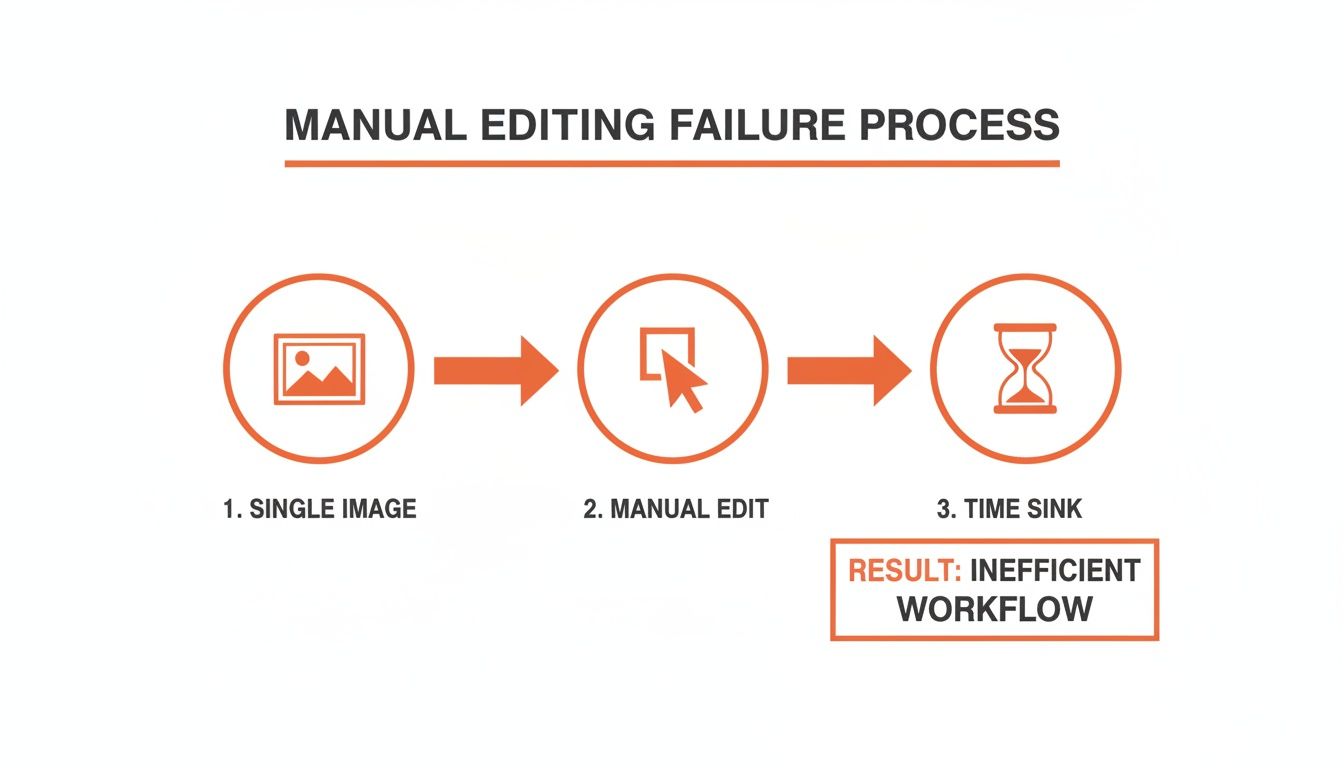
As you can see, focusing on individual images creates a bottleneck that grinds your entire operation to a halt. It’s simply not a sustainable way to grow your business.
Chaining AI Steps for Maximum Efficiency
Once you have that folder full of transparent PNGs, you can really start to see the power of a proper workflow. Those clean files become the raw material for the next stage of your process. This is where a tool like MerchLoom becomes incredibly useful, because it lets you chain different editing steps together automatically.
For example, let's say your next task is prepping those images for your Etsy shop, which requires a minimum width of 2000 pixels. Rather than resizing each one manually, you can run the whole batch of transparent PNGs through an AI upscaler. The system intelligently increases the resolution of every photo, ensuring they all meet marketplace requirements without any extra work. If you want to dive deeper into that specific process, we have a great guide on using an HD photo converter for your listings.
A Critical Tip for Saving Money
Here’s a piece of advice that can have a real impact on your budget: always remove the background before you upscale an image. This might sound small, but it's a huge money-saver.
Most AI processing costs are tied to the number of pixels being analyzed. When you remove the background first, you're not just getting a transparent image; you're also making the file smaller and simpler for the AI to handle.
AI-powered batch processing solutions like MerchLoom can remove backgrounds and then shrink file sizes by up to 87% before upscaling, a workflow that saves Los Angeles retailers an estimated $5,200 yearly in labour costs. You can explore more data on how retailers are saving with AI on remove.bg.
When you feed that smaller, background-free image into an upscaler, the processing cost is significantly lower than it would have been for the original, larger photo. This sequence—remove, then enhance—is the secret to a faster, more profitable, and infinitely more scalable image pipeline. It's about moving beyond just creating a transparent background in paint and building an intelligent system that works for your business.
Common Questions We Hear
You're an e-commerce seller, not a graphic designer. Your questions are different, and they're all about getting professional results quickly so you can get back to business. Here are the answers to some of the things we get asked all the time.
Can I Save a JPEG With a Transparent Background?
Straight answer: no. This is a classic mistake we see a lot. The JPEG format simply doesn't support transparency.
If you spend all that time carefully removing a background in Paint 3D and then save it as a JPEG, you'll just end up with a solid white background again. To keep that clear, transparent look for platforms like Shopify or Amazon, you absolutely have to save your file as a PNG.
Is Paint 3D Good Enough for All My Product Photos?
Paint 3D's 'Magic select' tool is a huge improvement over the old MS Paint, and it's great if you're in a pinch and just need to edit one or two photos. But is it the right tool for your entire product catalogue? Definitely not.
The real-world problem is scale. Refining the edges on every single image by hand just isn't efficient when you have dozens, or even hundreds, of products to list. It’s a tool for occasional one-offs, not a core part of a serious business workflow.
Consistency and speed are everything in e-commerce. Batch processing ensures all your product images have the same professional look, which builds brand trust. More importantly, it frees you from hours of tedious manual editing, so you can focus on listing new products and growing your business.
Why Do I Keep Hearing About Pay-Per-Use Tools?
The move towards flexible, pay-per-use pricing is a direct response to how modern online sellers actually work. Not everyone needs or wants a monthly software subscription.
For example, a big chunk of California's 1.2 million online merchants are looking for tools without long-term commitments. This is especially true for the 52% of Shopify owners in San Francisco who prefer no-commitment tools, as noted in recent seller preference data on remove.bg. This model lets you process a huge batch of photos for a new product launch without getting locked into a fee, which is perfect for seasonal sellers or project-based work.
When manual tools create bottlenecks, it’s time for a smarter workflow. MerchLoom lets you upload entire product catalogues and apply complex editing pipelines—from background removal to marketplace-specific resizing—automatically. Stop editing one image at a time and start processing your entire collection in minutes. Give MerchLoom a try today.
Stop editing product photos one at a time
Upload your catalog or connect your store. Describe the result once. MerchLoom does the rest.
Try it free — no signup