
Remove White Background on Photoshop: A Seller's Guide
Learn how to remove white background on Photoshop with methods for e-commerce sellers. From quick selections to batch automation for your entire catalogue.
You’ve got a folder full of product shots, a deadline, and the same question every seller eventually asks: how do I remove white background on Photoshop without losing a day to it?
Most Photoshop tutorials assume you’re editing one image for a portfolio. Sellers rarely live in that world. You might need one hero image for a launch, but you also need clean, consistent cutouts for a collection page, a marketplace feed, and a backlog of SKUs that still haven’t gone live. That’s where background removal stops being a design exercise and becomes an operations problem.
Photoshop can absolutely remove white backgrounds well. It can also waste hours if you pick the wrong method for the wrong product type. The trick isn’t learning every tool. It’s knowing which method is fast enough, which one is worth the manual effort, and where Photoshop starts to break under catalogue scale.
The Seller's Dilemma Manual Editing vs The Clock
Most sellers start the same way. Open one file. Use Magic Wand. Zoom in. Clean the edges. Export. Repeat until the workday disappears.
That approach works when you’re fixing a single listing image. It falls apart when a seasonal drop lands in your inbox or a supplier sends a fresh set of product photos with mixed framing, uneven shadows, and slightly different whites across every shot.
Canadian merchants know this bottleneck well. Shopify’s 2025 State of Commerce report found that 42% of Canadian merchants cited image preparation and editing as one of their top three operational bottlenecks when scaling product catalogues, as referenced in this discussion of batch image workflows for merchants. That matches what many teams run into in practice. The issue usually isn’t whether Photoshop can do the job. It’s whether your workflow can survive volume.
Single image advice breaks at catalogue scale
A lot of tutorials teach solid tools. Magic Wand, Quick Selection, Select and Mask, Background Eraser. None of those are wrong. They’re just often taught without any regard for throughput.
If you sell on Amazon, Shopify, and Etsy at the same time, you’re not only removing backgrounds. You’re also checking for a pure white listing look, squaring crops, preserving margins around the product, and preparing alternate exports for different storefront layouts. That means every manual click has a hidden cost.
Practical rule: The best Photoshop method for one image usually isn't the best method for one hundred.
The primary decision isn’t “Which tool gives the cleanest cutout?” It’s “Which tool gets this batch listing-ready with acceptable quality and predictable effort?”
Time cost is the actual cost
Sellers often think about software cost first. In production, labour cost shows up faster. If you spend even a modest amount of attention on every file, background removal becomes the task that delays launches, holds back new arrivals, and keeps draft listings unpublished.
That’s also why newer workflows matter. The gap in older tutorials is that they rarely show how to sequence tasks for a full catalogue. The source above notes that AI-assisted strategies can cut processing time per image by 70 to 90% in batch contexts, and that ordering steps such as shrinking before upscaling can save up to 87% on compute in workflows built for scale. That’s a different mindset from hand-editing one item at a time.
If you’re currently jumping between Photoshop and simpler editors, it also helps to compare how other tools frame background removal for everyday use. This Canva remove background guide is useful for seeing how much simpler the workflow becomes when the tool is designed for speed rather than deep pixel control.
Fast Removal Methods for Simple Product Batches
When the product is simple, Photoshop can move quickly. Boxes, books, candles, packaged cosmetics, mugs, and other hard-edged objects on a clean white sweep are the easiest wins. For these, you don’t need a museum-grade cutout. You need something clean enough to publish.
The fastest tools that are often good enough
Start with Photoshop’s quickest options before you reach for precision tools.
- Remove Background Quick Action works best when the product is clearly separated from the backdrop and the outline is obvious.
- Select Subject is useful when the object has recognisable edges but the background isn’t perfectly even.
- Magic Wand Tool is still effective for true white or near-white backgrounds, especially on hard products with strong contrast.
- Quick Selection Tool helps when Magic Wand misses connected areas or breaks around labels and handles.
For many small product batches, that order makes sense. Try the fastest automatic option first. If it fails, move one step more manual, not five steps more manual.
Magic Wand settings that actually matter
A California analysis of Photoshop usage among product photographers found that for high-contrast subjects, the Magic Wand Tool performed best with tolerance settings between 70 and 85. For lower-contrast items like apparel, effective tolerance dropped to 10 to 25, and cleanup often became much more manual, according to the Icons8 Photoshop background removal tutorial.
That lines up with real production behaviour:
High-contrast hard goods
A black bottle on white, a kraft box on white, or a dark gadget on smooth paper can often tolerate a higher Magic Wand setting. Photoshop grabs the white field quickly and leaves the product mostly intact.Soft goods and pale items
Beige shirts, cream knitwear, white ceramics, and lightly reflective surfaces are where the tool starts lying to you. The background and product share tonal information, so either the selection bites into the object or leaves a dirty halo.Busy edges
Frayed fabric, lace, tassels, translucent caps, and fuzzy materials will usually defeat the “one click and done” fantasy.
If your first pass looks acceptable only at fit-to-screen view, zoom to the edges before you trust it. Catalogue problems usually reveal themselves at the outline.
A lot of sellers stop too early here. The cutout looks fine in Photoshop at a small preview, then ugly on a high-resolution marketplace zoom.
For sellers trying to move beyond basic cutouts, this guide on how to enhance product imagery with AI is worth reading because it shows how background work fits into the bigger product-image workflow, not just the selection itself.
A practical quick-batch workflow
For a small batch of simple products, keep it lean:
- Duplicate the background layer.
- Run Remove Background or Select Subject.
- If needed, use Magic Wand on remaining white areas.
- Add a layer mask instead of deleting pixels.
- Check the corners, inside handles, and any shadows near the base.
- Export one test image before processing the rest.
This is also the point where sellers often need adjacent cleanup beyond the background itself. If part of the set or sweep remains behind the product, this Content-Aware Fill Photoshop walkthrough helps with simple background residue and stray studio elements.
Here’s a video example if you want to see a fast Photoshop workflow in motion:
Precision Techniques for High-Value Items
Some products deserve more than a fast cutout. Jewellery, handbags, footwear, premium cosmetics, glassware, and hero apparel shots usually need cleaner edges than automated tools can reliably deliver. That’s where Photoshop’s slower methods earn their keep.
The important trade-off is simple. Fast tools save time at the start. Precision tools save rework later.
When speed stops paying off
Adobe’s 2026 Q1 regional report said the Remove Background Quick Action, introduced in 2023, reduced average processing time from 12 minutes to 18 seconds per image. The same report also noted that 45% of professional fashion photographers in the LA area still needed to enter Select and Mask manually to achieve 95% edge refinement on apparel and reduce colour fringing, as cited in this Photoshop workflow video reference.
That tells you exactly where the dividing line sits. Photoshop’s automation is excellent at getting close. High-value product imagery still demands judgement.
Pen Tool versus channel masking
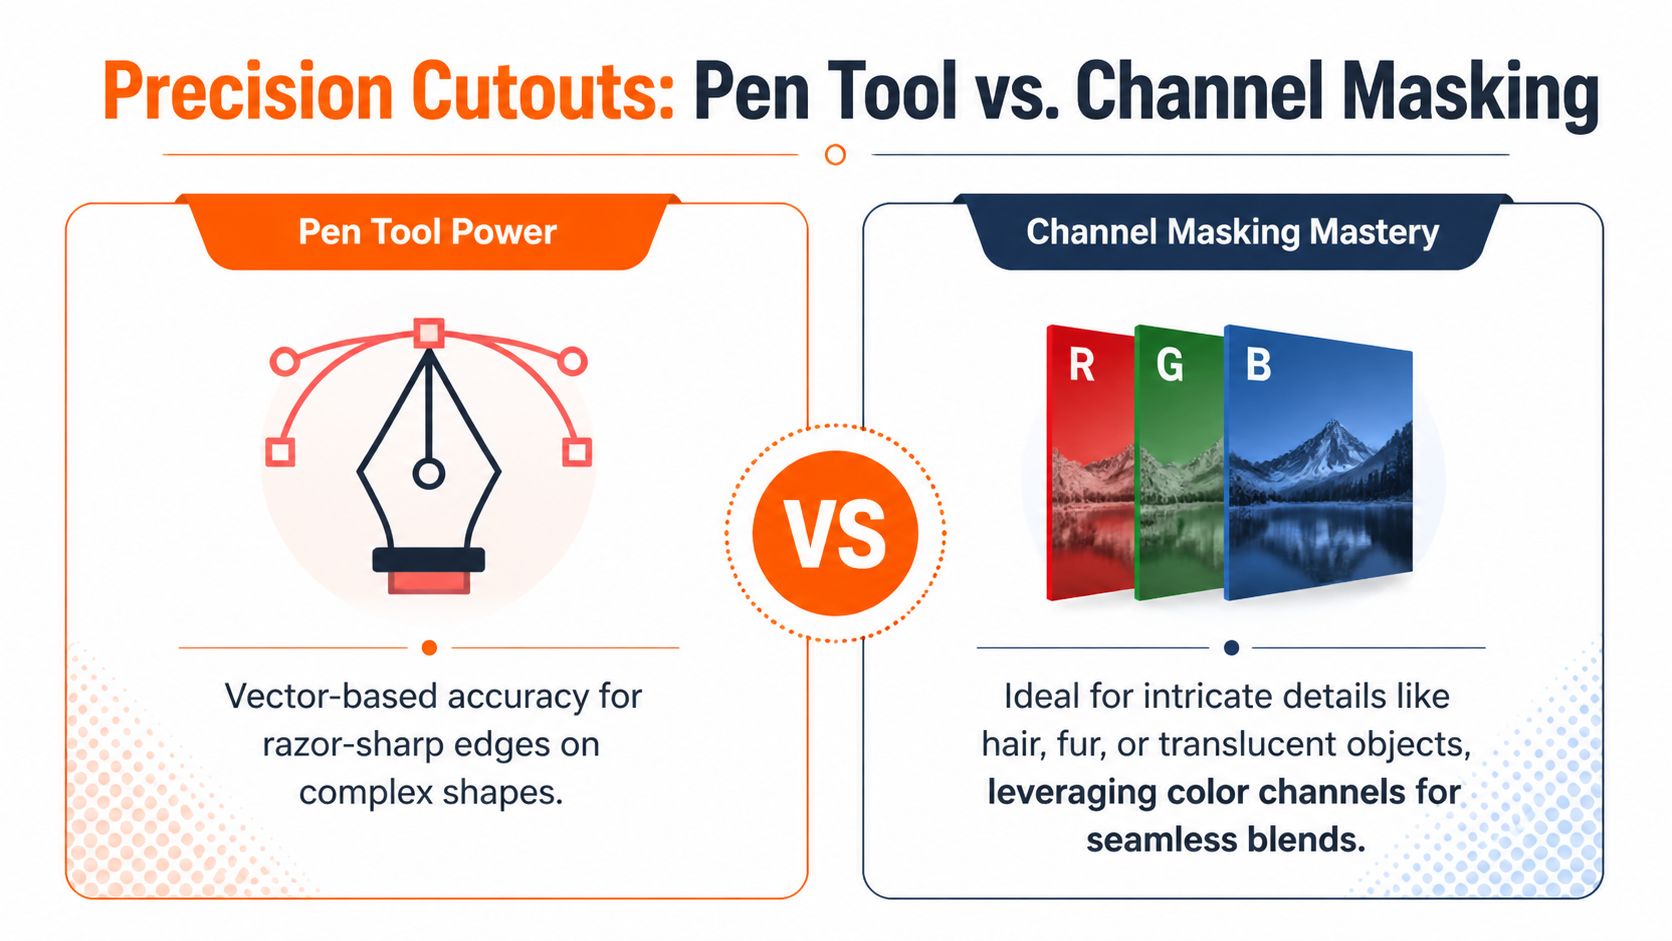
The two methods I trust most for difficult cutouts are Pen Tool and channel masking, but they solve different problems.
Pen Tool is best when the edge should be intentionally crisp. Think leather goods, bottles, boxes, cookware, electronics, and structured shoes. You get absolute control over the path, which means no random chewing into the product edge and no soft, uncertain outline.
Channel masking is better when the subject contains detail that doesn’t conform to a clean path. Sheer fabric, flyaway fibres, feathered textures, translucent material, or tonal separation that exists more clearly in one colour channel than in the composite image. It’s less predictable, but when it works, it preserves realism far better than a hard path.
A good cutout isn't always the cleanest one. It's the one that looks believable at listing zoom.
Photoshop Background Removal Methods Compared
| Method | Speed | Accuracy | Best For |
|---|---|---|---|
| Remove Background Quick Action | Very fast | Good on simple subjects | Clean product shots with obvious separation |
| Magic Wand | Fast | Good on hard edges and true white backgrounds | Boxes, bottles, books, packaged goods |
| Quick Selection | Medium | Better than Magic Wand on uneven selections | Mixed hard-edged products |
| Pen Tool | Slow | Excellent on defined shapes | Luxury goods, hero images, structured items |
| Channel Masking | Slow and variable | Excellent when tonal separation exists | Hair-like detail, sheer materials, translucent edges |
Where each precision method wins
Use Pen Tool when:
- the product has a distinct silhouette
- edge quality affects perceived value
- you need reusable paths for multiple exports
- you want consistency across a featured collection
Use channel masking when:
- the edge includes fine texture
- automatic tools create halos
- parts of the product are semi-transparent
- you need to preserve softness rather than force a hard line
For sellers who also need object cleanup before exporting the final cutout, this guide to removing objects in Photoshop is useful when clips, supports, lint, or table marks survive the main edit.
Refining Edges and Preserving Natural Shadows
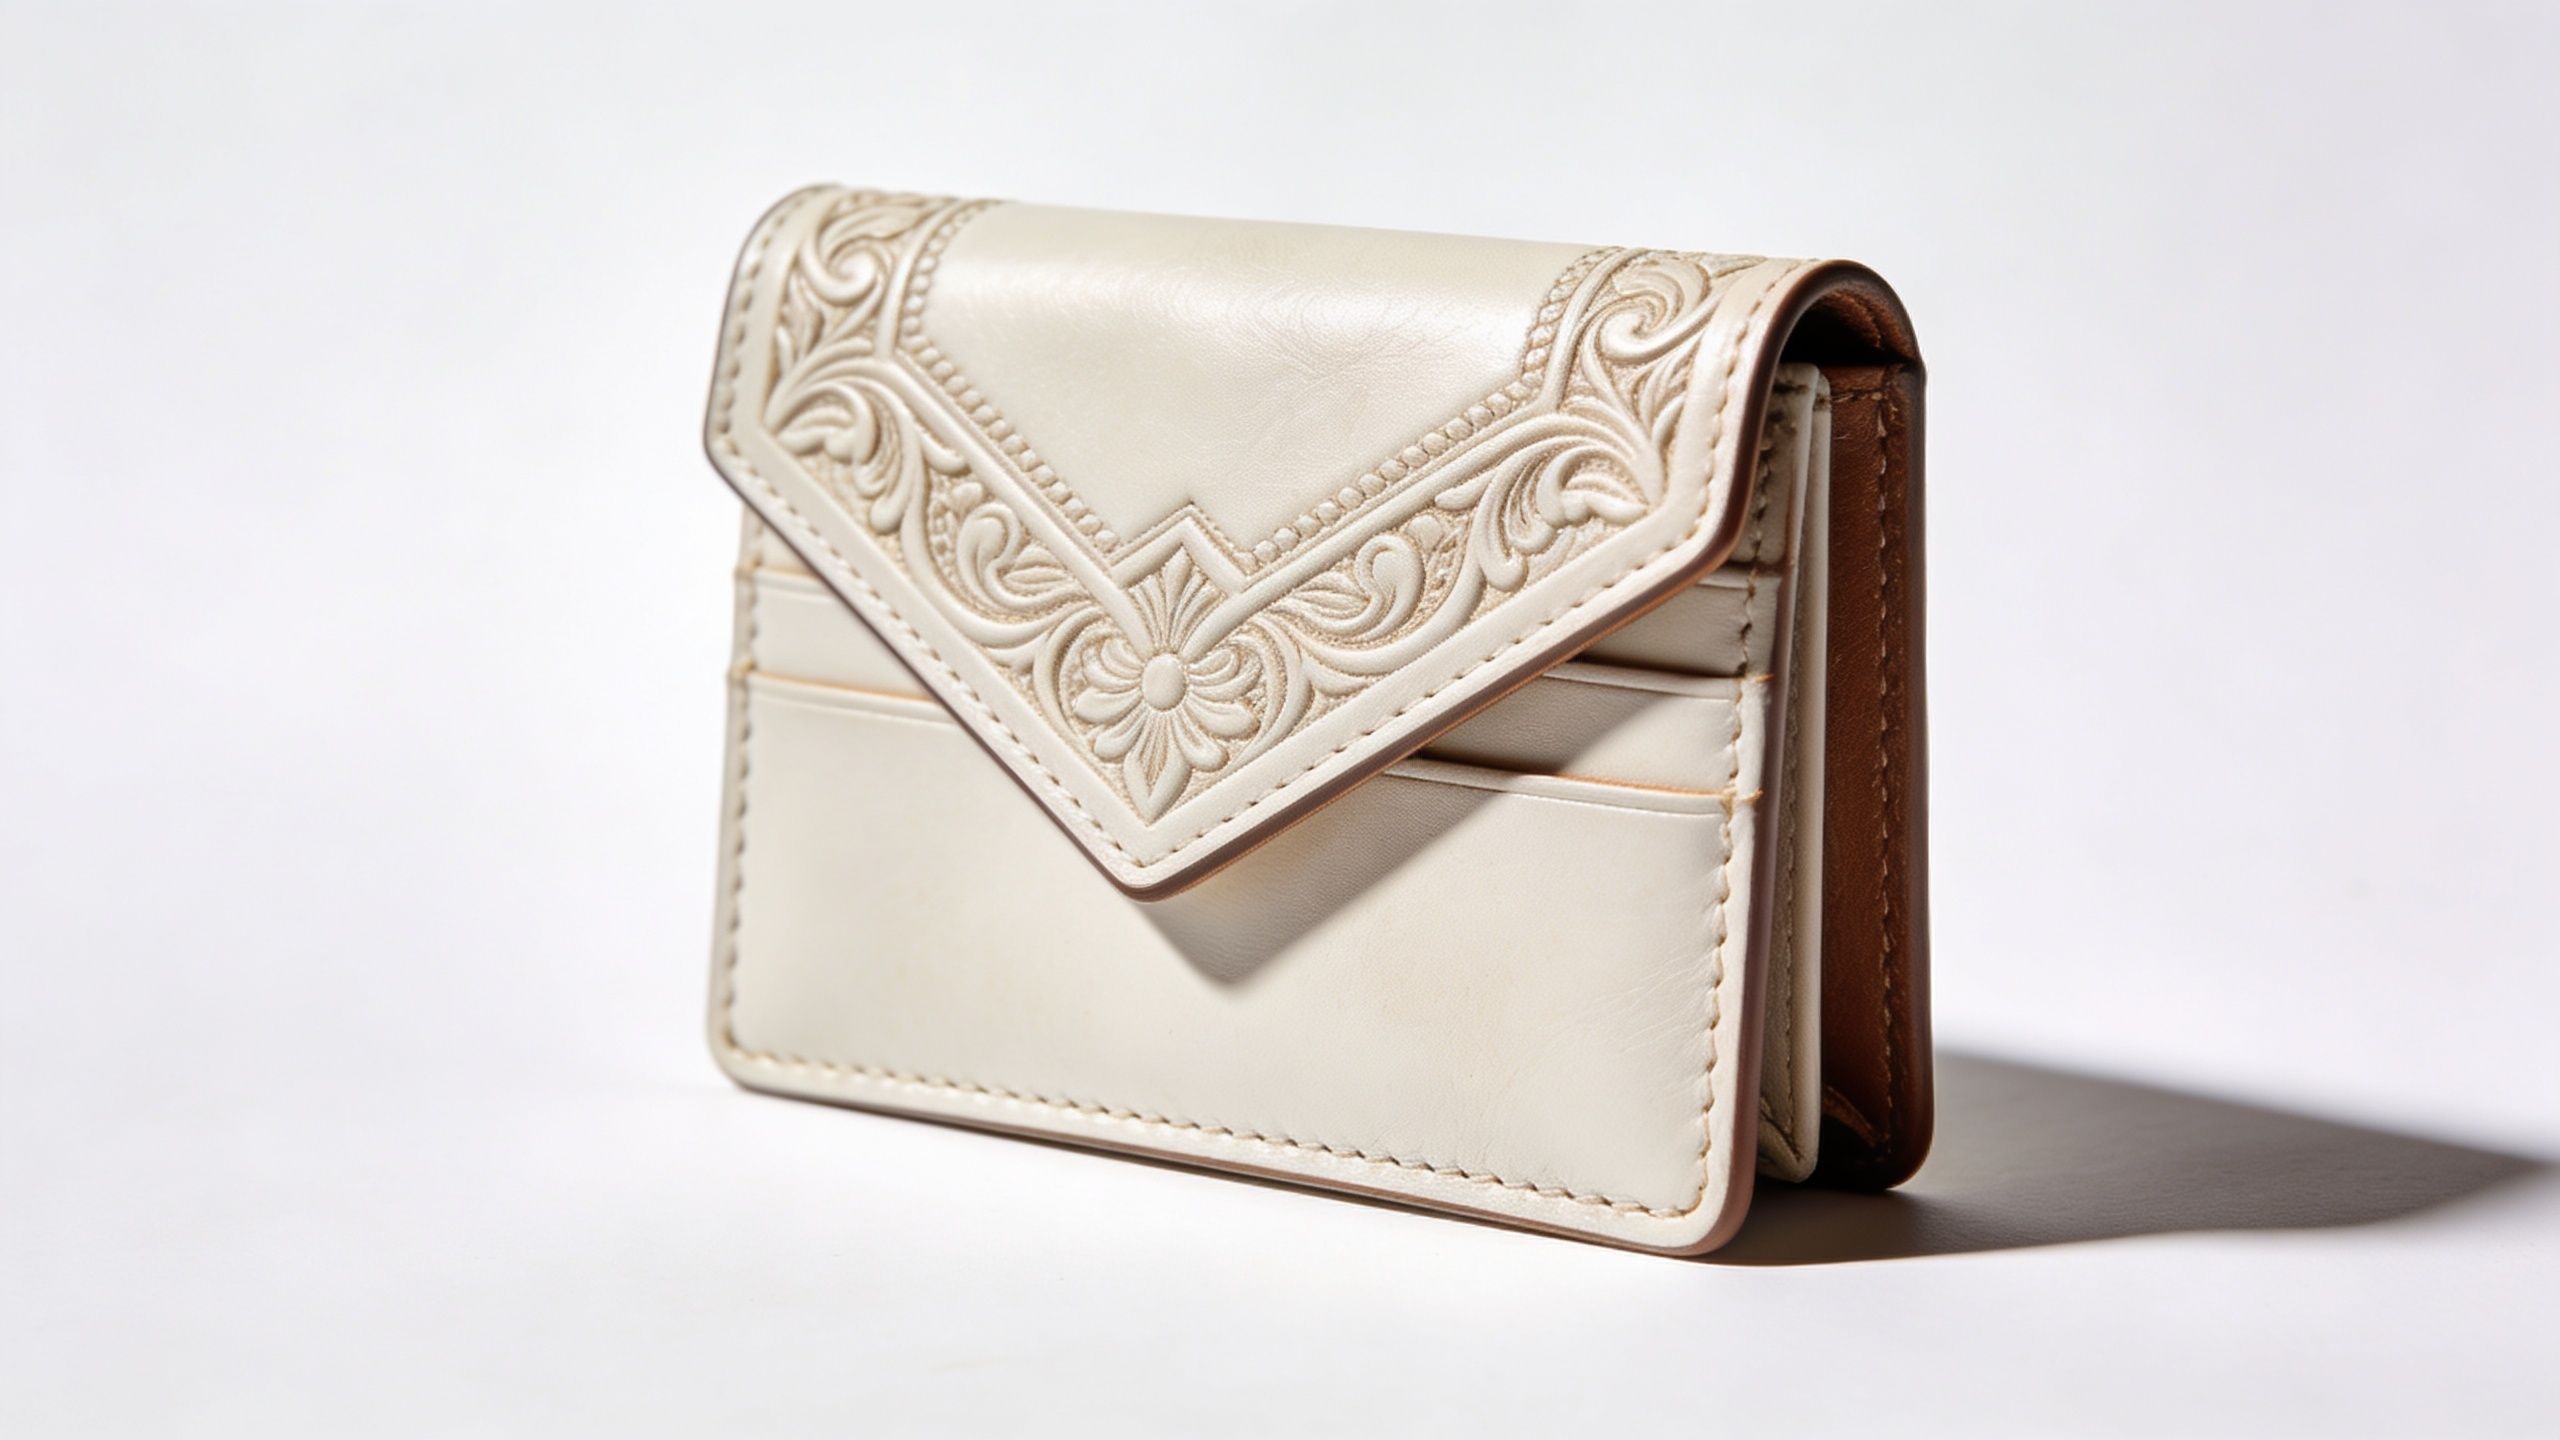
Most poor product cutouts fail after the selection, not during it. The background is gone, but the result looks clipped, frayed, or fake. That’s usually an edge problem, a colour contamination problem, or a shadow problem.
Such capabilities are why Photoshop earns its reputation. The Select and Mask workspace can rescue a decent selection and make it saleable.
Clean edges without making them look cut out
Think of edge refinement like tailoring. The first selection gets the garment roughly on the body. Select and Mask makes it fit.
The controls that matter most are usually these:
- Radius helps Photoshop detect transition edges, especially on fabric or soft contours.
- Smooth is useful in small amounts on jagged selections, but too much makes products look melted.
- Feather should stay restrained for e-commerce. Heavy feathering kills product definition.
- Contrast can tighten an overly soft mask.
- Shift Edge is helpful when the cutout includes a thin white rim from the original background.
If you’re editing apparel or textured accessories, use the Refine Edge Brush Tool selectively. Don’t paint around the whole object by habit. Target only the problem areas, such as fibres, seams, fuzzy trim, or soft corners.
Fix colour fringing before export
Doing this for a whole catalog?
MerchLoom runs background removal, upscaling and AI editing across every product photo you have — one prompt, whole batch. Try 2 batches free, no signup.
Try it freeWhite backgrounds often leave more than white pixels. They leave contamination. You’ll see it as a pale halo around darker products, especially if the original backdrop was bright and the item edge was slightly out of focus.
A few ways to deal with it:
- In Select and Mask, test Decontaminate Colours carefully.
- Output to a new masked layer so you don’t destroy the original.
- For stubborn halos, paint directly on the mask and then correct edge colour with a low-opacity brush on a separate layer.
- Check against both white and a dark temporary fill layer. Bad masks often hide on white and reveal themselves immediately on charcoal or black.
Buyers may not notice why an image feels cheap, but they notice when it feels off.
This edge discipline matters beyond static product photos too. If you also work with moving assets or need transparency in animated files, this article on transparent GIF background removal is a handy companion because the same edge and halo problems show up there in a different format.
Keep or rebuild the shadow
A common mistake is removing every trace of shadow so the product floats in empty white space. That might satisfy the idea of a “clean” cutout, but it often hurts realism.
For many listings, the best result is a contact shadow. Not a dramatic studio shadow. Just enough grounding under the product so it feels placed rather than pasted.
A workable approach:
- Keep the original shadow if it’s soft, centred, and clean.
- If the original shadow is messy, mask the product separately and rebuild a subtle shadow on a layer beneath.
- Use a soft brush, low opacity, and transform it to match the object’s base.
- Blur it lightly and keep it close to the product.
If the original image has harsh or inconsistent shadows that need removal before rebuilding, this remove shadow from photo guide is useful for separating the cleanup step from the final polished look.
Building a Scalable Workflow Beyond Single Images
Photoshop can help you process a batch. It doesn’t naturally think like an operations system.
That distinction matters when your catalogue grows. Editing faster is useful. Removing yourself from repetitive editing is better.
What Photoshop Actions can and can't do
The first scaling step inside Photoshop is usually Actions. You record a sequence, then apply it to a folder through Batch processing. For repetitive exports, that’s helpful.

Actions work well when:
- every image is framed similarly
- the products occupy roughly the same area
- lighting and background are consistent
- your crop and export settings don’t change
They start failing when the batch contains normal real-world variation. One product is taller. Another is pale on pale. A third has a transparent handle. One image needs extra top margin for Etsy, another needs tighter centring for a Shopify collection tile.
Why batch work breaks in practice
Photoshop Actions are brittle because they replay steps blindly. They don’t understand the image. They just repeat the clicks.
That creates a few recurring problems:
Selection inconsistency
A recorded background removal step might behave well on six files and badly on the seventh because the product edge differs slightly.Cropping errors
Fixed crop logic can cut off tall products or leave too much empty space around small ones.No conditional decisions
Actions can’t sensibly decide, “This image needs more edge cleanup, this one doesn’t.”Manual QC still piles up
You save time on keystrokes, but someone still has to inspect the failures.
This is why growing sellers eventually outgrow the idea of “better Photoshop habits” as the answer. At volume, the goal shifts from manual efficiency to reliable automation.
What a scalable workflow actually looks like
A scalable catalogue workflow usually chains tasks in a consistent order:
- Remove the background.
- Reframe the subject for the target marketplace.
- Resize to the required output dimensions.
- Apply colour correction if needed.
- Export variants for each channel.
That order matters. So does the ability to handle a whole collection instead of one image at a time. In practice, teams need systems that can process batches, preserve consistency across listings, and let them review outputs without rebuilding the workflow from scratch every time.
For sellers still using Photoshop to resize after the main edit, this how to scale image in Photoshop guide is a useful bridge. It’s a good reminder that resizing is easy on one file and surprisingly tedious across a full product set.
The bottleneck usually isn't the background removal itself. It's all the small decisions that come after it, repeated hundreds of times.
Exporting Listing-Ready Images for Marketplaces
A cutout isn’t finished when it looks good in Photoshop. It’s finished when the marketplace accepts it, the listing looks consistent, and the image still feels sharp on the storefront.
That final export step is where a lot of otherwise good work gets undermined. Wrong file type, poor margins, overly aggressive compression, or a near-white background that fails marketplace expectations.
Choose the master file first
For clean workflow hygiene, keep one master PSD with the mask intact. Don’t flatten your working file too early.
From there, export platform-specific versions:
- PNG when you need transparency or want to preserve a cutout for future reuse.
- JPG when the image already sits on a solid white background and file weight matters more than transparency.
- PSD as your editable source of truth.
If you’re replacing the background with pure white for a marketplace main image, do that deliberately. Don’t assume the original near-white studio sweep is close enough.
Marketplace requirements change the crop, not just the file
Each platform pushes you toward slightly different image behaviour.
Amazon usually expects a clean white main image. Shopify often benefits from consistent framing across collection grids. Etsy sellers often care about square crops and enough resolution to avoid soft thumbnails and zoom issues. The same product can need different padding and centring depending on where it will appear.
A simple export checklist helps:
- Check the background value so white looks intentional, not dull or grey.
- Inspect edge halos at export size, not only in the PSD.
- Keep margins consistent across products in the same category.
- Test one file live before exporting an entire collection.
- Name files systematically so variants don’t get mixed up.
Preserve quality without overbuilding the file
Sellers often overcorrect in two directions. They either export huge files for every channel, or compress too hard and end up with crunchy edges and muddy labels.
The better approach is to keep a clean master and create purposeful derivatives. One for the marketplace main image. One for your storefront. One transparent asset for future design use if needed. If you edit in batches, consistency matters more than squeezing perfection from each individual export.
This is also where automated pipelines have a practical advantage. Instead of manually creating every variation, you can generate listing-ready outputs for each destination from one approved master workflow. That’s less glamorous than learning a new Photoshop trick, but it saves more time in the long run.
Frequently Asked Questions
What's the best Photoshop tool for removing a white background from clothing?
For simple flat-lay clothing on a clean white backdrop, start with Select Subject and finish in Select and Mask. For low-contrast apparel, quick tools often struggle, so expect manual edge refinement around sleeves, hems, and textured fabric.
Is Magic Wand still worth using?
Yes, for hard-edged products with strong contrast against the background. It’s fast and often good enough for simple catalogue work. It becomes unreliable on pale products, soft materials, and anything with fuzzy or semi-transparent edges.
Should I delete the background or use a mask?
Use a layer mask. It keeps the edit reversible, makes edge cleanup easier, and lets you revisit a file later without starting from zero.
How do I handle hair, fur, or fluffy fabric?
Use Select and Mask with the Refine Edge Brush only on the tricky zones. Don’t force the entire object through one global setting. For very fine detail, channel-based masking may preserve realism better than a hard-edged selection.
What about glass, clear plastic, or semi-transparent packaging?
These are difficult because the background shows through the object by design. Fast cutout tools often make them look fake. Work with masks, reduced opacity where needed, and preserve subtle transparency instead of trying to create a fully opaque outline.
Can Photoshop Express or mobile apps do this well enough?
For one casual image, sometimes yes. For product listings, especially across a catalogue, mobile apps usually lack the control you need for edge refinement, realistic shadows, and consistent exports. They’re fine for quick social content. They’re rarely the best choice for your core listing images.
Why do my products look like they're floating after background removal?
You probably removed too much shadow. Keep a soft contact shadow or rebuild one lightly under the product so it feels anchored.
If you’re at the point where Photoshop still works for one image but collapses under a full catalogue, try MerchLoom. It’s built for sellers who need to process batches, not babysit single files. You can run chained image workflows for collections, create marketplace-ready outputs in one pass, and keep the time cost of background removal from swallowing the rest of your listing operations.
Stop editing product photos one at a time
Upload your catalog or connect your store. Describe the result once. MerchLoom does the rest.
Try it free — no signup