
Content-Aware Fill Photoshop: Batch Editing 2026
Master batch e-commerce photo editing with our Content-Aware Fill Photoshop guide for 2026. Remove objects & clean backgrounds at scale efficiently.
You finish a product shoot, dump the files into a folder, and realise the hard part hasn’t started yet.
The garments look good. The lighting is clean. Then you zoom in. There’s dust on the sweep, a hanger edge peeking behind a collar, a stand reflected in chrome, a support wire under jewellery, and one annoying crease that draws the eye in every second frame. None of these problems is big on its own. Across a launch set, they turn into hours.
That’s why content-aware fill photoshop became such a staple for product teams. When Adobe introduced Content-Aware Fill in 2010, it changed cleanup work by reducing manual cloning time by an estimated 70 to 80% for common tasks, according to Adobe’s documentation on Content-Aware Fill. For single-image fixes, that shift was massive.
For sellers, though, the essential question isn’t whether the tool works. It does. The key question is whether it still works when you’ve got hundreds of images to prep for Shopify, Amazon white background requirements, and Etsy listing sizes in one push.
That’s where most tutorials fall apart. They show one clean before-and-after. They don’t show what happens when the same pin, tag, shadow, or background scuff appears across a full collection and every file needs to look consistent. They also don’t deal with the handoff work that usually follows cleanup, like resizing and sharpening for marketplace delivery. If that part is your bottleneck, a solid HD photo converter workflow for listings matters just as much as the retouch itself.
Your Product Photos Are Almost Perfect
A typical e-commerce set doesn’t fail because of bad photography. It fails because of small distractions.
One bottle has a tiny reflection line from the light tent. One shirt has a visible tag loop. One handbag frame picked up a speck on the white background. None of that means a reshoot. It means cleanup, and usually fast.
The fixes sellers deal with every day
These are the jobs where Content-Aware Fill earns its place:
- Background scuffs: White sweeps rarely stay perfect across a full day.
- Support hardware: Jewellery stands, clips, fishing line, and stabilisers often need removal.
- Reflections and edge distractions: Chrome, glass, and glossy packaging show everything.
- Minor product-adjacent clutter: Dust, lint, stray fibres, and tabletop marks are constant.
On one hero image, this is manageable. On a full catalogue, it becomes repetitive precision work.
Practical rule: If the product itself is good and the problem sits in the surrounding pixels, Content-Aware Fill is often the fastest first pass.
The reason sellers stick with it is simple. It can erase the small stuff without rebuilding the image by hand. For white backgrounds, simple shadows, and plain surfaces, it’s still one of the quickest tools in Photoshop.
Where the pressure shows up
The pressure isn’t just visual. It’s operational.
You’re not editing for a portfolio. You’re trying to get a collection live. That means every image needs to be consistent across channels, cropped properly, and clean enough that the product stands out instead of the retouch.
That’s why content-aware fill photoshop sits in a strange spot for e-commerce teams. It’s brilliant for surgical fixes. It’s much less brilliant when the same “small” task repeats hundreds of times.
The Foundational Content-Aware Fill Workflow
If you can’t get a clean result on one image, scale won’t save you. Start with a single hero shot and build a repeatable habit.
Start with selection discipline
Most failures happen before the fill runs.
Benchmarks from clipping services report that poor selections cause 70% of Content-Aware Fill failures, and with proper selection experts report an 85% first-try success rate on simple backgrounds, dropping to 55% on complex textures according to Clipping Expert Asia’s workflow guide.
That lines up with day-to-day retouching. If you rush the selection around a tag, wire, or dust patch, Photoshop gets bad instructions and returns a bad patch.
The workflow that holds up
Use this order every time:
Duplicate the layer first. Work non-destructively from the start. If a buyer, stylist, or client asks to reverse a change, you won’t be rebuilding from scratch.
Zoom in before selecting. For product work, edge quality matters. Tight collars, chain links, bottle rims, and seams expose sloppy work fast.
Use Lasso or Quick Selection carefully. Don’t hug the object too tightly if surrounding texture needs room to blend. But don’t take in extra product detail either.
Open the Content-Aware Fill workspace. Use the workspace, not a blind one-click fill. The preview alone saves time.
Check the sampling area before applying. Photoshop often samples more than you want. On product images, that can mean pulling texture from the product into the background.
Output to a new layer. That gives you a clean place to mask, heal, or clone after the fill.
What works best on a hero image
Content-Aware Fill is strongest when the removed area is surrounded by predictable information.
A dust spot on smooth paper is easy. A support rod against a smooth backdrop is usually easy too. A pin crossing a knit fabric is where things get shaky.
Use it confidently for:
- Simple backgrounds
- Minor edge cleanup away from core product detail
- Removing small props or supports
- Cleaning empty negative space around products
Be cautious when:
- The selection crosses strong product edges
- The texture is patterned or woven
- The object sits near shadows or reflections
- The product fills most of the frame
A quick demo can help if you want to compare your setup against a standard workspace flow.
The habit that saves the most time
Don’t treat Content-Aware Fill as a magic button. Treat it as a guided tool.
When it fails, it usually isn’t random. The selection was loose, the sampling area was wrong, or the image didn’t give Photoshop enough clean source pixels. Sellers who accept that early get much faster because they stop repeating the same bad fill three times.
Mastering the Workspace for Flawless Fills
The workspace is where amateur cleanup turns into controlled retouching.
Choose the right sampling mode
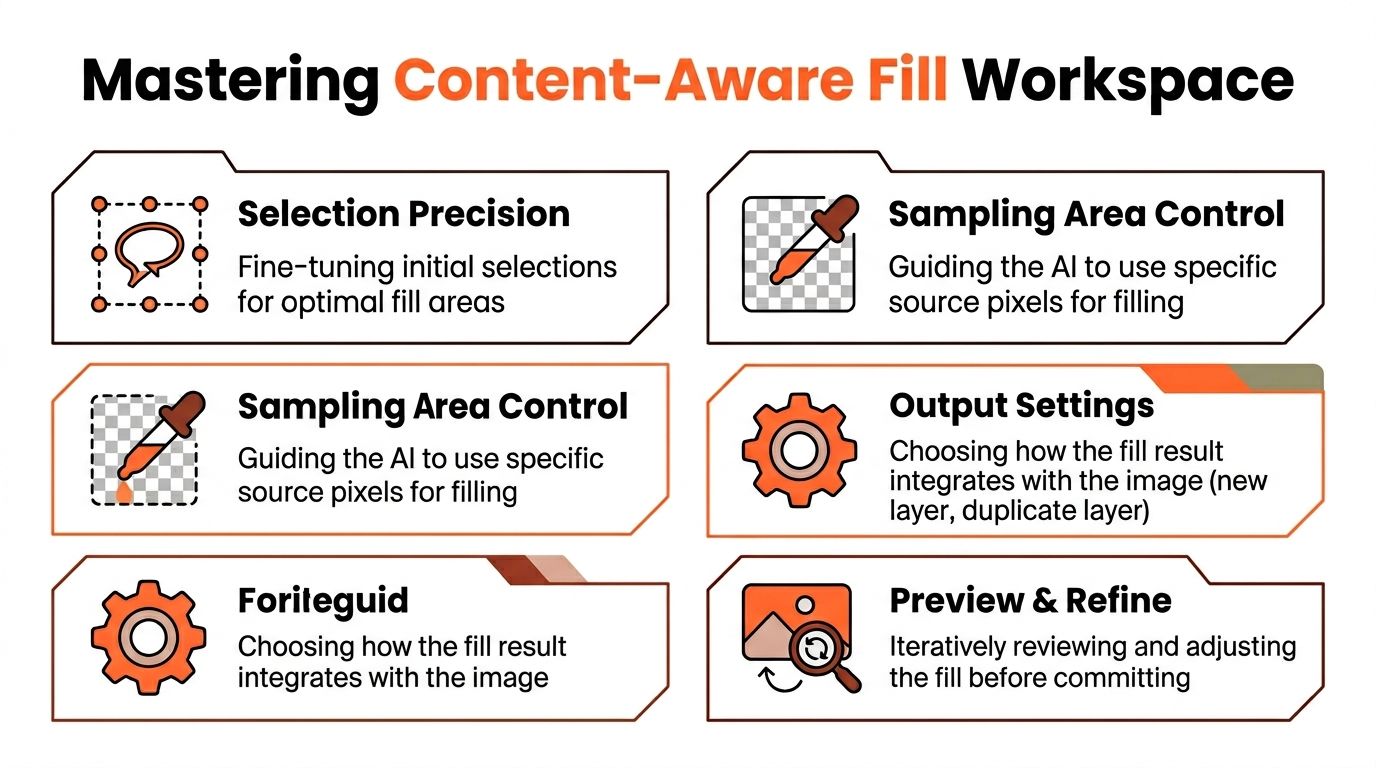
The first decision is the sampling area. That choice tells Photoshop where to pull replacement pixels from.
| Setting | Best use on product photos | Main risk |
|---|---|---|
| Auto | Clean backgrounds and obvious surrounding context | Samples too broadly |
| Rectangular | Controlled areas with simple surroundings | Misses better nearby texture |
| Custom | Product shots with edges, shadows, fabric, or reflections | Takes longer but gives you control |
For catalogue work, Custom is often the safest option. It lets you exclude product edges, labels, straps, and shadow lines that shouldn’t bleed into the repaired area.
If Photoshop is inventing the wrong texture, the first thing to change isn’t the output. It’s the sampling area.
Use the brush like a traffic controller
The Sampling Brush decides what the fill engine can and can’t use.
That matters most when the unwanted object sits close to the product. Remove a jewellery support without excluding the chain and you’ll often get warped metal fragments in the patch. Remove lint near knitwear without excluding the seam and you’ll get a fake seam repeated into the fabric.
The best approach is simple:
- Add clean background zones that match the target area.
- Exclude product pixels aggressively when working near edges.
- Prioritise texture consistency over proximity. Nearby isn’t always better.
- Watch for repetition in patterned surfaces before committing.
Adaptation settings that matter
Adobe’s panel gives you several controls, but two do most of the heavy lifting in product work.
According to Adobe’s guide to adjusting Content-Aware Fill settings, Colour Adaptation at Default successfully handles 75% of gradient fills, while Very High boosts match rates to 95% in high-contrast scenarios like apparel shadows. That’s useful when you’re repairing a white background that shifts slightly from top to bottom, or when a product shadow runs close to the fix.
Rotation Adaptation matters more than many sellers expect. On curved prints, folded textiles, and angled repeated detail, it can stop the patch from looking mechanically copied.
Output settings that protect your workflow
Always output to New Layer if the image matters.
That gives you room to:
- mask off a bad corner of the fill
- clone from adjacent texture without flattening
- compare versions quickly
- preserve the original for revision requests
For teams moving images through multiple listing formats, non-destructive edits matter because cleanup often happens before resizing and platform-specific exports. If your output layer is organised well, it’s much easier to maintain consistent image quality later. That’s the same logic behind keeping image resolution decisions aligned with AI processing order instead of fixing files in a random sequence.
A practical default setup
For many product images, this is a reliable starting point:
- Sampling Area: Custom
- Colour Adaptation: Default first, then Very High if gradients or shadows break
- Rotation Adaptation: Increase only when the texture looks misaligned
- Output: New Layer
That won’t solve every image. It will stop a lot of avoidable mistakes.
Troubleshooting Common Artifacts on Product Photos
Bad fills aren’t unusual. They’re normal.
Standard tutorials often imply that if Content-Aware Fill is “used correctly”, the result should be clean on the first pass. Product photographers know better. Fabrics, reflections, label edges, embossed packaging, and textured surfaces regularly break the first result.
For complex textures like apparel fabrics, users report “horrendous” blends and a 40% failure rate on structured patterns, while an iterative fix with layer masks and Clone Stamp can push results past 90% success, according to Adobe’s Content-Aware Fill help for Photoshop Elements.
The three artifacts that show up most
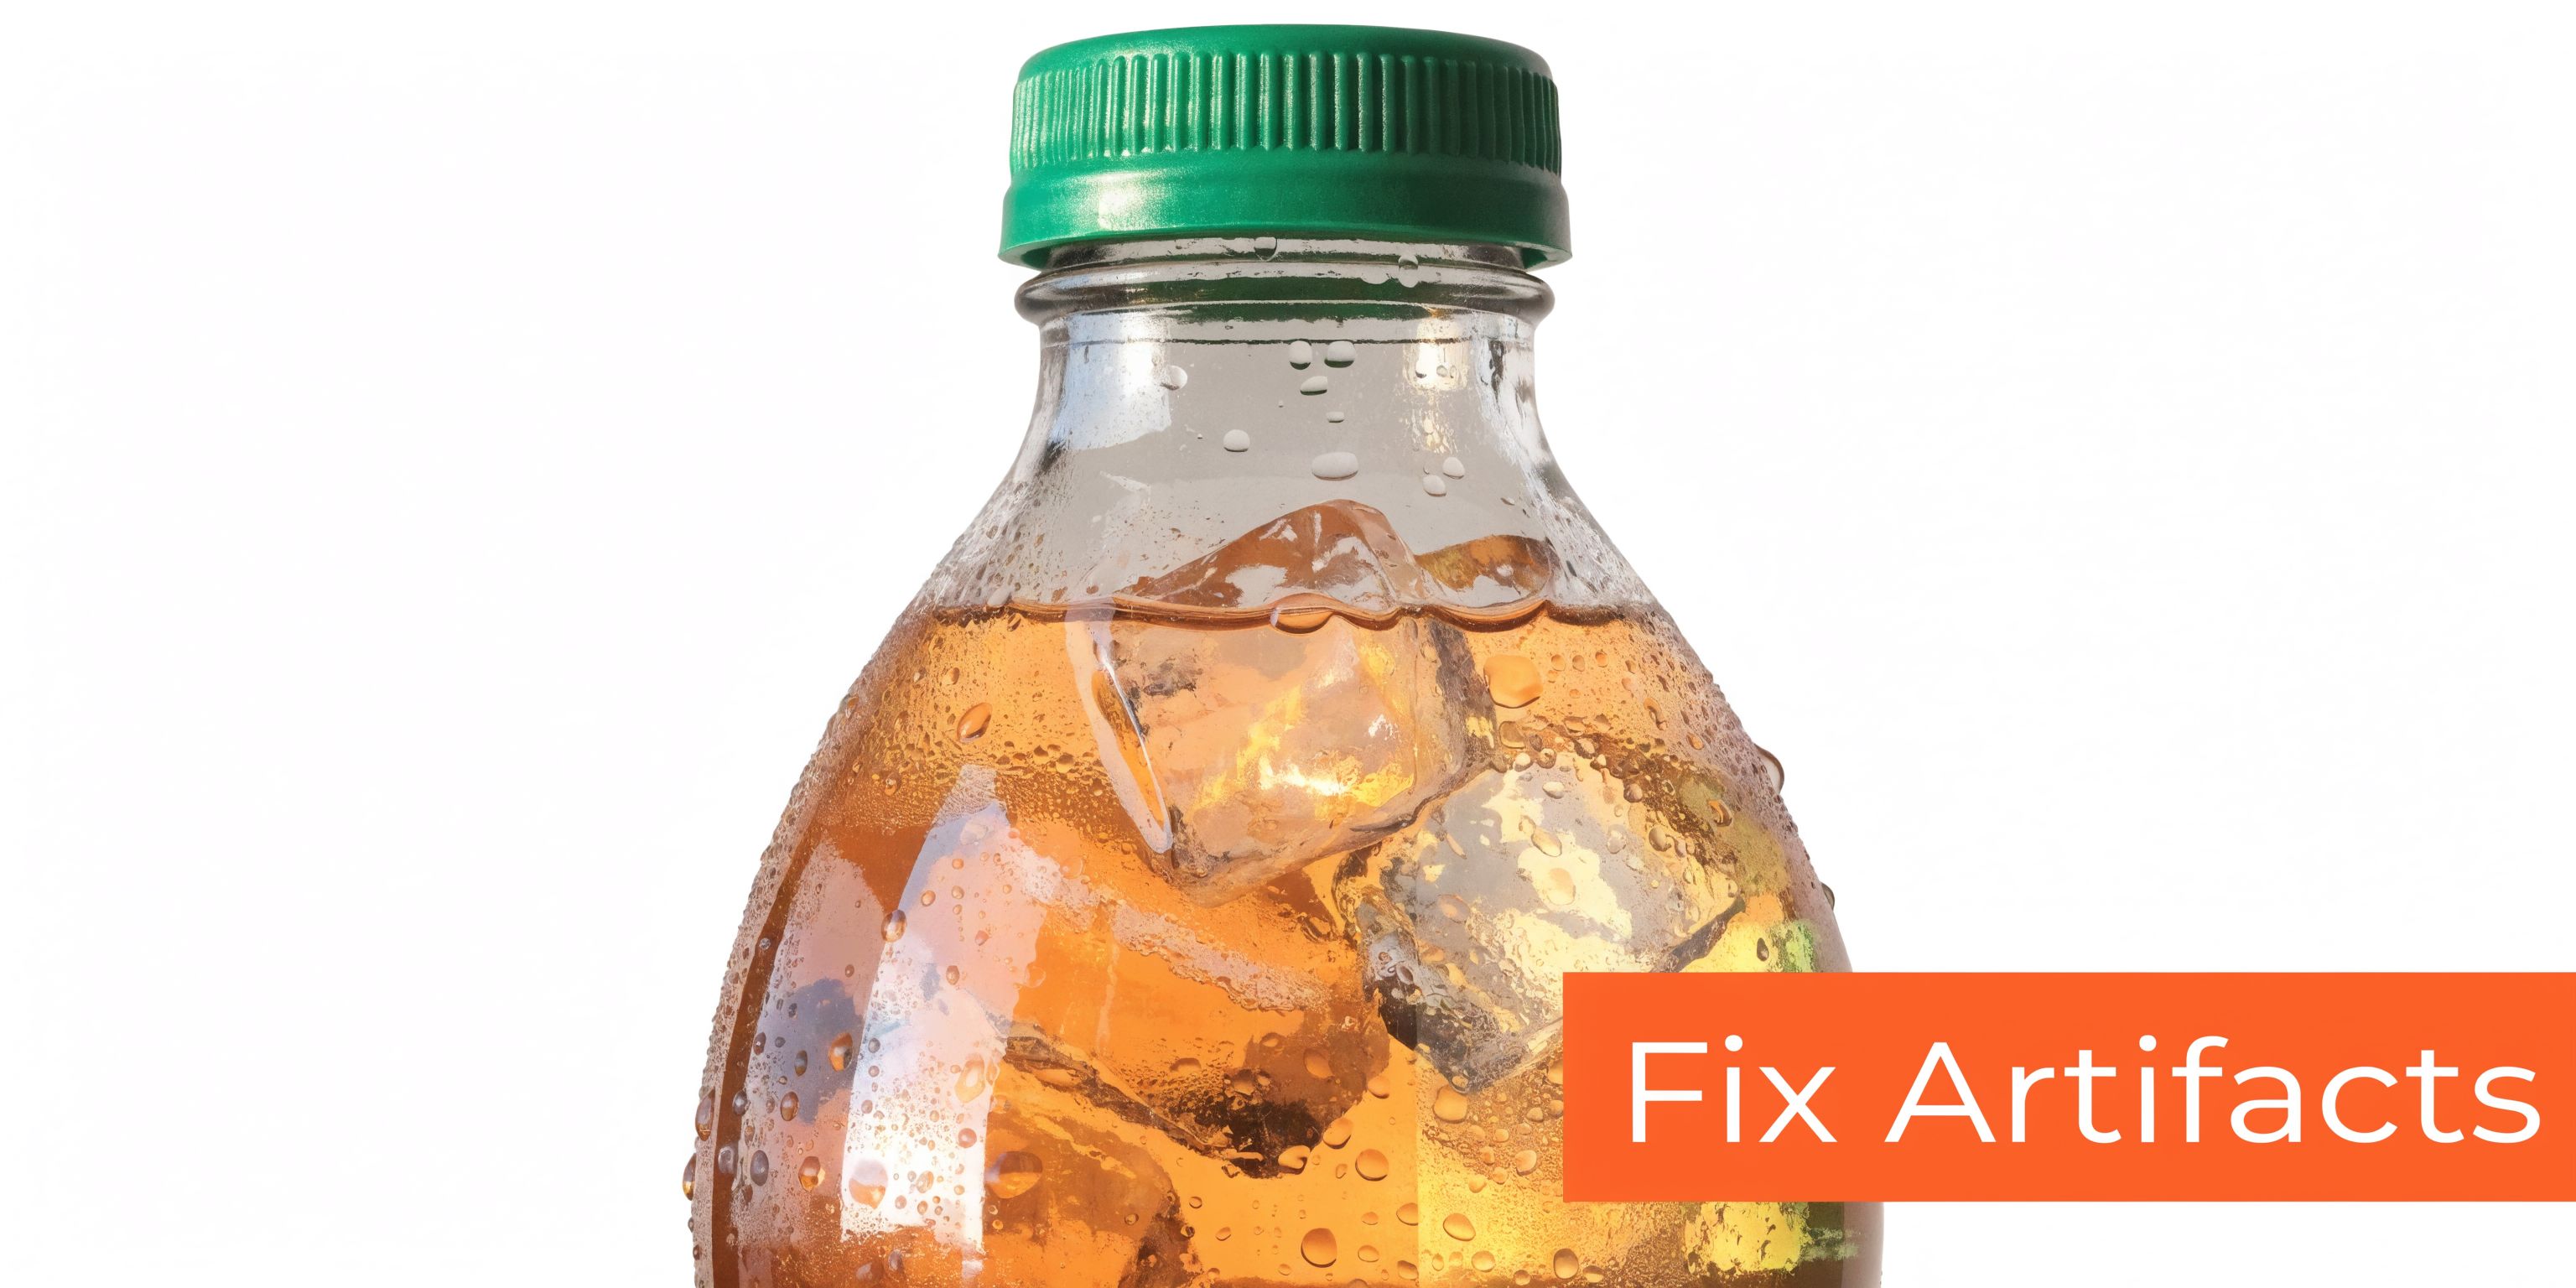
Blurry patches
This usually happens when the fill borrowed tone correctly but failed on detail.
Doing this for a whole catalog?
MerchLoom runs background removal, upscaling and AI editing across every product photo you have — one prompt, whole batch. Try 2 batches free, no signup.
Try it freeYou’ll see it on knits, wood grain, ribbed packaging, or sharp fabric weave. The patch looks soft even if the surrounding product is crisp.
Fix it like this:
- keep the fill on its own layer
- add a layer mask
- hide the weakest section
- rebuild detail with Clone Stamp from nearby clean texture
- use Spot Healing only for tiny defects, not texture reconstruction
Repeating patterns
This is the giveaway result. The area looks “Photoshopped” because Photoshop copied a motif too neatly.
This often happens on tiled surfaces, repeated fabric prints, and tightly spaced textures. The fix is usually not another blind fill. It’s a better sampling zone plus manual breakup afterward.
Field note: If you can spot the repeating patch at thumbnail size, customers will spot it on zoom.
Dirty transitions at edges
This is common when removing props near product boundaries. The filled area may look acceptable in the middle but dirty where it meets the object edge.
The fastest correction is often a small masked blend:
- keep the fill
- mask back the edge
- clone only the boundary zone
- recheck at listing crop size, not just full zoom
When to stop forcing the tool
Some surfaces don’t reward persistence.
If you’re repairing:
- fine herringbone
- tight knit patterns
- metallic reflections
- translucent materials
- detailed stitching near silhouette edges
then Content-Aware Fill is often best used as a rough base, not the final answer. Let it handle the bulk area, then finish with Clone Stamp and masking.
That’s also why shadow cleanup and object cleanup often need separate treatment. If your product shot has a support tool plus an awkward shadow, it’s usually better to fix them in stages rather than ask one fill to solve both. A dedicated shadow removal workflow for product photos is often cleaner than trying to hide everything in one pass.
A better standard for success
A “good” fill isn’t one that looks fine at 300% zoom. It’s one that survives:
- listing thumbnails
- mobile product pages
- square marketplace crops
- side-by-side catalogue consistency checks
That standard changes how you retouch. You stop chasing perfection in invisible areas and focus on visible seams, repeated texture, and product truth.
The Unscalable Reality of Manual Fills in E-commerce
Content-Aware Fill is strong at the image level. It’s weak at the catalogue level.
That’s the gap most Photoshop advice ignores. A seller doesn’t just have one bottle with a reflection issue. They have forty-two bottles, all shot from similar angles, all needing the same kind of cleanup, all due before the listing window closes.
Why the workflow stops scaling
Photoshop doesn’t really give you a native batch Content-Aware Fill workflow for variable product images.
That’s a problem because the tool depends on image-specific judgement:
- each selection is different
- the sampling area changes by frame
- edge risk changes by product
- one fill might work on image 8 and fail on image 9 of the same set
Adobe users report Content-Aware Fill fails in about 40% of cases for repetitive batch tasks, and the lack of native batch scripting forces manual work that becomes inefficient for sellers processing hundreds of product photos, according to an Adobe community discussion on repetitive Content-Aware Fill failures.
That number feels believable if you’ve ever tried to clean a repeated nuisance across a whole catalogue. The issue isn’t just failure. It’s interruption. Every miss forces a stop, a zoom, a new selection, a resample, and often a cleanup pass.
Manual mastery still leaves a production problem
Even if you’re very good at Content-Aware Fill, the labour model stays manual.
A retoucher can get quick on a single image. What they can’t do is turn a selection-dependent workflow into a dependable assembly line without adding more hands, more hours, or lower standards.
That creates a hard choice for sellers:
| Option | Strength | Cost |
|---|---|---|
| Manual Photoshop cleanup | High control | Slow and repetitive |
| Outsource retouching | Offloads labour | Adds coordination and review overhead |
| Change the workflow | Better suited to volume | Requires different tools and habits |
The primary issue is sequence
High-volume sellers don’t just need cleanup. They need cleanup plus delivery formatting.
That means the job is often:
- remove distractions
- clean background
- reframe for square and vertical crops
- prep white-background versions where needed
- export listing-ready files consistently
Photoshop can do all of that. It just asks you to touch too many files one by one. That’s why many teams separate “craft edits” from “pipeline edits”. If a product image needs hand retouching, keep it in Photoshop. If a whole collection needs repeated background and framing work, treat that like pipeline work instead.
For marketplace-heavy teams, getting images onto white backgrounds at scale usually has a bigger operational impact than squeezing one more manual fix out of a stubborn fill.
Catalogue work rewards consistency more than hero-level improvisation.
When Content-Aware Fill still makes sense
Use it when the image is valuable enough to justify attention:
- hero images
- campaign assets
- premium PDP shots
- close-up detail frames
- difficult removals that affect perceived product quality
Don’t build your full launch workflow around it if most of your edits are repetitive, low-variation tasks across hundreds of SKUs. That’s where a manual tool becomes a bottleneck.
Frequently Asked Questions for High-Volume Sellers
Can I automate Content-Aware Fill for a full product line?
Not reliably in the way most sellers want.
You can automate adjacent parts of Photoshop, but Content-Aware Fill depends too heavily on custom selections and image-specific sampling decisions. If the object moves, the crop shifts, or the background varies, the automation becomes fragile fast.
Is Content-Aware Fill better than Generative Fill for product photos?
It depends on the job.
For controlled cleanup, many sellers still prefer Content-Aware Fill because it stays closer to the original image structure. For catalogues, that matters. You want the product to stay truthful. Generative tools can be useful, but they can also introduce visual interpretation where you only wanted repair.
If the goal is removing a dust mark, stand, or small background flaw, Content-Aware Fill is often the safer starting point.
What should I do when the unwanted object touches the product edge?
Break the job into pieces.
Don’t try to remove the whole object in one aggressive selection. Fix the easy background area first. Then handle the edge zone with a more careful fill, masking, or Clone Stamp. Product edges are where fake retouching becomes obvious.
What’s the fastest way to recover from a bad fill?
Keep the output on a new layer and treat the first fill as a draft.
Then:
- mask out the worst section
- rerun the fill only on the failed zone
- clone from nearby clean texture
- inspect at normal listing view, not just extreme zoom
That approach is usually faster than starting over.
When should I stop using Photoshop for this and switch workflows?
Switch when the issue is no longer retouch quality. Switch when it’s throughput.
If you’re spending more time opening, selecting, and repeating than improving the images, you’ve crossed from editing into production drag. At that point, it helps to separate one-off retouch craft from batch operations like resizing, reframing, background cleanup, and variant prep. The same logic applies to colour changes across many SKUs, where a recolour an image workflow built for scale makes more sense than touching files one by one.
What’s the best use of Photoshop in a high-volume setup?
Use Photoshop where judgement matters most.
That usually means:
- difficult hero images
- texture-sensitive cleanup
- reflective products
- close crops where buyers inspect detail
Use batch tooling for the repetitive production layer around that work.
If your team is buried under repetitive product-image tasks, MerchLoom is worth a look. It’s built for catalogue-scale image processing, so you can upload full collections, chain steps like background removal, reframing, colour correction, and upscaling, and review results while the batch is still running. That’s a better fit when the core problem isn’t how to fix one image in Photoshop, but how to get hundreds of images listing-ready without losing a week to manual production.
Stop editing product photos one at a time
Upload your catalog or connect your store. Describe the result once. MerchLoom does the rest.
Try it free — no signup