
How to Recolor an Image for E-Commerce in 2026
Learn how to recolor an image to create perfect product catalogs. This guide covers batch workflows, color accuracy, and avoiding common e-commerce mistakes.
When it comes to e-commerce, you've got two main routes for recoloring an image: the old-school manual way in a photo editor, or using an automated tool to spin up multiple product variations from a single photo. For online sellers, the real challenge isn't just recolouring one picture; it's doing it consistently and efficiently across hundreds of images.
Why Recolouring One Image at a Time Is a Losing Strategy
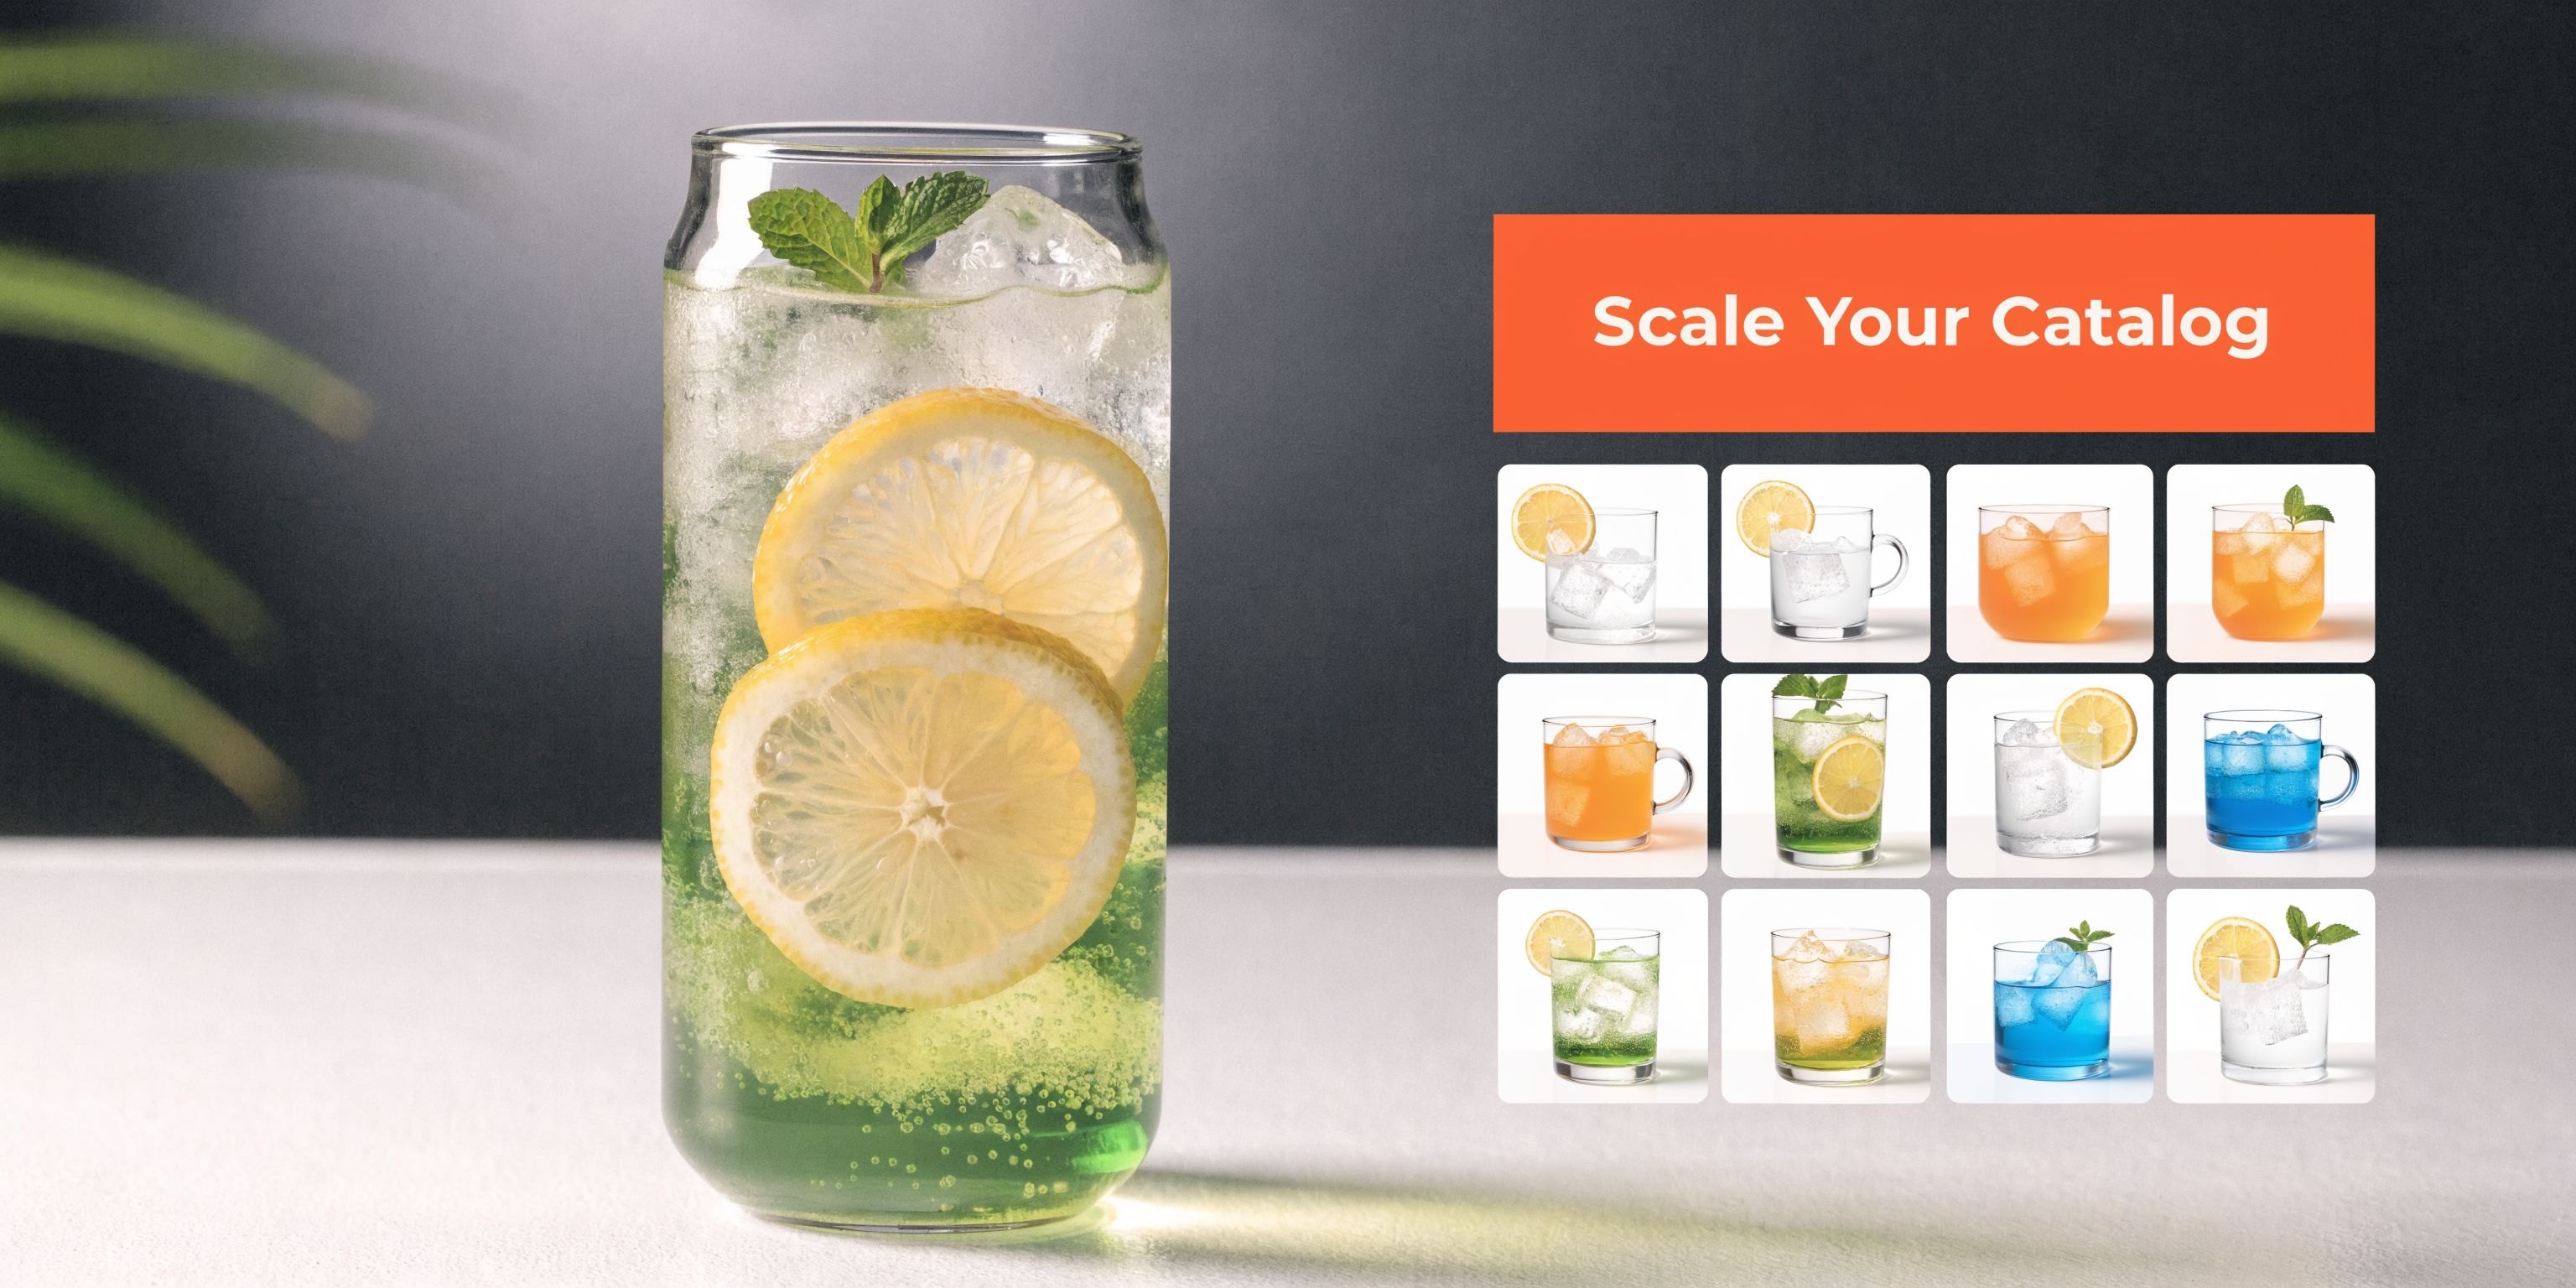
If you're selling products online, you live and die by batches. You've got that new t-shirt in twelve different colours, a ceramic mug with eight unique glazes, or a piece of furniture available in five wood finishes. The thought of staging a dozen separate photoshoots is not just exhausting—it's a massive drain on your budget and your sanity. This is where a smart recolouring workflow becomes a survival skill.
But the real hang-up for sellers isn't mastering the how of a single edit. The true goal is to build a cohesive, professional-looking catalogue from one master photo. This is about creating a scalable system, not just performing one-off tweaks.
The Reality of Catalogue-Scale Workflows
For any busy seller, image processing is a constant battle against tedious, repetitive work. It’s never just about changing a product’s colour. You're also juggling a dozen other things:
- Marketplace Compliance: Amazon demands that pure white background. Shopify might work best with square images. Etsy recommends a minimum width of 2000px. Every single platform has its own rulebook, and your images have to play by all of them.
- Brand Consistency: Every photo, no matter the colour, has to share the same lighting, shadows, and angle. Even slight inconsistencies can make a brand feel amateurish and chip away at customer trust.
- Accurate Swatches: When a shopper clicks a colour swatch, they expect to see a photorealistic preview of that specific variant. A slapdash edit that looks fake just won't cut it.
Tackling each of these demands manually is a serious bottleneck. Sure, changing the colour of one shirt in Photoshop might only take ten minutes. But multiply that by twelve colours and five different photos per product, and you’ve suddenly burned an entire day on a single listing.
As a seller, your time is your most valuable currency. A workflow built on manually recolouring images one by one is a direct roadblock to growth. It keeps you from listing new products quickly and reacting to what's happening in the market.
This is precisely why focusing on single-image edits is a flawed approach. The only sustainable path forward is to think in terms of automated pipelines. A system like MerchLoom, which processes entire image collections through chained AI commands, was built for this exact scenario. It lets you go from one base photo to a full, marketplace-ready set of images for all your colourways in minutes, not days.
When it comes to recolouring product photos, you’re basically looking at two paths: the old-school manual route or the newer, automated one. For anyone managing an e-commerce catalogue, which path you take will have a huge impact on your time, budget, and sanity.
Let's talk about the way we've been doing it for years: manual editing. You pop an image into a program like Adobe Photoshop, carefully create some adjustment layers, and meticulously mask out your product. From there, it's a game of nudging the hue and saturation sliders until the colour looks right.
For a single, high-stakes hero image, this hands-on approach gives you total control, right down to the last pixel. But for e-commerce, it’s a different story. That level of control is a huge time sink. Trying to get that exact shade of burgundy red on 50 different t-shirts, all with slightly different lighting? It's a recipe for inconsistency and a massive headache. This work requires serious editing chops and, more importantly, hours you probably don't have.
The Inevitable Move to Automation
Even the giants of the industry saw the writing on the wall. Adobe’s introduction of AI-powered "neural filters" back in October 2020 was a clear signal that the future of editing involved automation, even within traditional tools. This wasn't just about adding fancy new features; it was a recognition that manual work alone can’t keep up with modern demands.
Automation’s biggest strength isn't just speed—it's the flawless consistency. An AI tool analyzes a product and applies colour changes with mathematical precision. This means every image gets the exact same #B03A2E hex code, eliminating the human error and guesswork that can make a product page look unprofessional.
The real game-changer with an automated workflow is getting perfect consistency at scale. It ensures every variant, from the first to the hundredth, has the same colour accuracy, lighting, and texture.
This is exactly what systems like MerchLoom are built for. You stop thinking about editing images one-by-one and start building entire pipelines that can handle background removal, recolouring, and even reframing in one go. If you're building complex workflows, you might also find that using an AI image combiner to create new compositions from your finished assets can be incredibly powerful.
To see what this looks like in the real world, let's break down the actual effort involved in recolouring a typical batch of 100 product images.
Manual vs Automated Recolouring for a 100-Image Batch
The table below gives a head-to-head comparison. We're looking at the time, cost, and skill needed to get the job done using both a traditional manual workflow and a modern automated one.
| Metric | Manual Workflow (e.g., Photoshop) | Automated Workflow (e.g., MerchLoom) |
|---|---|---|
| Time Investment | 8-16 hours (5-10 minutes per image) | 5-10 minutes (for initial setup) |
| Cost | High (your time or a freelancer's wage) | Low (pay-per-image, a few cents per edit) |
| Consistency | Low to Medium (prone to human error) | Perfect (guaranteed identical hex codes) |
| Skill Required | High (requires technical editing skills) | Low (describe what you need in plain text) |
As you can see, the numbers speak for themselves. While manual editing still has its place for specialized, one-off tasks, it simply can’t compete with the efficiency and consistency of an automated system when you're working with an entire product catalogue.
Building an E-commerce Image Pipeline That Actually Scales
If you’ve ever found yourself spending a whole weekend just to get product photos ready for a new launch, you already know the pain. Editing one image is simple enough, but recolouring, resizing, and prepping dozens—or hundreds—for every platform is a different beast entirely. You quickly realize that changing the colour of a product is never just one step.
The only way to get ahead without burning out or hiring a massive team is to stop thinking in terms of individual edits. You need to build an efficient, repeatable pipeline for your entire product catalogue.
This means stringing together all the little jobs—background removal, recolouring, cropping—into a single, automated workflow. You upload your base photos once, and the system does the rest. It’s not some far-off dream; it's exactly how successful sellers are managing to scale their operations right now. This is precisely what tools like MerchLoom are built for, letting you run entire collections through an AI-powered assembly line.
Here’s a look at how a manual, one-by-one approach stacks up against a modern, automated pipeline.
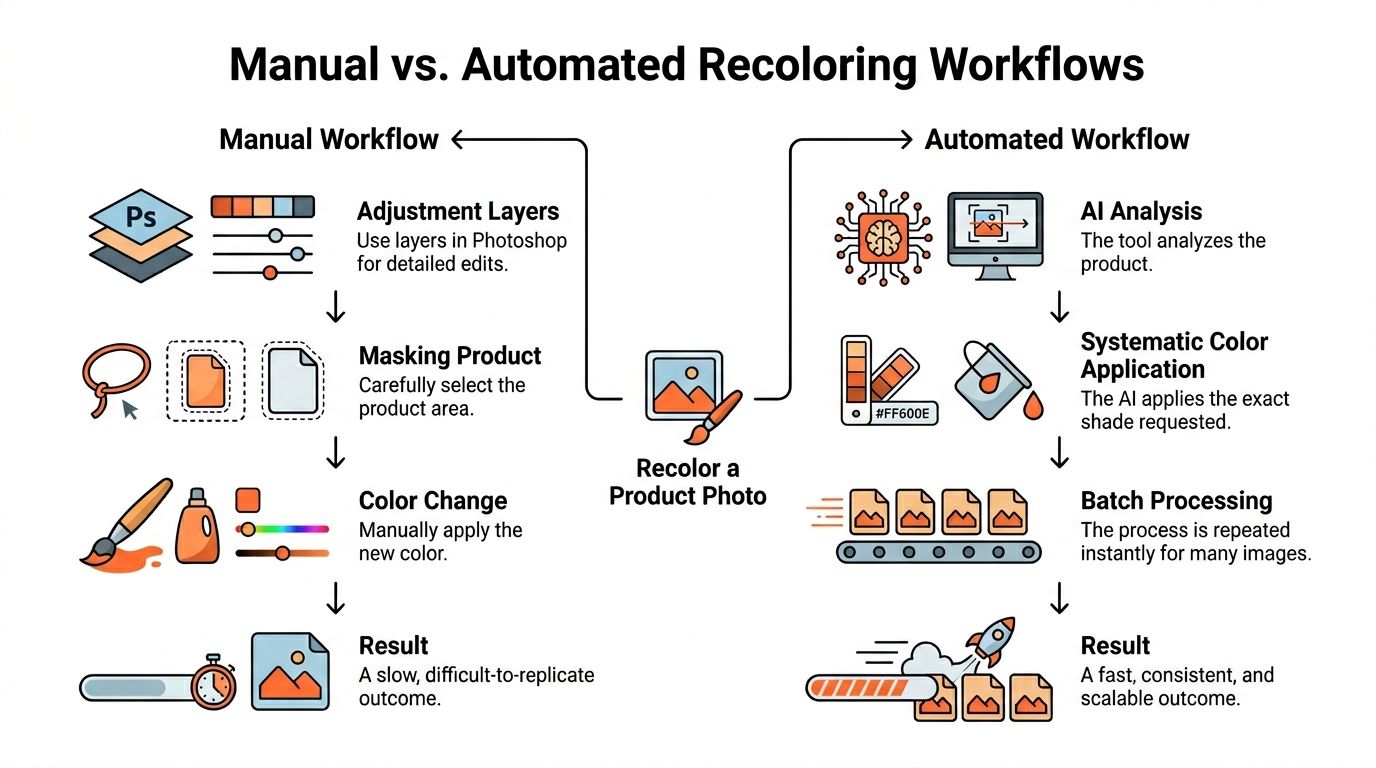
The difference is stark. One path is built for a hobbyist, the other is built for the realities of modern e-commerce, where speed and consistency are everything.
A Real-World Pipeline in Action
So, what does this look like in practice? Let's say you have a single hero shot of a new t-shirt and need to create listing-ready images for five different colour variants. On top of that, you need to meet the specific image requirements for Amazon, Shopify, and Etsy.
Instead of opening up your photo editor, you’d set up a pipeline that executes these steps in a logical sequence:
- Isolate the Product: First, the AI cleanly removes the product from its original background. This gives you a perfect digital cutout to work with.
- Recolour with Precision: Next, the system applies your new colours. You can use a simple prompt like "navy blue" or a brand-specific hex code like #000080 for perfect accuracy across all variants.
- Place on a New Background: Each recoloured product is then placed onto a fresh background. For most marketplaces, this will be a compliant pure white (
#FFFFFF). - Reframe for Each Platform: The image is then automatically cropped and resized for every channel—a square for your Shopify collection page, a vertical for an Instagram story, and so on.
- Upscale for Crystal-Clear Quality: Finally, the finished image is intelligently upscaled to meet high-resolution standards, like Etsy's requirement for images at least 2000px wide. This ensures your photos look crisp and professional, never pixelated. For a deeper dive on this, our guide on using an HD photo converter is a fantastic resource.
Here’s the really smart part: a good pipeline is more than just a sequence of steps. It’s an efficient one. By removing the background before upscaling, the AI only has to process the smaller, isolated product area. This small detail drastically reduces processing time and cost.
Adopting this pipeline approach completely changes your workflow. That mountain of tedious manual tasks becomes a single, automated job you can run on an entire collection.
You set it up once, and in return, you get a complete set of perfectly edited, platform-ready images. This is how you stop being a photo editor and start being a business owner again. It's how one photoshoot can fuel a full, multi-platform product launch.
Getting Product Colours Just Right
When a customer clicks "buy" on a "forest green" t-shirt, that’s the exact colour they expect to unbox. A "mint green" version showing up is more than just a slight mismatch—it's a fast track to unhappy customers and a spike in returns that eats directly into your profits. Getting your recoloured images to perfectly match your physical products isn't just a nice-to-have; it's essential for building trust.
Thankfully, you can get incredibly precise with modern AI tools. Forget vague descriptions. To nail that exact shade every single time, you can feed specific hex codes (like #228B22 for our forest green example) directly into your recolouring prompts. This ensures every product variant you generate is identical, batch after batch.
Doing this for a whole catalog?
MerchLoom runs background removal, upscaling and AI editing across every product photo you have — one prompt, whole batch. Try 2 batches free, no signup.
Try it free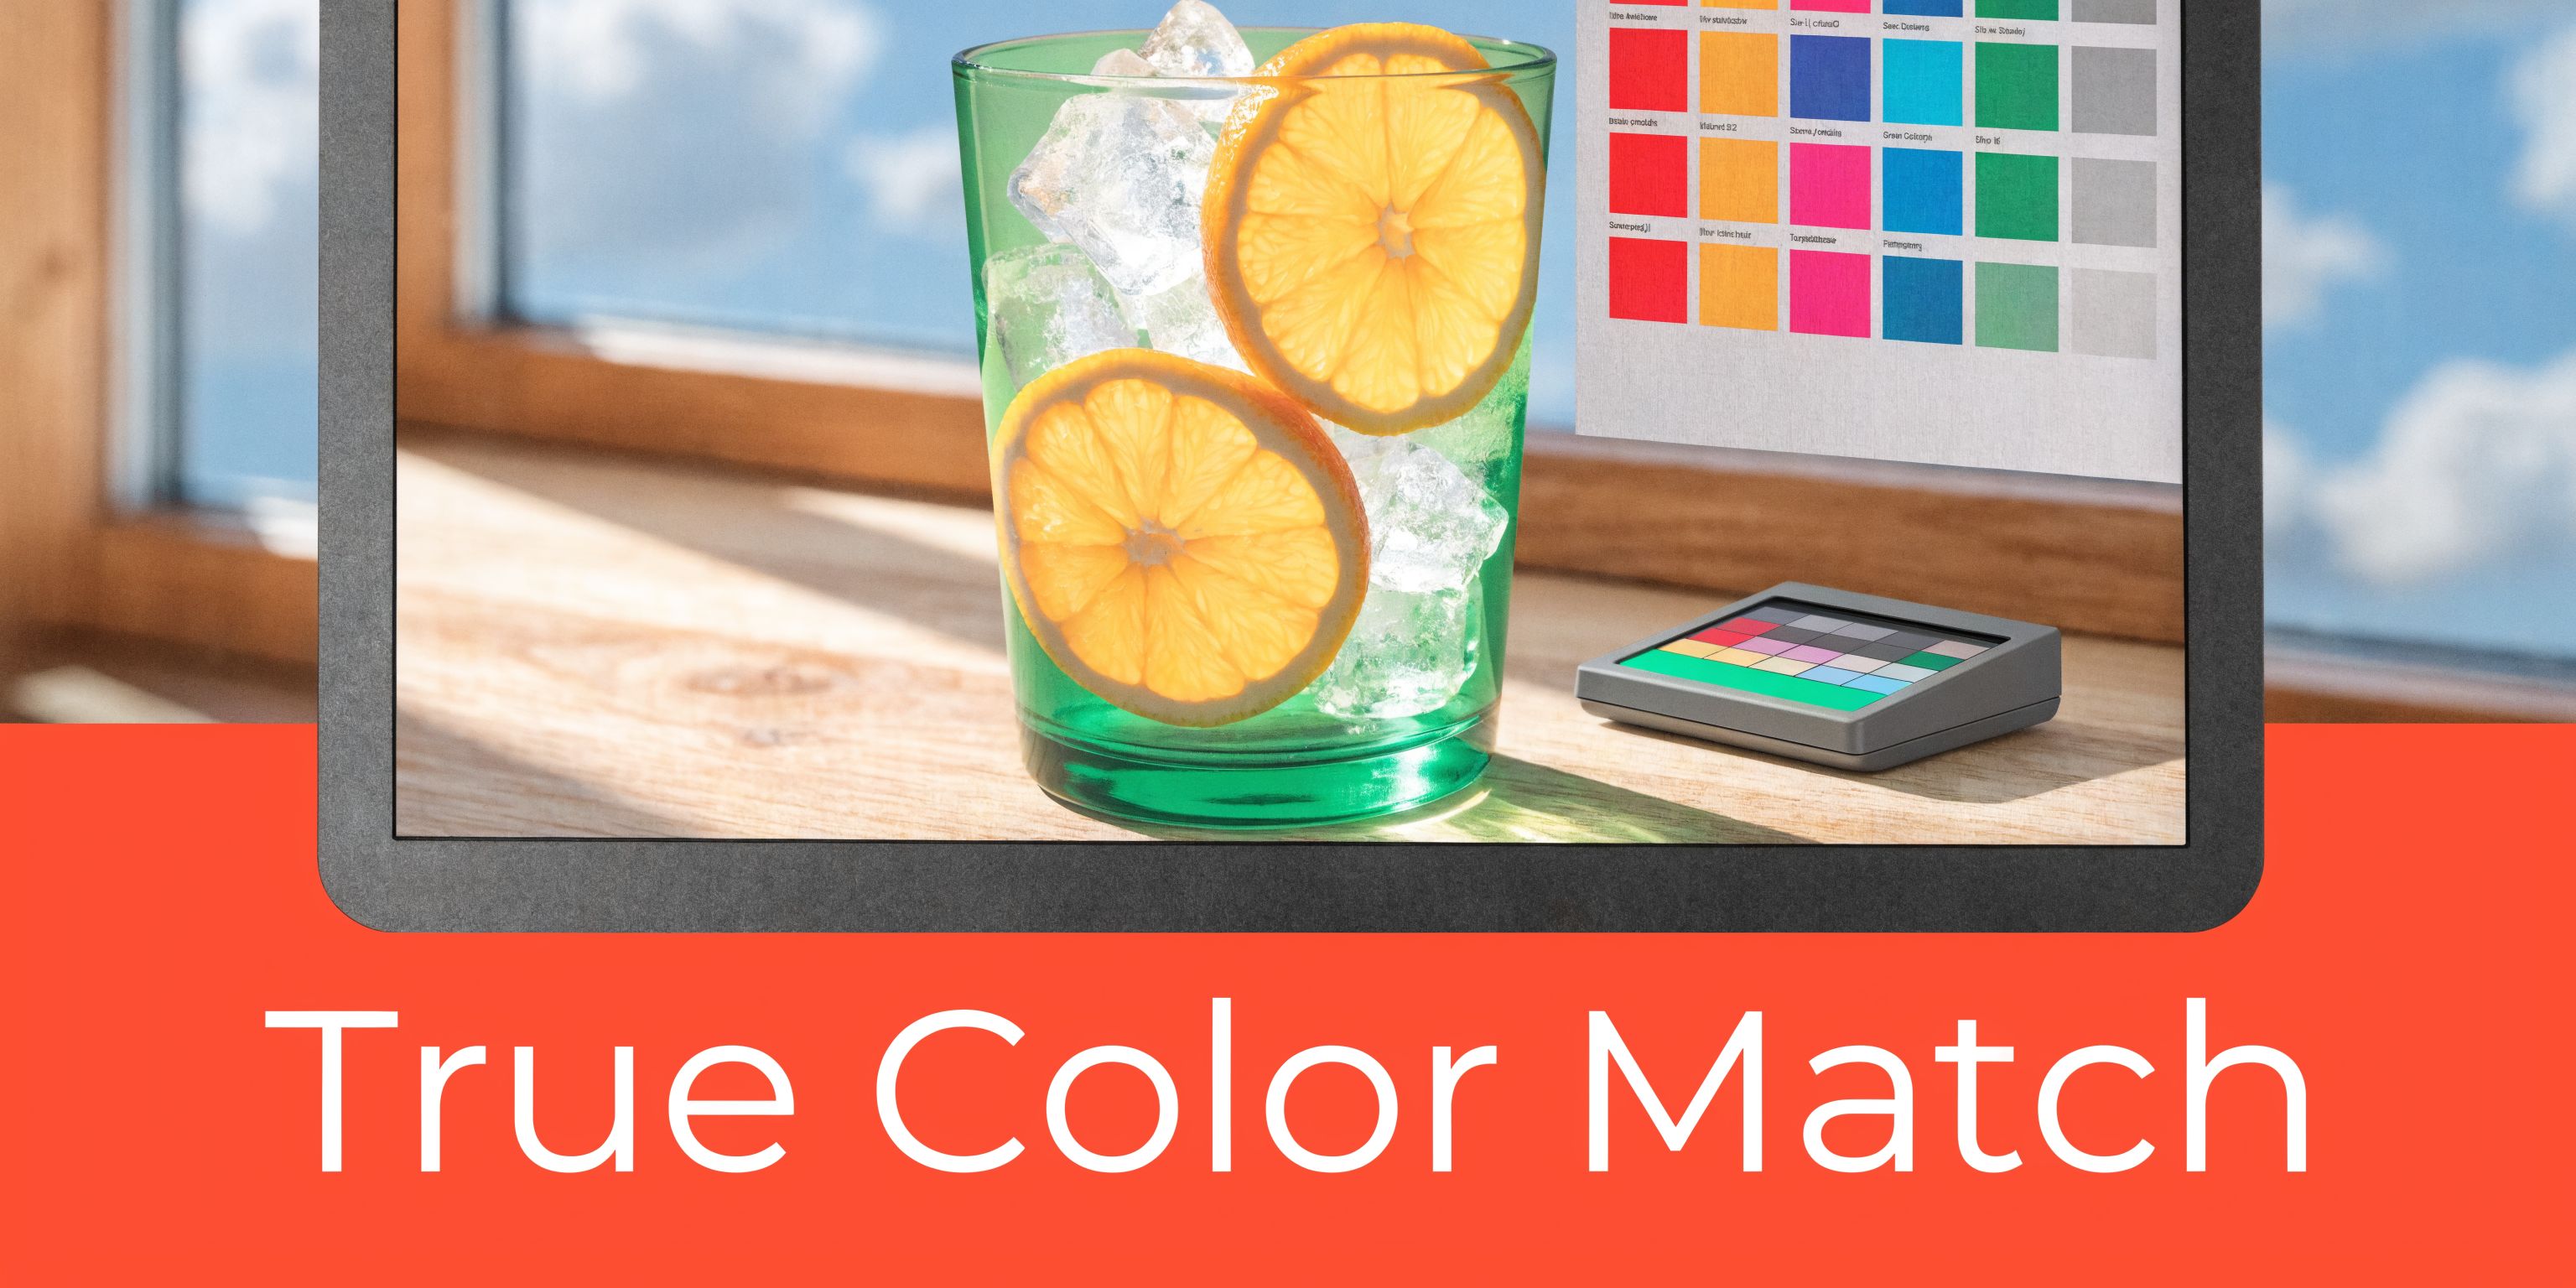
The struggle for true-to-life colour is as old as photography itself. Decades before digital, the iconic Kodachrome film, first introduced in the late 1930s, set the benchmark for vibrant, lasting hues. You can dive deeper into the fascinating history of AI and historical image colouring on tobiolabode.com.
Taming Your Colour Swatches
One of the biggest headaches for any online seller is managing a product that comes in multiple colours. The old way—taking a separate photo for every single variant—is a nightmare of inconsistency. The lighting is never quite the same, the angles are slightly off, and the whole process is mind-numbingly tedious.
A much savvier workflow is to use a master image template. Think of it as a production line for your visuals. You start with one perfect, high-quality photo of your product. This single image becomes the foundation for every colour variant you need. By running it through a batch process, you can generate all your different colourways from that one master file.
This approach guarantees that the lighting, shadows, and textures remain absolutely consistent across every single image. The only thing that changes is the colour. The result is a clean, professional-looking product page that lets customers confidently click through their options.
If your master photo has any tricky shadows, it’s always best to clean that up first. You can learn exactly how to remove a shadow from a photo before you start the recolouring process.
The Technical Side of Colour Fidelity
Getting the hue right with a hex code is a huge step, but a couple of technical details are just as important for maintaining colour fidelity.
First, always make sure your final images are saved in the sRGB colour profile. This is the universal standard for the web. Using sRGB ensures that your product colours will display consistently, whether a customer is browsing on a laptop, a tablet, or their phone.
Your work isn't done until you've done a final quality check. Always view your final images on a calibrated monitor if you have one. If not, do the next best thing: check them on multiple screens—your phone, your laptop, a friend’s tablet—to get a feel for what the average customer will see.
This last check is your final defence against those dreaded "colour not as described" returns. Taking a few extra minutes to spot-check your work can save you a world of hassle later on. It’s the final step to ensuring the beautiful images you’ve created are an honest reflection of your physical products.
Advanced Tips for Flawless Batch Recolouring
Once you have your basic workflow dialled in, you can start making the small tweaks that separate the good results from the great ones. Shaving a few minutes off your process and boosting colour accuracy might seem like minor victories, but in the world of e-commerce, they add up fast and give you a real competitive edge. These are a few tips I've picked up from years in the trenches that will help you nail your batch recolouring every single time.
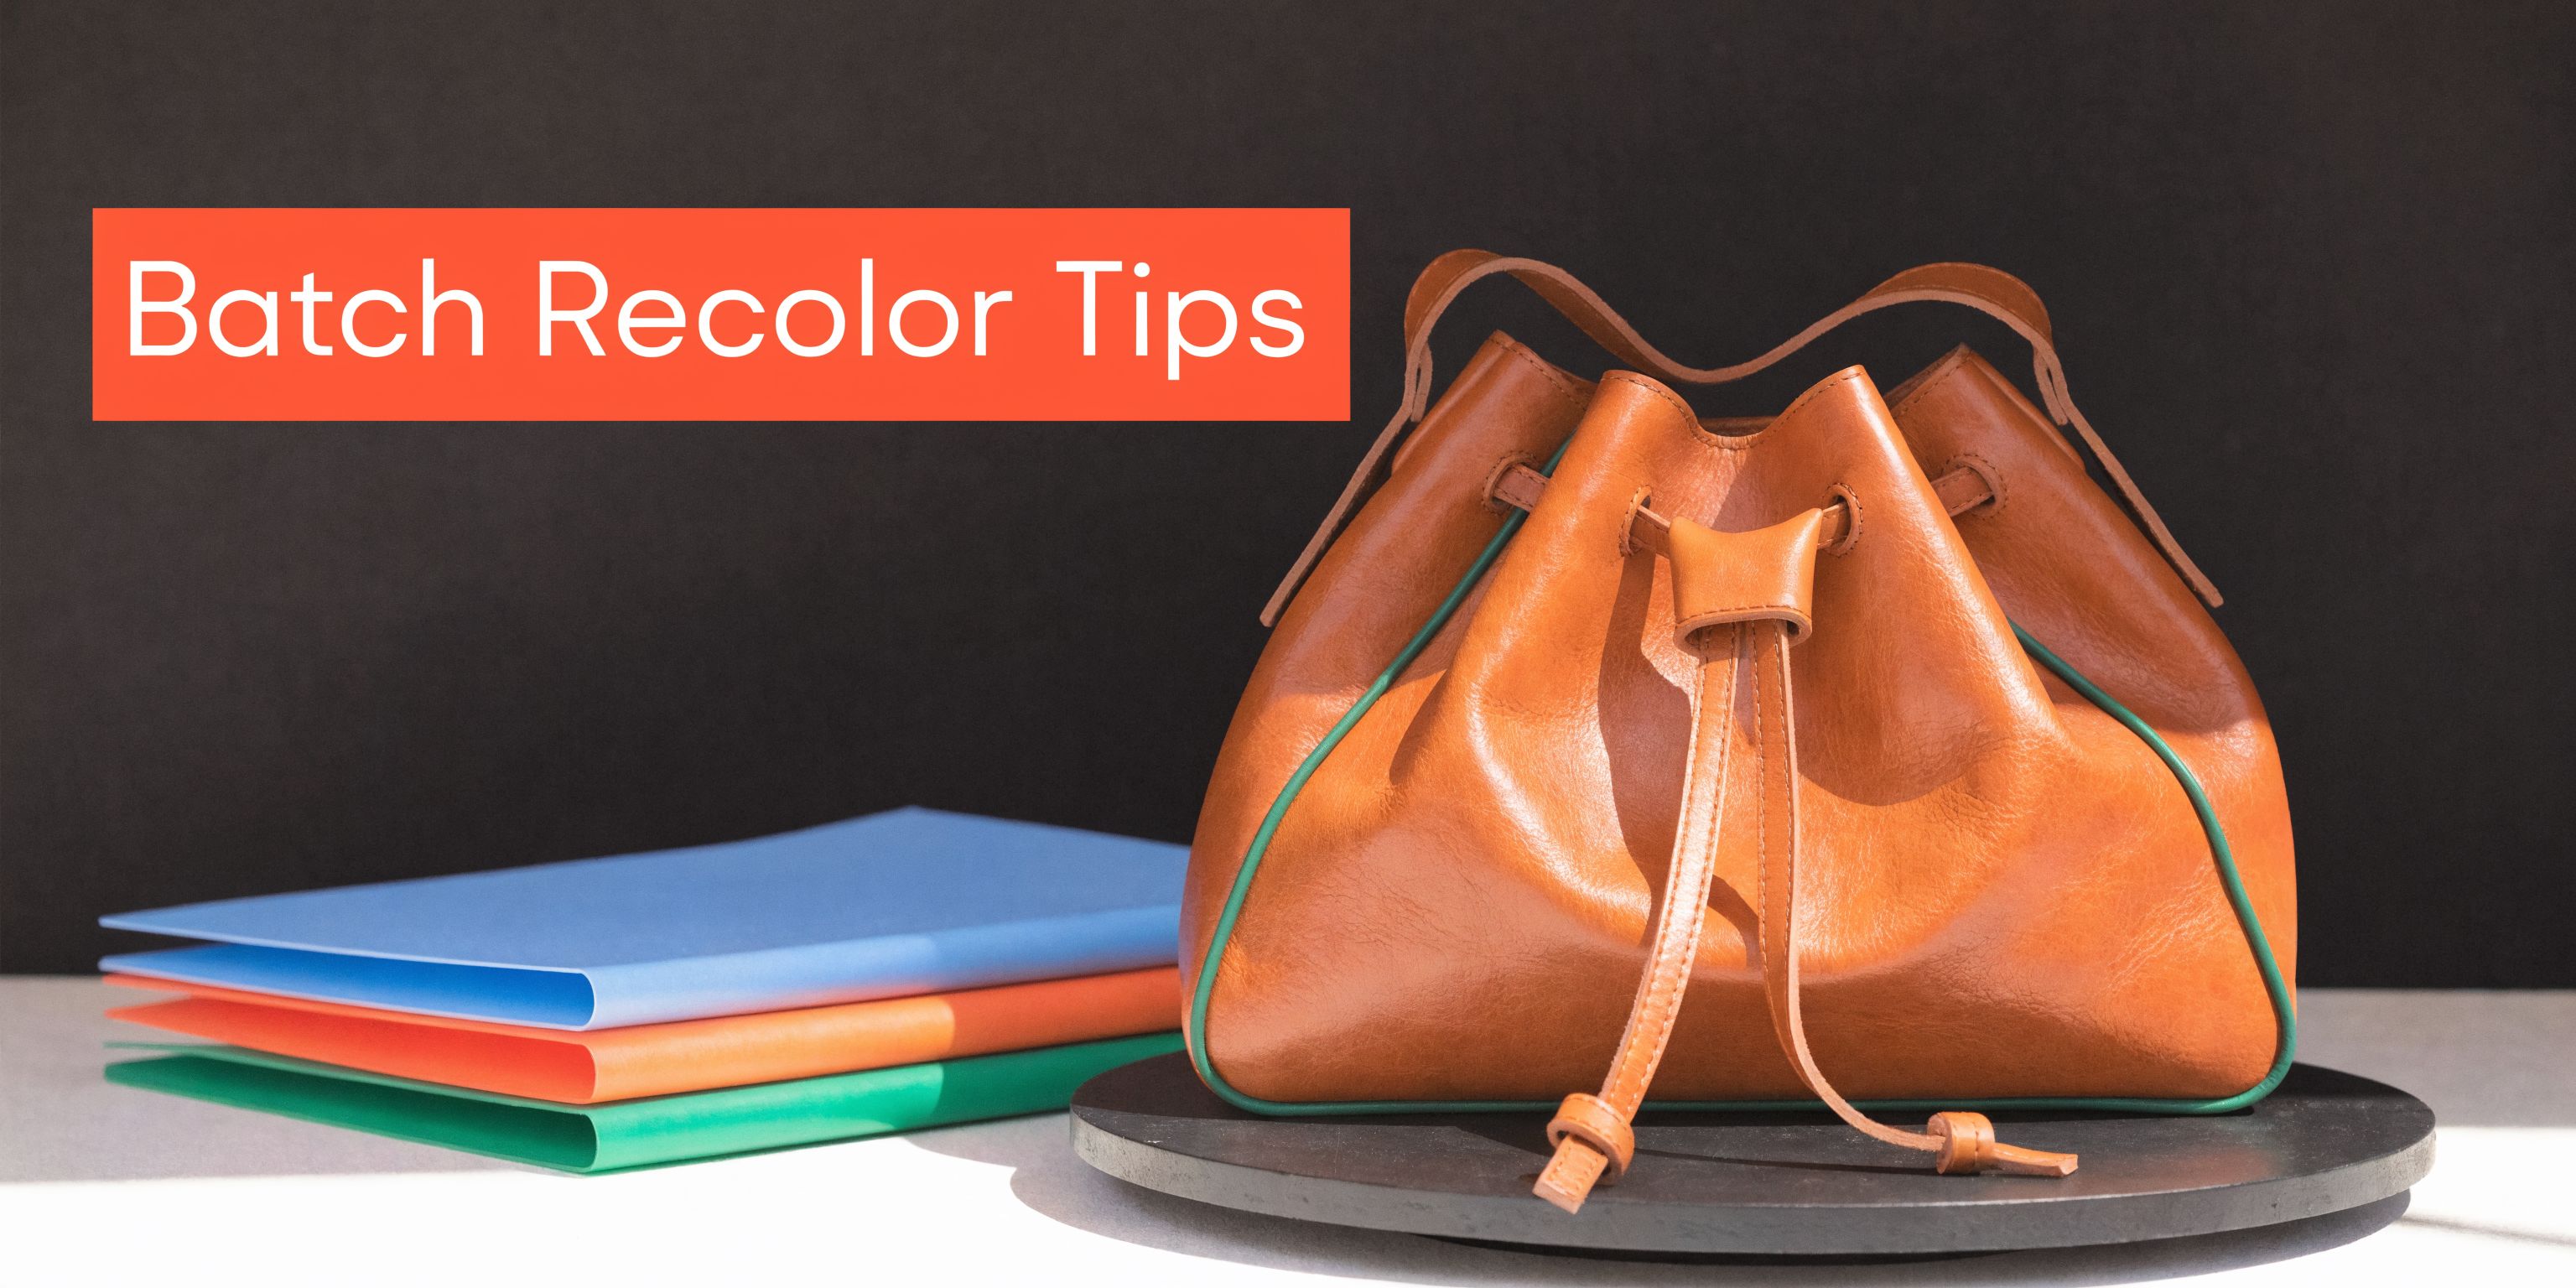
A classic problem is dealing with products that have mixed materials—think of a leather bag with metal buckles or a hoodie with a contrasting zipper. You only want to recolour an image partially, changing just the fabric, not the shiny hardware. In a tool like MerchLoom, the trick is to get really specific with your prompts. Instead of something generic, you’d write: "Recolour only the leather parts of the bag to a deep navy blue." The AI is surprisingly good at figuring out the difference.
Set Yourself Up for Success
There's an old saying: garbage in, garbage out. It’s never been more true than with AI. For the most accurate and natural-looking results, always start with a high-quality base image of the product in a neutral colour. I'm talking light grey, beige, or off-white. This gives the AI a clean canvas to work from, making it much easier to generate both lighter and darker shades while keeping all those crucial texture and shadow details intact.
Today's AI colouring tools have come a long way. They're trained on massive datasets—some models use over a million photos—to understand context and how to apply colours believably. They’re not just guessing; they’re referencing a vast library of how different materials and objects should look. If you’re curious about the science behind it, Scienceline.org has a great piece on how AI learns to colour photos.
Master Your Output and Iterate Quickly
Managing your final files can quickly turn into a nightmare, especially when you're working with hundreds of images. One of the biggest time-savers is building automated file naming right into your pipeline.
A well-organised output structure is non-negotiable for catalogue management. Set up your AI pipeline to automatically name files based on their new colour variant (e.g., 'leather-bucket-bag-navy-blue.jpg', 'leather-bucket-bag-forest-green.jpg'). This simple step eliminates a massive organisational headache down the line.
Here’s another powerful technique: use your processed images as the starting point for a new pipeline. Let's say you've just generated ten new colour variants. Now you decide you also need black and white shots for a marketing campaign. Instead of re-uploading anything, you can feed those new colour outputs directly into a "convert to black and white" pipeline. This makes iterating and experimenting incredibly fast.
You might be interested in: our guide on how to convert a photo to black and white for creating dramatic product listings.
Your Top Recolouring Questions, Answered
If you’re managing a large product catalogue, you’ve probably asked yourself how to recolour an image quickly without sacrificing quality. We work with sellers every day, and the same questions always pop up. Here are some straightforward answers to the most common concerns we hear about batch recolouring.
How Do I Get the Exact Colour to Match My Product Swatch?
Getting the colour spot-on is everything, right? The secret weapon here is the hex code. AI platforms like MerchLoom are built to understand these codes (like #DAA520 for a specific goldenrod yellow), which you can plug directly into your prompts. It’s the only way to guarantee perfect consistency from one batch to the next.
If you don't have the hex code from your designer or brand guide, no worries. Just use a free online colour picker tool. Upload a clean photo of your product swatch, and the tool will spit out the exact hex code. Use that code for that product variant every single time to keep your branding locked in.
Forget using vague colour names like "red" or "sky blue" when accuracy matters. One person's idea of a colour is always different from another's. A hex code is a universal language that leaves no room for error.
Can I Recolor a Black Product to a Light Colour?
This is one of the trickiest edits in the book. When a product is photographed as solid black, all the subtle folds, shadows, and textures get crushed into a single dark mass. If you try to change that to white or a light pastel, the result often looks flat and fake because the AI has no detail to work with.
The professional standard is to always shoot your sample product in a neutral mid-tone, like a medium grey or beige. This gives your base image the maximum amount of detail, allowing you to accurately shift to both darker and lighter colours while keeping the product’s natural texture and depth.
Will AI Recolouring Work on Textured Products?
Yes, and you'll probably be surprised at how well it works. Modern AI is quite sophisticated at preserving textures like denim, wood grain, or knits while changing the base colour. The technology is smart enough to distinguish the underlying colour from the texture layered on top.
Where you might run into trouble is with complex, multi-colour patterns like plaid, paisley, or detailed florals. In those situations, the AI can get confused and might try to wash the entire pattern out with a single new colour. For those items, it’s still best to photograph each variant individually. For single-colour textured products, though, AI is a massive time-saver. You'll find some great advice for prepping these kinds of photos in our guide on creating images with white backgrounds.
What Does It Cost to Recolor an Entire Catalog with AI?
The cost can really vary depending on the platform, but a pay-per-use model like MerchLoom gives you much more cost control than a fixed monthly plan. For a complete workflow—say, removing a background, recolouring the item, and placing it in a new scene—you might be looking at a few credits per image.
The real savings come from speed and scale. You can process your entire catalogue for a predictable, one-time cost, which is almost always a fraction of the expense of manual editing hours or re-shooting every single colour option. Just make sure whatever service you choose gives you a clear cost estimate before you commit to running the entire batch.
Ready to move past editing one photo at a time? Give MerchLoom a try and see how an AI-powered pipeline can completely change your workflow, getting your entire catalogue ready in minutes. https://merchloom.ai
Stop editing product photos one at a time
Upload your catalog or connect your store. Describe the result once. MerchLoom does the rest.
Try it free — no signup