
How to Scale Image in Photoshop for E-commerce in 2026
Learn how to scale image in Photoshop for e-commerce. A guide on non-destructive resizing, batch workflows, and export settings for Amazon, Shopify, & Etsy.
You’ve finished the shoot. The new collection is finally edited. Then the actual grind starts.
You need square images for Shopify collection pages, compliant main images for Amazon, larger files for Etsy, and lighter crops for social. One folder turns into five deliverable sets. If you handle scaling casually, the damage shows up fast: soft edges on product details, stretched proportions, inconsistent framing, and file sizes that slow down listing work.
That’s why how to scale image in photoshop matters so much in e-commerce. This isn’t a one-off design task. It’s operations. It affects approval rates, brand consistency, and how quickly your team can move from raw shoot files to listing-ready assets. In California alone, e-commerce marketplaces have over 1.2 million active sellers as of 2025, representing 28% of U.S. marketplace activity according to the California Department of Technology’s Digital Economy Report cited in this overview of Content-Aware Scale for marketplace image adaptation. That scale tells you why image workflow discipline matters.
Most sellers don’t lose time in the obvious places. They lose it in the rework. A team exports one batch too small for Etsy, another batch with awkward crops for Amazon, and another set that looks fine on desktop but weak on mobile. If you’re also building social assets, the formatting problem gets worse. If Instagram is part of your channel mix, this guide on how to sell products on Instagram is worth keeping nearby because image format decisions and merchandising decisions are tied more closely than most sellers realise.
A practical scaling workflow starts with target specs, not guesswork. For Amazon, that means understanding platform constraints before you touch Photoshop. Keep a clear reference for Amazon product image size requirements so your master files map cleanly into marketplace outputs instead of forcing last-minute fixes.
Most catalogue image problems don’t come from bad photography. They come from inconsistent processing after the shoot.
The E-commerce Seller's Scaling Dilemma
It usually starts the same way. A launch is scheduled, the product photos are finally back from retouching, and then every sales channel wants a different version by end of day.
One SKU turns into a stack of image tasks fast. Amazon wants a clean main image with strict framing. Shopify needs a consistent catalog look. Social needs alternate crops that still feel on-brand. If your team handles apparel, beauty, or home goods, that single product may also have front, back, detail, texture, packaging, and lifestyle shots. Scaling is not a last-minute export step. It is an operations problem.
Where scaling breaks in real workflows
The failure point is usually repetition without a standard. A coordinator opens a file, resizes it visually, exports a JPEG, then does it again for the next channel. That can survive a 10-image batch. It breaks down hard at 300 images because each person makes slightly different choices on dimensions, crop pressure, white space, and compression.
The result shows up in ways sellers notice immediately:
- Marketplace rejections from incorrect dimensions, file weight, or framing
- Inconsistent presentation when one product fills 85% of the frame and the next fills 65%
- Rework during launches because teams have to reopen files and rebuild outputs for each channel
- Lower trust on the listing page when stretched proportions or soft images make the catalog look sloppy
I have seen this cost more time than the original retouching job. The team is not fixing photography. They are fixing preventable processing mistakes.
Scaling errors hurt conversion, not just workflow
Shoppers rarely say, "this image was resized badly." They just hesitate. A bag looks slightly warped. A shirt loses fabric detail. A supplement label gets soft on mobile. Those are small defects, but in e-commerce, small defects pile up into lower confidence.
That is why channel specs need to be set before anyone touches Photoshop. Keep a working reference for Amazon product image size requirements so the source file is prepared for the output you need, not guessed at halfway through production.
The same logic applies outside marketplaces. If your team is also building social creative, image ratios and crop safety affect sell-through there too. The guide on how to sell products on Instagram is useful because merchandising and image formatting usually depend on each other.
The practical fix is boring, and that is why it works
High-volume sellers need a repeatable image standard for each product type. Set target framing. Set output sizes by channel. Decide how much background margin stays around the product. Decide which files remain untouched as masters.
A scaling workflow that holds up under catalog pressure does three jobs well:
- Keeps the original asset intact
- Maintains consistent proportions and framing
- Produces repeatable exports without manual guesswork
That is the dilemma for sellers. The issue is not how to resize one image in Photoshop. The issue is how to resize hundreds without introducing inconsistency, softening, or expensive rework.
Non-Destructive Scaling with Smart Objects
If you manage product images for more than one sales channel, Smart Objects are the habit that saves you from avoidable damage.
Most image quality problems in Photoshop don’t happen on the first resize. They happen after the second, third, and fourth version. Someone scales a raster layer down for web, then later decides they need a larger Etsy file or a new crop for a campaign. By then, the file has already been altered. Photoshop can’t recover detail that was thrown away earlier.
Why Smart Objects are the sane default
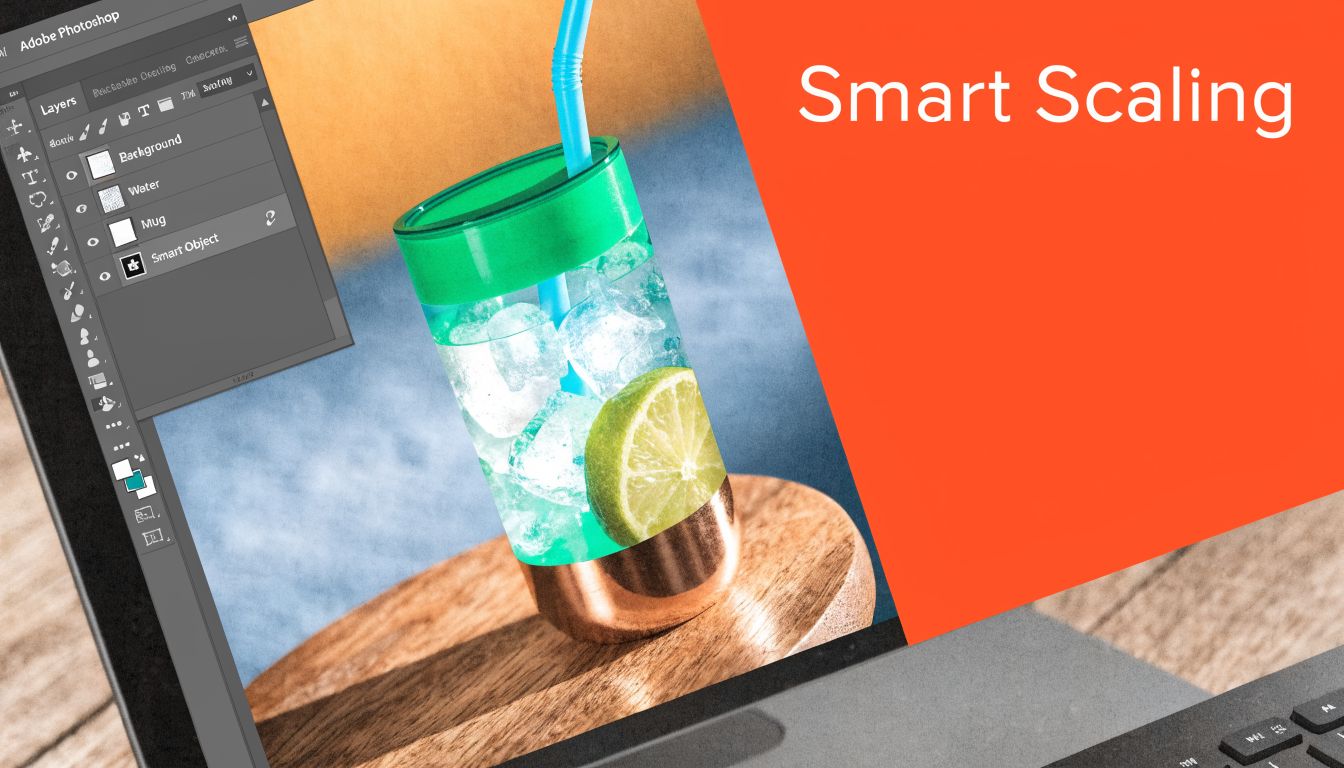
A Smart Object keeps the original image data embedded so you can scale up and down without permanently degrading the source layer. That matters in catalogue work because product files rarely live one life. Today’s square Shopify image becomes tomorrow’s marketplace crop, email banner asset, or promotional tile.
Benchmarks from a 2025 UBC Vancouver imaging lab study on 1,000 fashion photos found that Smart Objects retained 98.7% sharpness after a 3x upscale to 4000px, compared with 72% for standard raster layers, according to this walkthrough of Smart Object scaling workflows. The same source notes that forgetting this workflow can lead to 25% detail loss on later upscales, and Smart Objects avoid that problem 87% of the time in Adobe tests.
That lines up with what sellers run into every season. The original file is usually good enough. The workflow around it is what breaks it.
Practical rule: If a product image might be reused in another size later, convert it to a Smart Object before you scale anything.
The simple workflow I’d trust on a large catalogue
For product images, keep it boring and repeatable:
- Convert first: Right-click the layer and choose Convert to Smart Object.
- Transform second: Use Edit > Free Transform and scale proportionally.
- Upscale only when needed: If the marketplace requires a larger file, go through Image Size after the Smart Object is in place.
- Export versions separately: Don’t keep flattening and re-saving over your master working file.
A lot of teams skip that first step because it feels small. It isn’t. It’s the difference between one master file serving multiple channels and one master file getting wrecked over time.
What doesn’t work well
Directly resizing a normal raster layer is fine only when you’re certain that file has one destination and one destination only. E-commerce images almost never stay that simple.
Another weak habit is cleaning an image after it has already been destructively resized. If you need to patch dust, remove minor distractions, or tidy the frame, do that before heavy output work. If you need a refresher on object cleanup before scaling, this guide on how to remove objects in Photoshop fits naturally into the same production workflow.
Choosing the Right Resampling Algorithm
A supplier sends over 300 product images. Half are oversized studio shots that need to load fast on Shopify. The other half are barely big enough for a marketplace zoom view. If your team runs the same resampling setting across both groups, quality gets inconsistent fast.
Resampling is Photoshop deciding how to add or remove pixels during resizing. For e-commerce, that choice affects edge clarity, texture, and how much cleanup you need after export. It also affects labor. Pick the wrong method across a large batch, and your team ends up fixing softness, halos, or noisy upscales one file at a time.
The practical choice by job
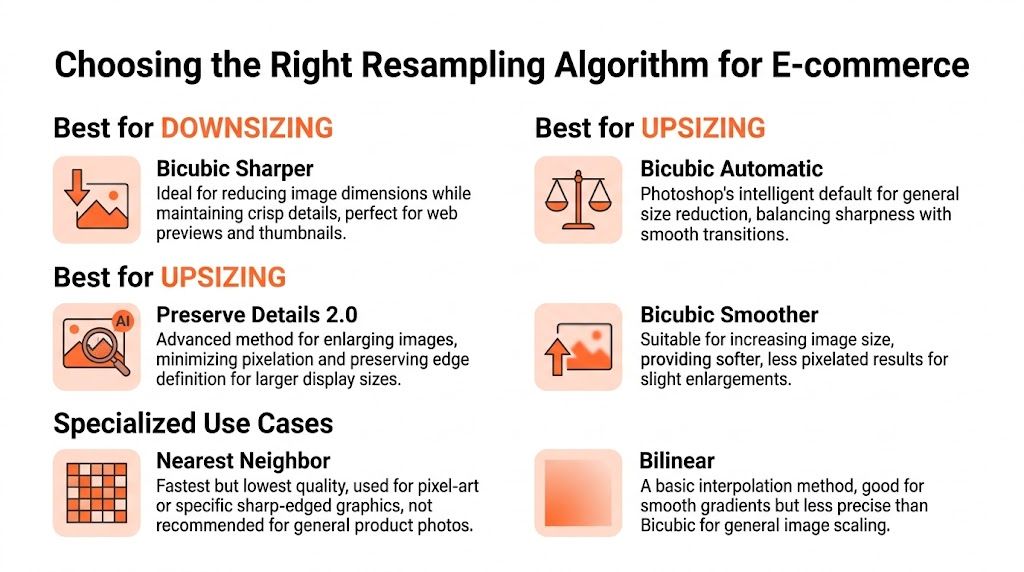
For catalogue work, these are the settings worth testing first:
| Job | Best starting point | Why it works |
|---|---|---|
| Reducing large studio images for web | Bicubic Sharper | Holds edge detail better during downscaling |
| General resizing when you want Photoshop to choose | Bicubic Automatic | Useful for mixed batches where speed matters |
| Enlarging an undersized supplier image | Preserve Details 2.0 | Usually the safest upscale option for product photos |
| Slight enlargement of a noisy image | Bicubic Smoother | Softens rough source files instead of exaggerating noise |
| Pixel-art or hard-edged graphics | Nearest Neighbour | Works for hard edges, not normal product photography |
| Basic interpolation fallback | Bilinear | Fast, but rarely the best choice for catalogue images |
What actually matters in production
The label in the menu matters less than the direction of the resize.
Downscaling and upscaling are different jobs. If the file is already large and clean, the goal is to reduce pixels without making edges look mushy. If the file is too small, the goal is damage control. Photoshop can invent pixels, but it cannot recover detail that was never captured in the original shot.
That is why Preserve Details 2.0 is useful but limited. It often gives a cleaner enlargement than older methods, especially on supplier files that are close to usable. It still will not turn a weak 800-pixel image into a crisp hero shot for every channel.
My default decision tree
For high-volume product batches, this is the triage I use:
- Oversized, clean source photo: Start with Bicubic Sharper
- Undersized but still acceptable source: Try Preserve Details 2.0
- Noisy or rough source file: Test Bicubic Smoother and compare
- Logo, icon, or hard-edge asset: Use Nearest Neighbour only for those graphic files
- Mixed folder with uneven file quality: Use Bicubic Automatic if speed matters more than fine control
One warning from experience. Do not judge the result at fit-to-screen zoom. Check product edges, labels, stitching, and texture at 100%. That is where bad resampling shows up.
The mistake that slows teams down
A lot of catalogue teams resize first, crop later, then sharpen somewhere in the middle. That order creates variation across listings, especially if different people touch different batches.
A cleaner workflow is to lock the target output first, frame or crop the image, apply the resampling method that matches the resize direction, and leave sharpening for the final stage. That sequence is easier to standardize in Actions later, and it cuts rework.
If the same source image also needs print sheets, packaging inserts, or trade-show assets, pixel dimensions are only part of the job. This guide to using an image DPI converter helps when you need to separate web sizing decisions from print density requirements.
Building a Batch Scaling Workflow with Photoshop Actions
You start with 40 SKUs. By the end of the quarter, it is 400. The resizing work that felt manageable at launch turns into hours of repetitive production, and small inconsistencies start slipping into live listings.
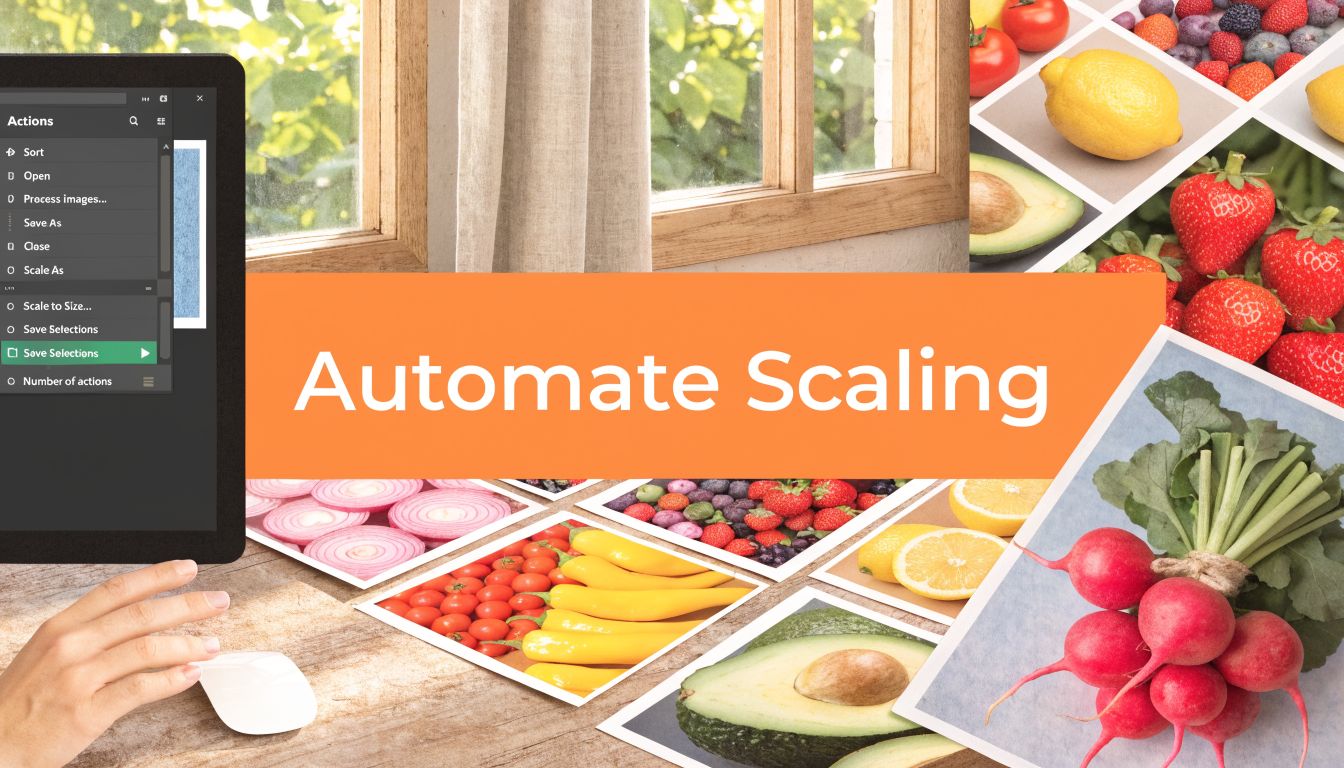
Photoshop Actions help turn that mess into a repeatable process. For e-commerce teams handling large product catalogs, the goal is not just speed. It is getting the same crop logic, scaling steps, and export settings every time, without someone making different choices at 6 p.m. on a Friday.
Doing this for a whole catalog?
MerchLoom runs background removal, upscaling and AI editing across every product photo you have — one prompt, whole batch.
Try MerchLoomBuild one master action per destination
Create separate Actions for each real output you ship. That usually means one for Amazon, one for Shopify, one for Etsy, and one for social crops.
Trying to force every channel into one giant Action usually fails once requirements split. One marketplace wants a square white-background image. Another needs a different aspect ratio. Social assets need looser framing. Separate Actions are easier to maintain, easier to test, and much safer when a platform updates its image rules.
A practical setup might include:
- Etsy master export for large square files
- Amazon main image export for compliant catalog shots
- Shopify collection export for your storefront ratio
- Social crop export for merchandising and content use
Record the steps in the order your team actually works
The Action should mirror a clean production line. For a standard batch, use a sequence like this:
- Open the file
- Duplicate or protect the master if needed
- Convert the product layer to a Smart Object
- Set the crop or canvas for the target format
- Run Image Size with the chosen resampling method
- Apply a light finishing sharpen if the batch needs it
- Convert to the correct web colour space
- Save to a dedicated output folder
- Close without saving over the original
That order saves rework. Teams that sharpen early or save into mixed folders usually create more cleanup later. Teams that lock the sequence and stick to it get more predictable output, especially when multiple people are touching the same catalog.
Use folders that make mistakes obvious
Good batch systems are intentionally boring.
Keep clear separation between Originals, Retouched Masters, Marketplace Outputs, Social Outputs, and Manual Fixes. If a freelancer, coordinator, or junior editor can open the project and tell within a few seconds which files are protected and which files are disposable, the structure is doing its job.
I have seen more time lost to version confusion than to Photoshop itself. Someone exports from the wrong folder, someone else edits a compressed JPEG instead of the master PSD, and suddenly the whole batch has to be rerun.
If the folder structure is unclear, the Action will not save you.
Add manual checkpoints for awkward frames
Actions are good at repetition. They are bad at judgment.
Set up your batch so standard images run straight through, then pull exceptions into a review folder. Product photos with reflective packaging, long straps, heavy shadows, uneven negative space, or props that push the crop off balance usually need hand adjustment before export. In this way, experienced catalog teams save time. They do not babysit every file. They isolate the troublemakers fast.
If your source photography is still inconsistent before you even start scaling, this guide on how to make product photos look professional is a useful checkpoint before you lock in batch rules.
Keep aspect-ratio fixes out of the main action
Some files will never crop cleanly into every destination. A portrait shot might work for Shopify but feel cramped in a square marketplace thumbnail. A standard resize Action cannot solve that without cutting off important product detail or leaving too much empty space.
For those cases, build a separate exception workflow instead of stuffing more complexity into the main Action. Content-Aware Scale can help when the background has room to stretch and the product itself must stay intact. Use it carefully, check edges at 100%, and inspect any labels, handles, hems, or circular elements before approving the result.
A simple exception pass looks like this:
- Duplicate the working layer
- Make a rough subject selection
- Save the selection if the file is tricky
- Run Edit > Content-Aware Scale with protection enabled
- Extend background space without distorting the product
- Review the file manually before it goes back into export
For a quick visual walkthrough of automation patterns inside Photoshop, this video is a good companion while you build your own repeatable steps:
Know when to stop adding Actions and start building a system
Photoshop Actions work well for hundreds of files. At some point, they become fragile. If your team is resizing large seasonal drops across multiple storefronts every week, with different naming rules and output specs by channel, the bottleneck is no longer just editing. It is workflow management.
That is usually the point where manual Photoshop production needs backup from templates, automation scripts, or a broader image pipeline. Actions still have a place, but they should handle the predictable work and leave edge cases outside the batch.
Final Steps Sharpening and Exporting for Marketplaces
Scaling isn’t the finish line. The final export pass is where a product image either looks clean and intentional, or slightly off in a way buyers can’t name but still notice.
Downscaled files can lose crispness. Upscaled files can look a little soft. That’s why the last stage should include controlled sharpening, a web-safe colour profile, and export settings that don’t bloat the file or crush detail.
Sharpen after scaling, not before
This order saves a lot of frustration. If you sharpen early and then resize, the final result can look brittle or uneven.
Use a light hand:
- Smart Sharpen works well when the image only needs edge definition brought back.
- Unsharp Mask is still useful when you want a predictable finishing pass across a batch.
- Skip aggressive settings on textured products like knitwear, leather, or grainy packaging. They can create ugly halos fast.
If the source file was enlarged, zoom in and inspect the product edges, typography, stitching, and any glossy boundary where artefacts tend to show first.
A sharpened image should look clearer, not louder.
Export settings that hold up across marketplaces
Your export choices should support consistency more than perfectionism.
A simple checklist:
- Use sRGB for web listings so colours display more consistently across browsers and devices.
- Keep naming predictable so marketplace uploads don’t turn into manual sorting work.
- Strip unnecessary metadata when file weight matters.
- Export to platform-specific folders so your team doesn’t upload the wrong variant.
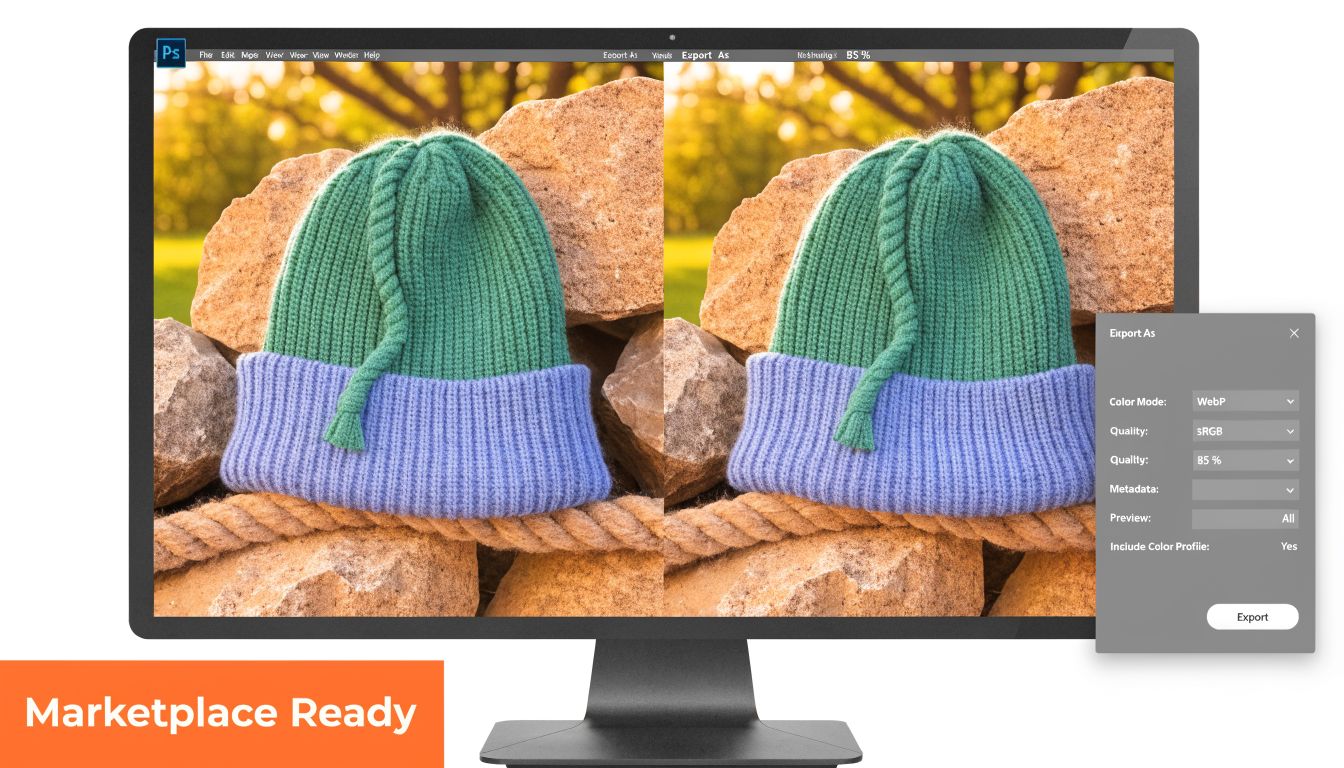
Photoshop gives you a few ways to export. Export As is usually the easiest for clean modern web output. Save for Web (Legacy) can still be useful when you want tighter control over compression behaviour and previews.
My review pass before upload
Before a batch leaves Photoshop, check these items:
| Check | What to look for |
|---|---|
| Edge clarity | Product boundaries should look crisp, not crunchy |
| Colour consistency | Whites should stay neutral and not drift |
| Framing | Product size in frame should match the rest of the collection |
| File naming | Variants should be easy to identify by platform |
| Compression | No obvious banding, blockiness, or texture breakup |
If an image fails one of those checks, fix it before it reaches the listing team. It’s cheaper to pause the file now than to replace live assets later.
For a deeper pass on sharpening controls, keep this guide to how to sharpen image in Photoshop in the same workflow stack as your export presets.
When Photoshop Isn't Enough AI and Automated Pipelines
Photoshop is still the right tool for controlled image work. It’s strong when you need judgement, selective retouching, and polished master files. But once the catalogue gets big enough, even a well-built Action setup starts showing its limits.
The bottleneck is rarely one resize step. It’s the whole chain. Remove the background. Reframe for Amazon. Create a square version for Shopify. Prepare a larger Etsy asset. Clean colour variation. Upscale the weak supplier images. Export all of it in organised sets. Photoshop can do those jobs, but moving hundreds or thousands of files through that chain becomes slow and fragile.
That’s when many teams stop asking, “How do we scale this image?” and start asking, “How do we scale the operation?”
Where manual batching starts to hurt
A Photoshop-heavy workflow tends to break down when:
- You’re processing large collections repeatedly
- Each marketplace needs different framing
- You have mixed source quality from multiple suppliers
- Your team keeps re-opening files for small variant requests
- Quality control depends too much on one experienced editor
That doesn’t mean Photoshop stops mattering. It means Photoshop becomes one part of the pipeline instead of the whole system.
The shift to automated collections
The next step is usually automation that can process entire collections, not just one file at a time. That includes chained operations such as background removal, reframing, enhancement, and export routing in one flow.
If web performance is also part of your publishing workload, this guide on how to optimize images for the web is a helpful complement because speed, file weight, and visual quality all meet at the same operational bottleneck.
Teams that outgrow manual Photoshop batching usually don’t abandon quality. They build stricter systems around it. Photoshop remains the place for exceptions, hero images, and QC standards. Automation handles the repetitive middle.
If your catalogue has outgrown manual resizing and Photoshop Actions, MerchLoom is built for that next stage. It processes full image collections through chained AI workflows for e-commerce, including background removal, smart reframing for Amazon, Shopify, Etsy, and Instagram, colour correction, and AI upscaling. You can upload a batch, describe the output you need in plain English, and let the pipeline handle the repetitive production work while you focus on review and launch.
Stop editing product photos one at a time
Upload your catalog or connect your store. Describe the result once. MerchLoom does the rest.
Try MerchLoom