
Remove Background From Image iPhone: Easy Guide
Quickly remove background from image iphone using native tools & top apps. Discover easy methods, e-commerce tips, and when to scale for large catalogues.
You've got product photos sitting on your iPhone, a listing deadline today, and no time for a full studio edit. That's a normal e-commerce problem now, not an edge case. Sellers use their phones to launch test listings, update out-of-stock variants, and clean up fresh arrivals long before a polished photoshoot lands.
The trick isn't just learning how to remove background from image iphone. It's knowing which workflow fits the job. A single vintage lamp for Etsy needs one approach. A new collection for Shopify needs another. A full seasonal catalogue needs a process that won't trap you in repetitive tapping for hours.
Beyond One-Off Edits for E-Commerce
Apple changed the baseline for mobile editing when it introduced built-in background removal in iOS 16 and refined it in iOS 17. The feature uses Visual Look Up to isolate subjects, works across Apple apps, and is available on iPhone XR/XS and later models, which gives it very broad reach according to 9to5Mac's overview of iPhone background removal.
That matters because clean cut-outs are no longer a specialist task. They're part of the day-to-day work of listing products. If you sell on Amazon, you often need a clean white background. If you run Shopify, you need visual consistency across collection pages. If you sell on Etsy, presentation still drives trust even when the aesthetic is less uniform.
Why sellers should think in workflows
A casual user wants one neat cut-out for a message or a mood board. A store owner needs a repeatable system.
Three questions decide the right method:
- How many images are you processing? One photo, a small batch, or a full catalogue need different tools.
- How clean are the edges? A ceramic mug is easy. Faux fur, chain jewellery, and glass are not.
- Where will the image end up? Your own site gives you more visual freedom than a marketplace with stricter image rules.
Practical rule: Don't judge a background removal method by how impressive it looks on one image. Judge it by whether you can repeat it across an entire collection without losing consistency.
For many sellers, the bottleneck isn't taking the photo. It's the prep after the shoot. Cropping, background cleanup, framing, and export standards turn a quick task into a half-day job. If you're also trying to improve Shopify search rankings with images, image consistency and file preparation start affecting more than just design.
A lot of store owners also underestimate how much polish they can get from a phone before they need heavier tooling. If you want the capture side to look stronger before editing even starts, this guide on making product photos look professional is useful because better source images make every background removal method work better.
Using the Photos App for Single-Image Background Removal
If you need one listing live fast, the Photos app is the right place to start.
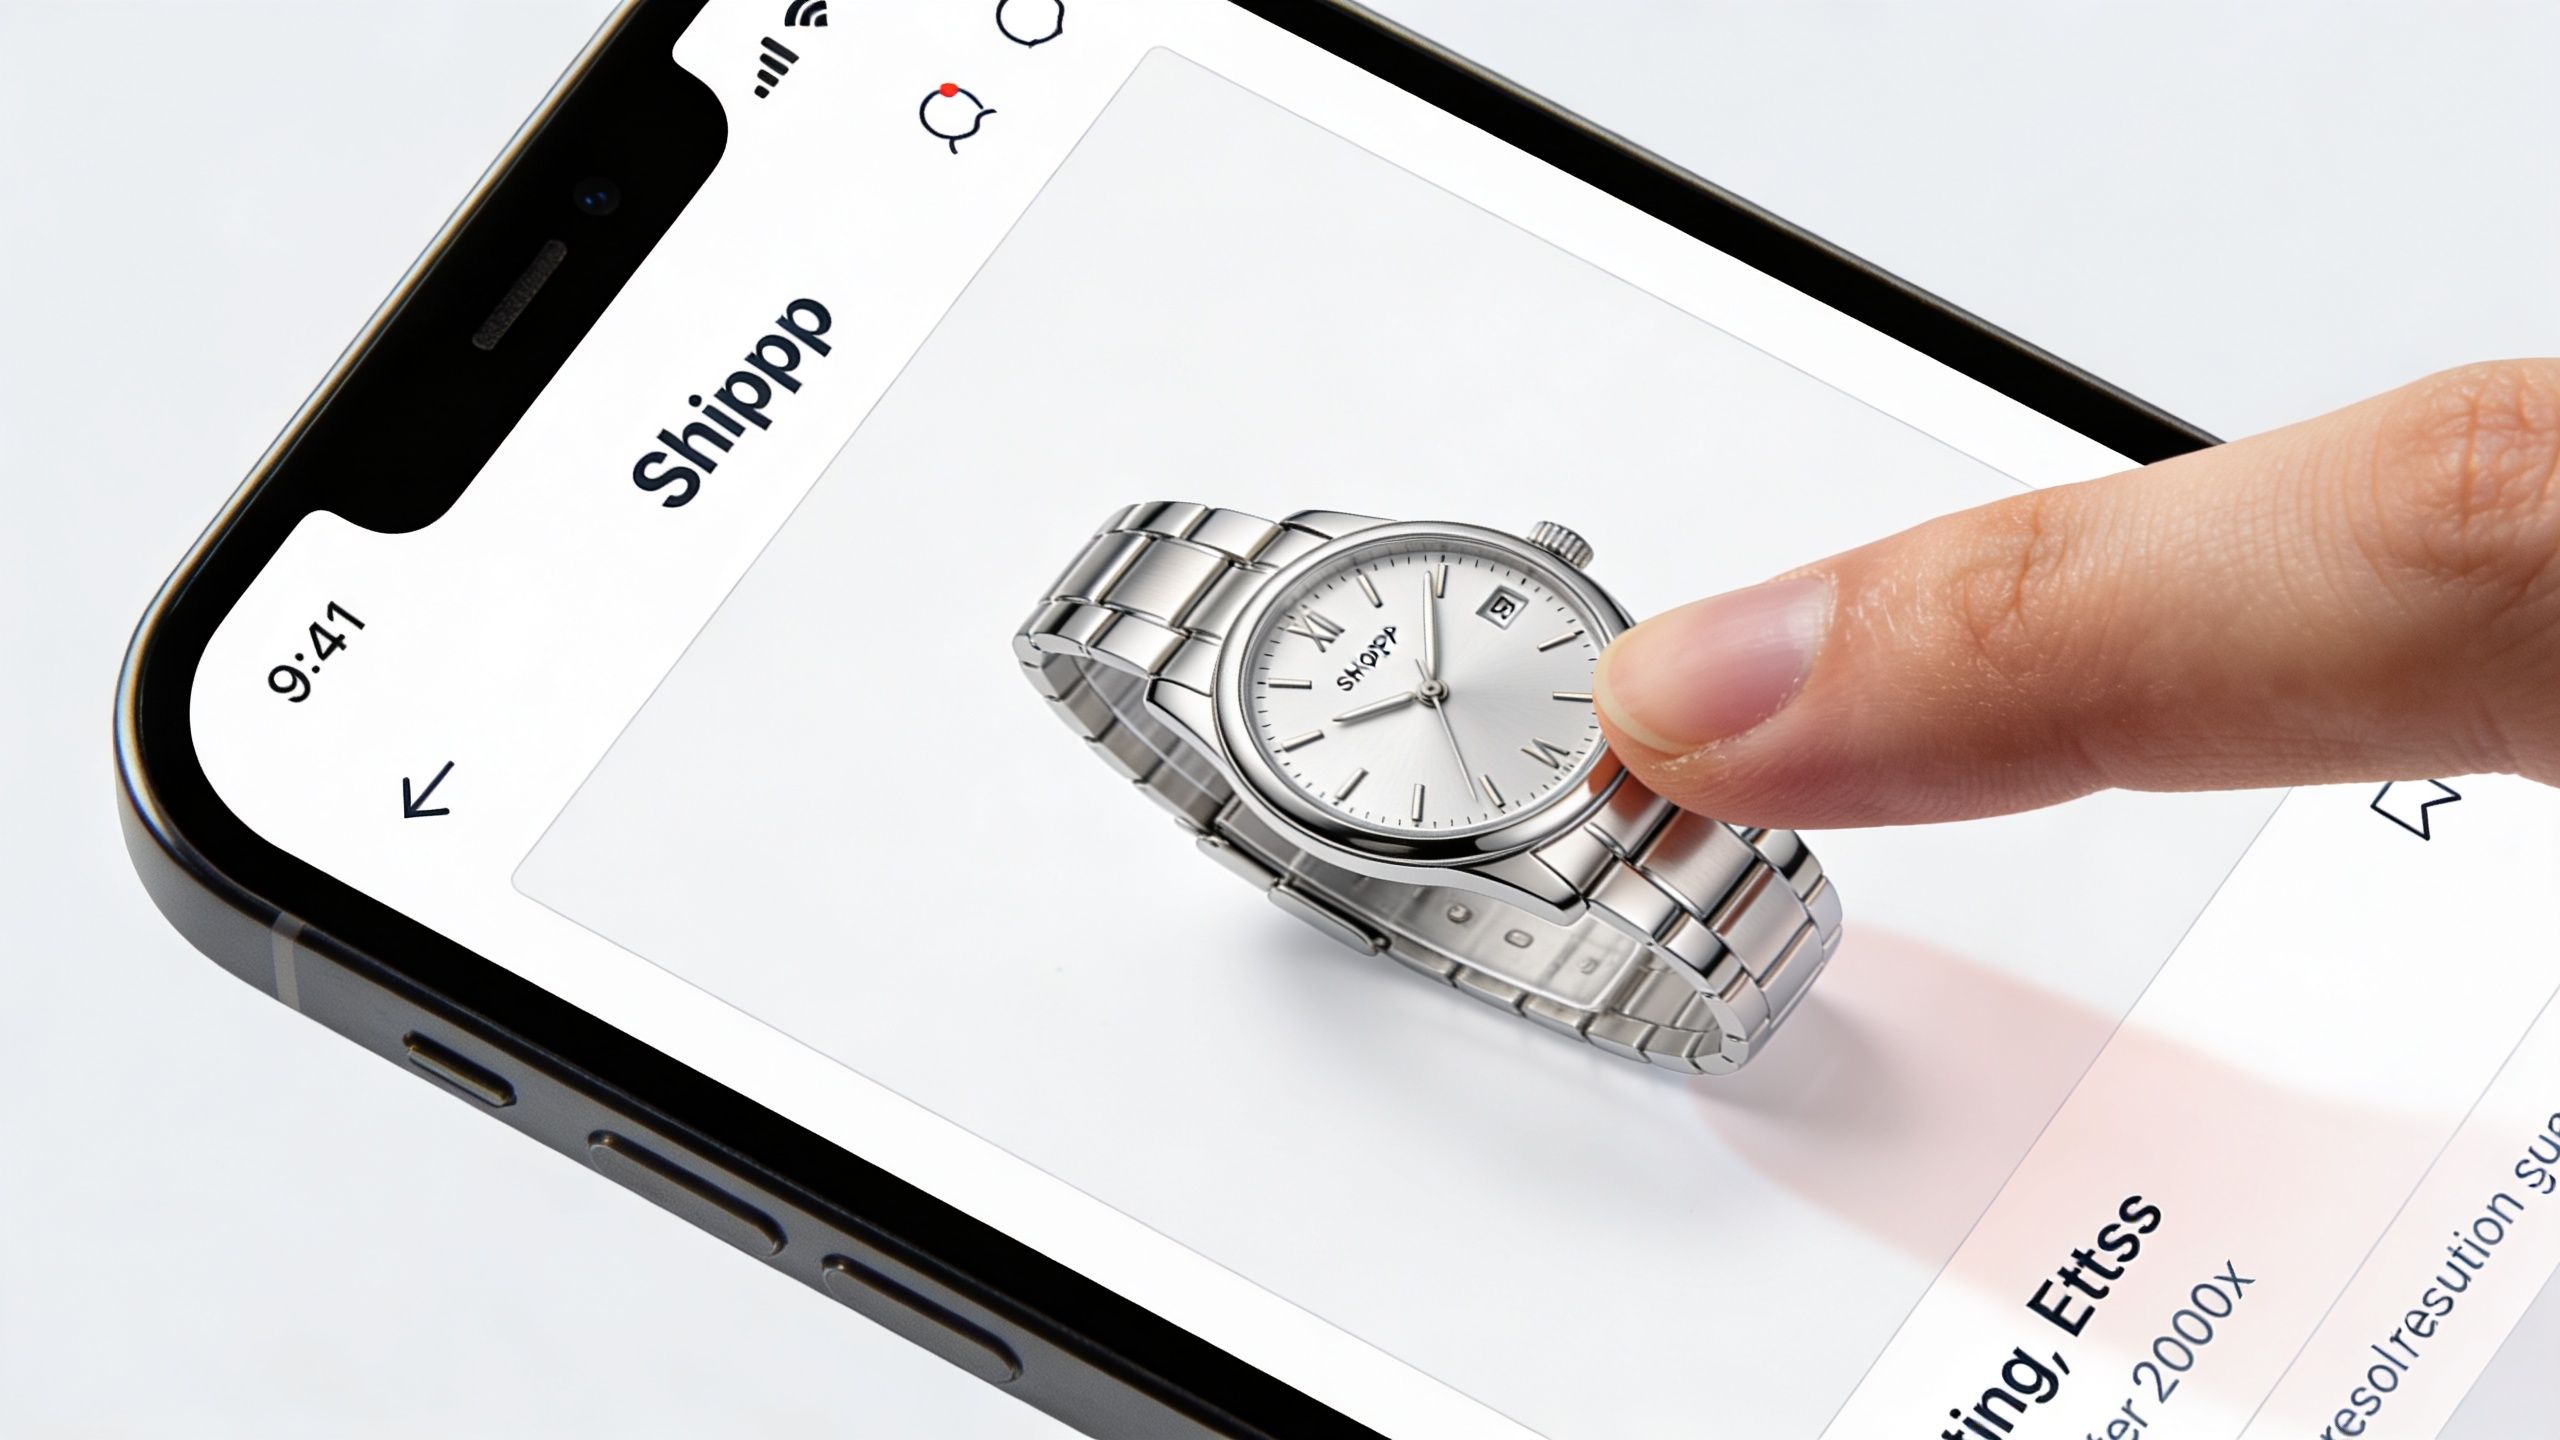
On iOS 18+, long-pressing the subject in Photos triggers the Visual Look-Up Neural Engine. According to this iPhone background removal guide, it has a 92% first-pass success rate on simple subjects, drops to 78% on complex edges like hair or fur, and averages 2.1 seconds on an iPhone 15 Pro Max.
The fastest way to do it
Use this when you've got one product image and need a clean cut-out without opening another app first.
- Open the image in Photos.
- Press and hold on the product until iOS highlights it.
- Tap Copy or Share.
- Paste it into Notes, Pages, Keynote, or another app that preserves transparency.
- Export or screenshot only after you've placed it onto the background you want.
That last step matters. A transparent cut-out isn't automatically marketplace-ready. It's only the isolated subject.
Turning a transparent cut-out into a listing image
For a quick white-background listing image, keep it simple:
- Use Notes or Pages if you need a plain white canvas fast.
- Centre the subject manually so it doesn't sit too high or too low in the frame.
- Check shadow remnants around the base of the product. Native cut-outs sometimes leave a faint edge.
If the item has clean contours, native Photos is often good enough for a same-day listing. If the item has fine fibres, shine, or transparency, inspect the edges before you publish.
A few product types work especially well here: shoes, mugs, folded apparel, books, boxed cosmetics, and rigid accessories. A few don't: soft knitwear, layered necklaces, hair accessories on models, and glassware with reflections.
Where this method starts to break
The biggest weakness isn't speed. It's repetition. Copying, pasting, centring, and exporting one by one gets tedious quickly. You also don't get much edge refinement control inside the native flow.
That's why I treat the Photos app as the urgent listing tool, not the catalogue tool. If you need to fix the source image first, a separate guide on how to blur background on iPhone can help when your original shot is too busy and you're deciding whether to reshoot or salvage it.
Batch Background Removal with the Files App and Shortcuts
Once you move beyond one image, the Files app becomes more useful than Photos.
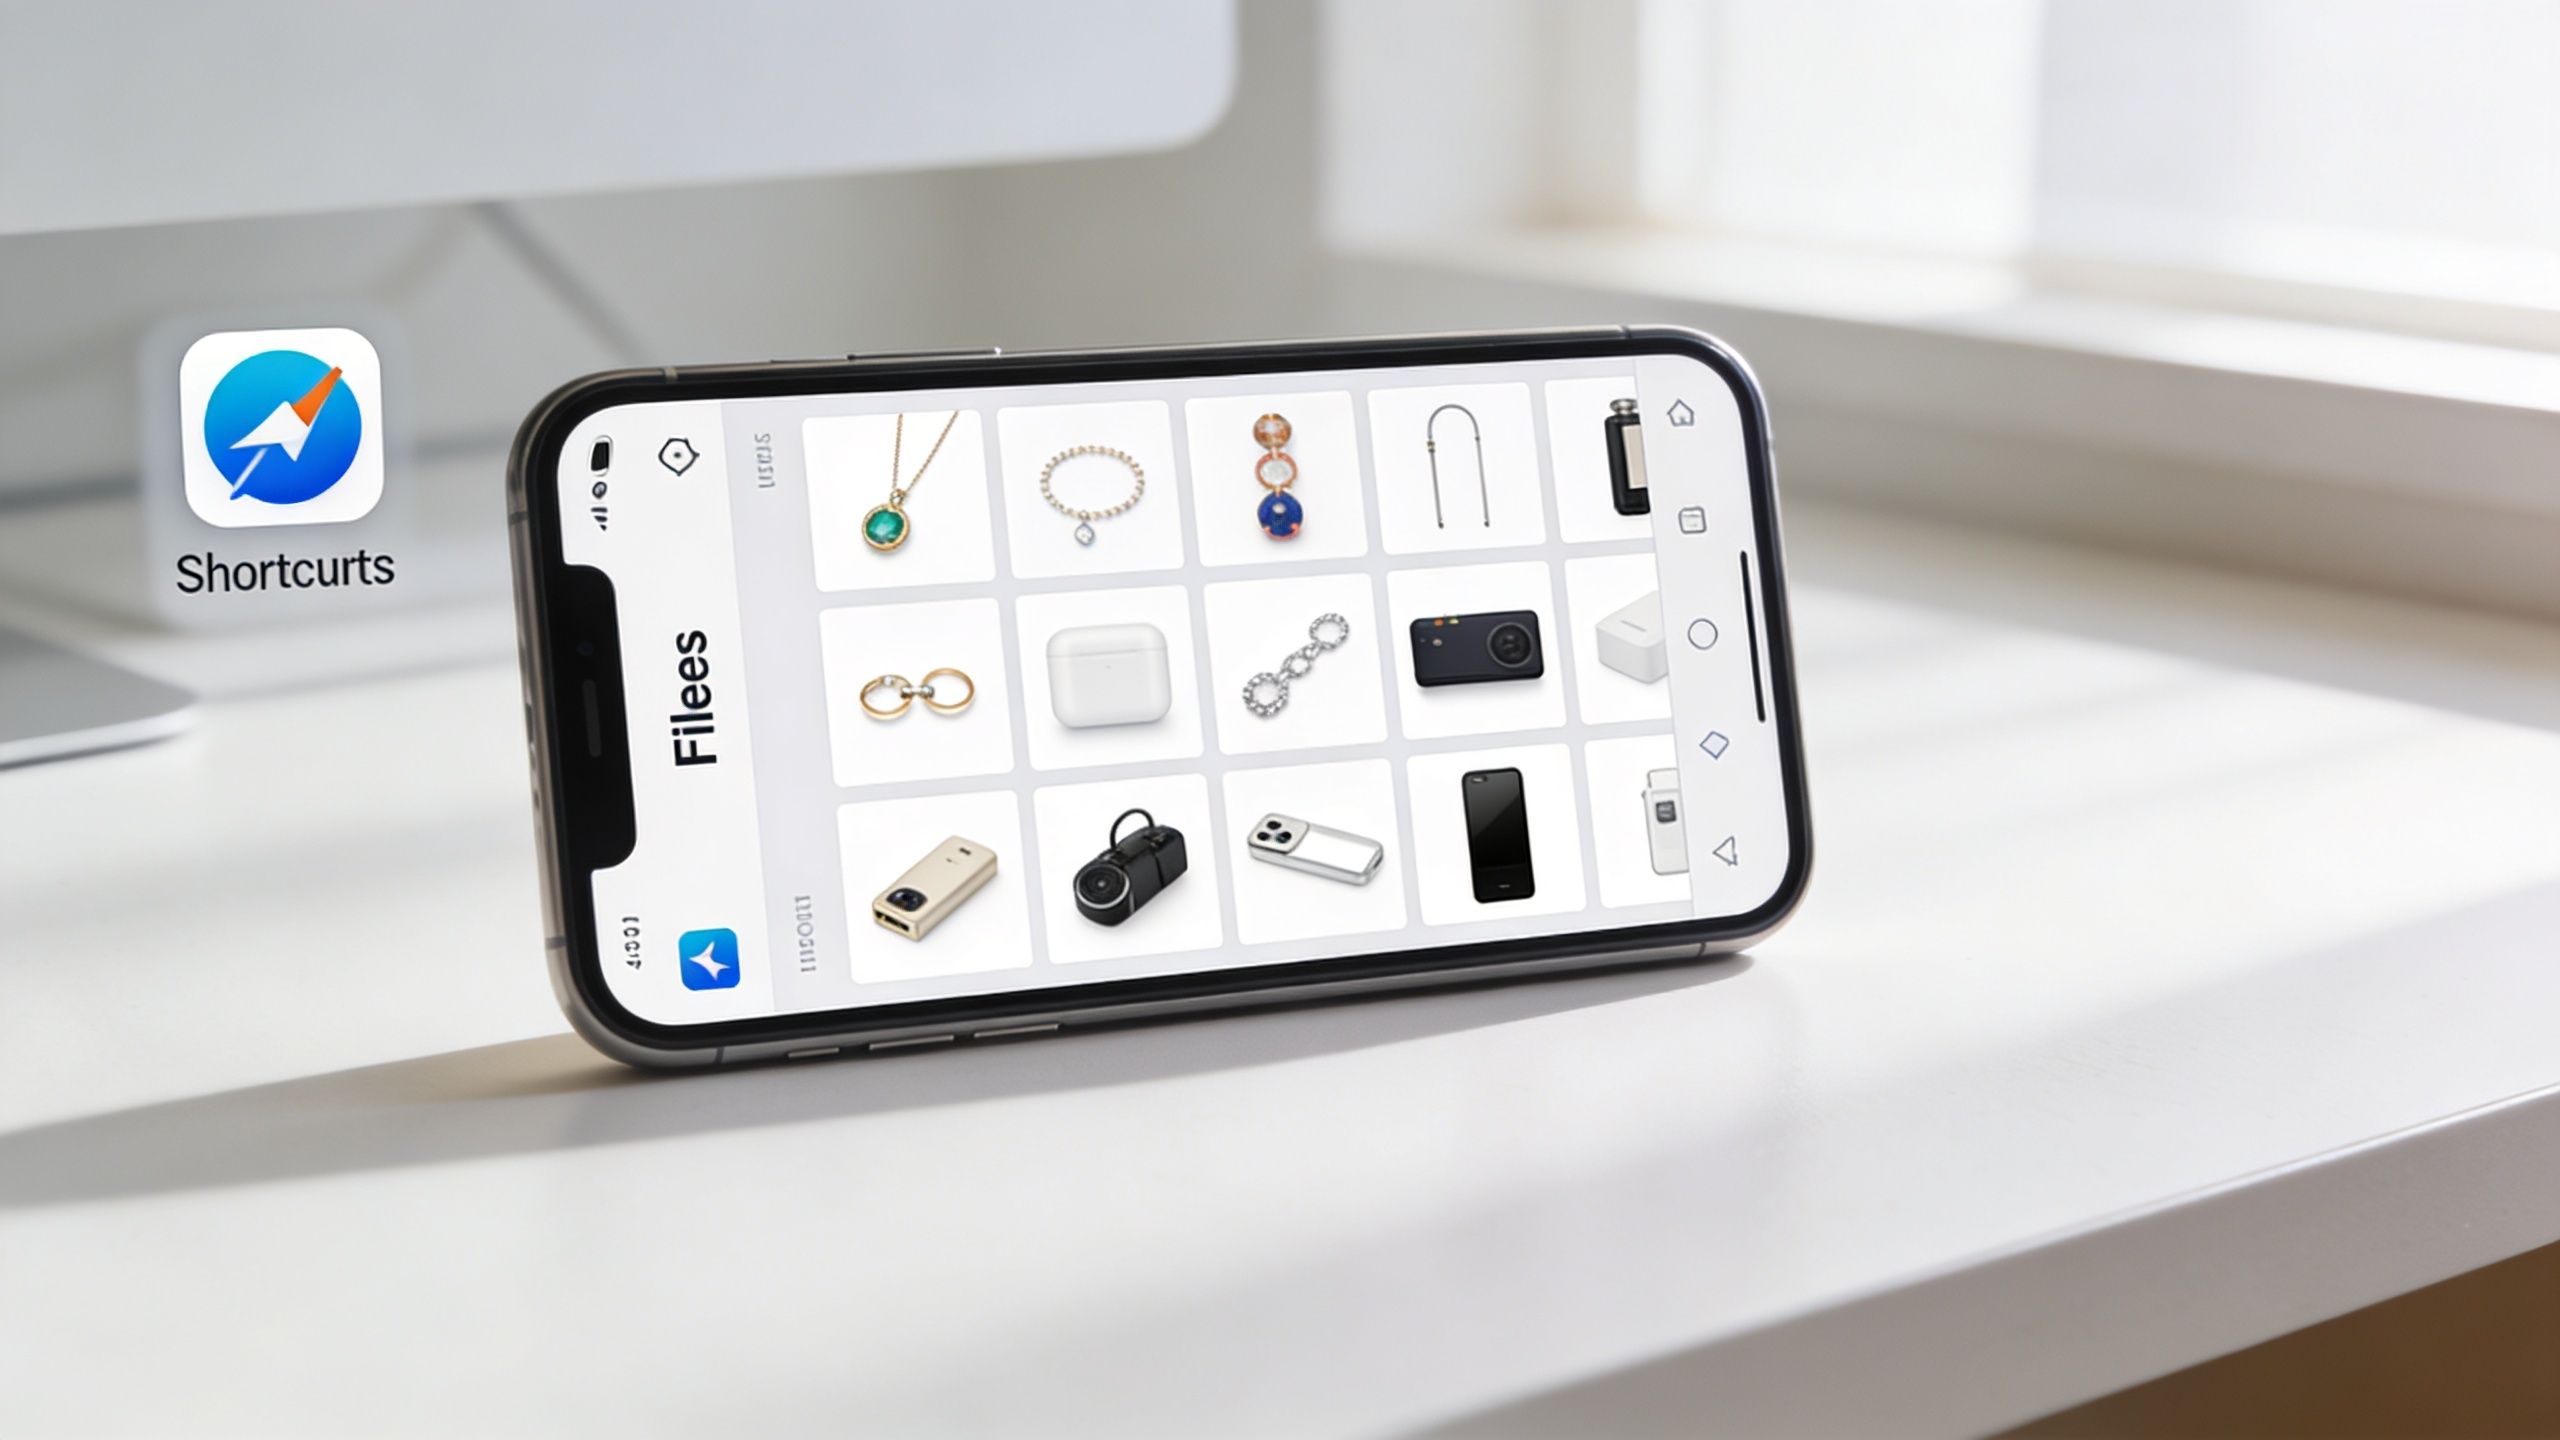
The hidden advantage is the Remove Background Quick Action. On iOS 17+, it handles small batches more efficiently, and according to TidBITS forum coverage cited in the brief, it's 1.8x faster than CapCut, with an 89% success rate on rigid products and 81% on reflective surfaces like jewellery.
Best use case for the Files workflow
This is the method I'd use for:
- a batch of new arrivals
- a small apparel drop
- a restock where the products were shot under the same lighting
- daily listing work where you want duplicates created cleanly
It's much more operational than the Photos method. You organise first, process second.
A practical batch setup
Start by moving the images into one folder inside Files. That sounds minor, but it prevents a lot of confusion later when duplicates start appearing as PNGs.
Then:
- Select the batch: Open the folder, tap the three-dot menu or long-press as needed, and choose your images.
- Run Quick Actions: Tap Remove Background.
- Review the output: iOS creates new files with transparency while leaving originals intact.
- Sort the failures early: Don't wait until upload time to notice a bad edge.
A good small-batch habit is to process, then immediately inspect at thumbnail level and full-screen. Hard goods often come through cleanly. Reflective items need a closer look because edges can blend into highlights.
Where Shortcuts helps
If you repeat this workflow often, adding a Shortcut makes sense. Even a simple automation that gathers selected files and passes them through your preferred actions saves taps and keeps the routine consistent.
What Shortcuts won't do is magically turn your phone into a production pipeline. It can reduce friction, but you're still doing mobile-first work with mobile constraints.
Working rule for sellers: Use Files when the task is repetitive but still manageable by eye. The moment you need bulk QC, reframing, and output variations, you're already pushing past what on-device editing is comfortable at.
One more practical point. Background-removed PNGs can get heavy, especially if you're preparing uploads for multiple channels. Before exporting a batch, it helps to understand how to reduce photo size on iPhone so you don't create a second problem while solving the first.
Exploring Third-Party Apps for Finer Control
Doing this for a whole catalog?
MerchLoom runs background removal, upscaling and AI editing across every product photo you have — one prompt, whole batch. Try 2 batches free, no signup.
Try it free
Native iPhone tools are strong when the subject is clear and the edge is obvious. They're less comfortable when the product itself creates ambiguity. Think sheer fabric, flyaway hair, gemstones, chrome, glass domes, or anything with gaps, chains, or semi-transparency.
That's where third-party apps earn their place. Not because they always remove backgrounds faster, but because they give you control after the automatic cut-out.
What you gain from a dedicated app
A proper editing app usually gives you some version of these tools:
- Erase and restore brushes for fixing mistakes manually
- Edge refinement around difficult contours
- Template-based canvases for listing formats
- Layer controls if you need to place the cut-out on a clean background properly
Those controls matter most on hero images. If one product image carries the click from your collection page, a rough edge costs more than the app subscription.
A useful companion read is this guide to professional image background removal, especially if you want to compare the native “good enough” approach with the more deliberate “listing-ready” standard.
When paying for an app makes sense
I wouldn't tell every seller to subscribe to another photo tool. Many don't need one.
A third-party app is usually worth it when:
| Situation | Native iPhone tools | Dedicated app |
|---|---|---|
| One quick listing | Usually enough | Often unnecessary |
| Simple products with solid edges | Strong fit | Overkill |
| Jewellery, hair, sheer textiles | Weak fit | Better choice |
| Brand-critical hero image | Risky if edges matter | Safer option |
The trade-off is time versus precision. Native tools save time upfront. Third-party tools save rework when the cut-out has to look polished.
The hidden cost sellers miss
The problem isn't just subscription pricing. It's inconsistency. If you edit a few images natively, a few in one app, and a few in another, your catalogue starts to drift. Framing changes. White backgrounds shift slightly. Product scale varies.
That's why sellers should use third-party apps selectively. Reserve them for images that require manual intervention. For a broader look at one common option, this breakdown of Canva background removal workflows is useful if Canva is already part of your listing stack.
Deciding on the Right Workflow for Your Store
Most sellers don't need one perfect method. They need a rule for choosing quickly.
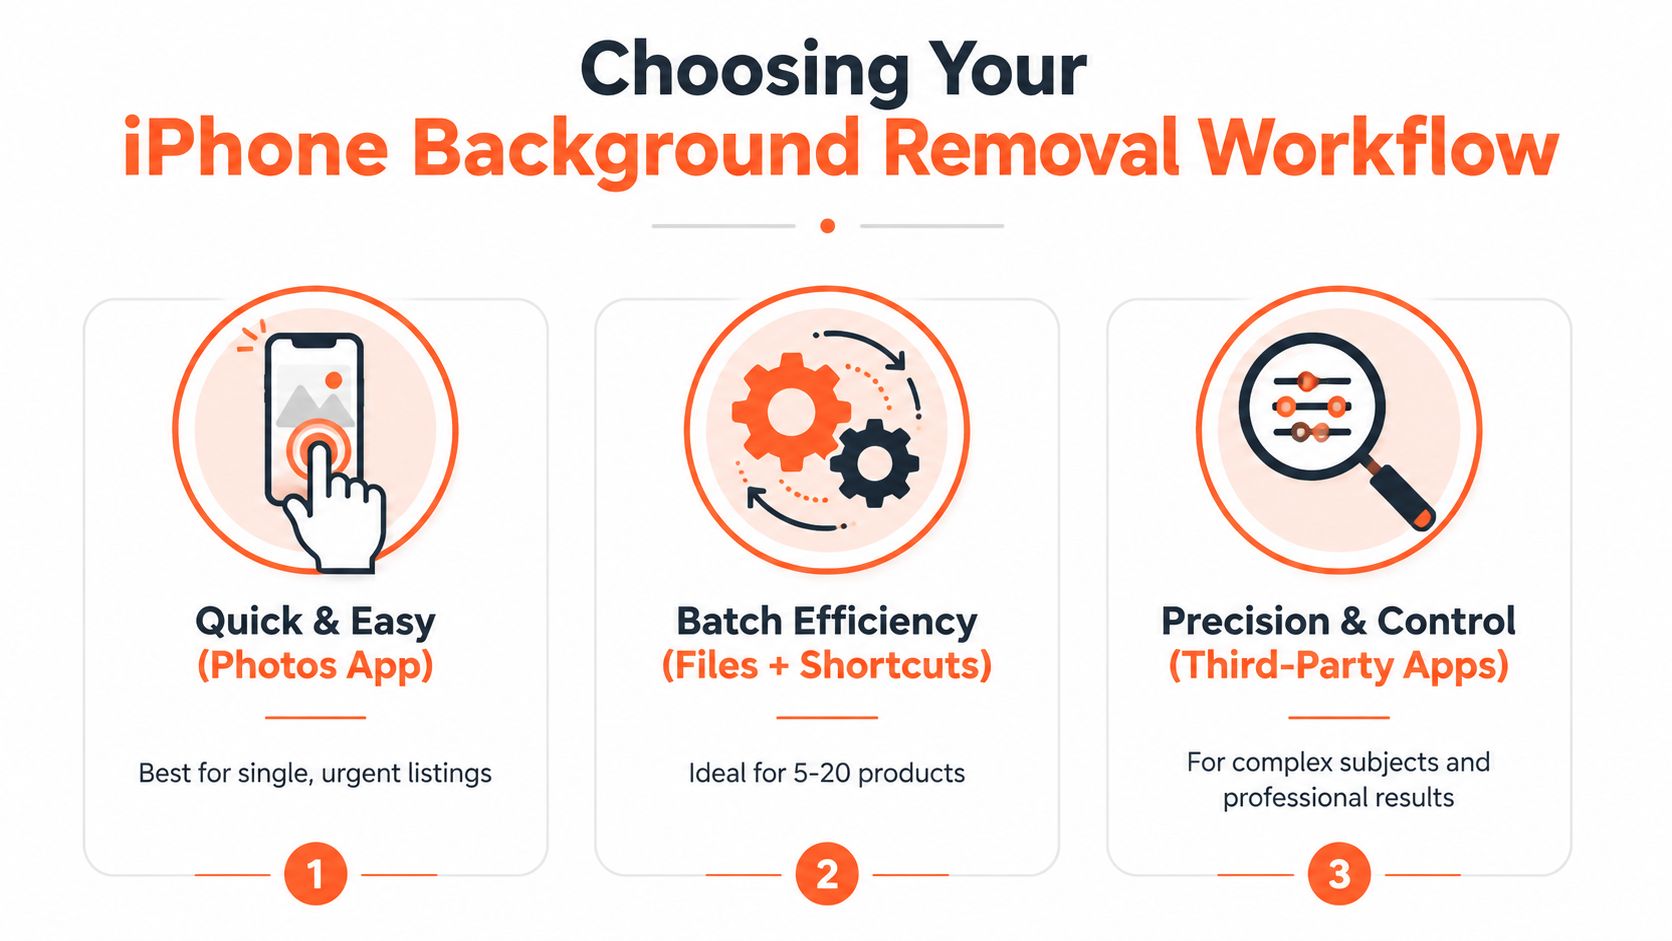
A simple decision filter
Use this mental flow:
One image, simple product, urgent listing
Start in Photos. It's the fastest path from camera roll to usable cut-out.Small set of products with similar lighting
Use Files + Quick Actions. You'll save time by processing a batch in one pass.Complex subject or flagship image
Open a third-party editor. Manual refinement is worth it when edges affect trust.
Compare the methods by the job, not by hype
Here's the practical comparison most store owners need:
| Workflow | Best for | Main advantage | Main drawback |
|---|---|---|---|
| Photos app | Single urgent edits | Fastest path to a cut-out | Weak manual refinement |
| Files + Shortcuts | Small batches | Better throughput on repeated tasks | QC still becomes manual |
| Third-party apps | Difficult subjects | More control over edges and output | More steps, often more cost |
The best workflow is the one you'll actually use consistently. A slightly less advanced method that you apply cleanly across every listing beats a “perfect” workflow you only manage for three products.
There's also a destination issue. Amazon, Shopify, and Etsy don't reward the same image habits. One may push you toward stricter backgrounds. Another gives you room for more branded styling. Your editing choice should follow the listing requirement, not the app that happens to be open.
A sensible store-owner rule
If you're a solo seller, set one threshold for escalation. For example:
- Start natively.
- If the edge looks wrong after a quick zoom-in, move to a third-party editor.
- If the quantity makes native processing annoying, stop doing it on-device.
That rule prevents the common mistake of trying to force every job through the same iPhone trick.
When Your iPhone Is Not Enough for Large Catalogues
At some point, the phone stops being a tool and starts being a bottleneck.
That tipping point usually appears when you're working through a real catalogue, not a handful of listings. The article brief's verified data notes that standard iPhone tutorials largely ignore batch needs, that on-device tools often fail on batches larger than 50 images due to memory constraints, and that AI batch pipelines can save up to 87% in processing costs by ordering steps efficiently, which matters for brands handling 500+ images monthly according to this source cited in the brief.
What breaks first on mobile
For growing stores, the issue isn't only background removal.
It's everything attached to it:
- Reframing for different marketplaces
- Keeping scale and centring consistent
- Generating outputs for more than one channel
- Reviewing results without constant re-exporting
- Avoiding repetitive manual fixes across similar images
A phone can handle pieces of that. It can't comfortably run the whole operation when the catalogue gets large.
Why catalogue work needs a pipeline
Once you're processing large sets, isolated edits stop making sense. You need a pipeline that handles the sequence in order. Remove background. Reframe. Resize. Upscale if needed. Review. Re-run only what failed.
That's very different from tapping through one image at a time on an iPhone screen.
If you're still relying on manual desktop tools for part of that process, it also helps to understand the older baseline. This guide on removing white backgrounds in Photoshop is a good reminder of how much labour traditional workflows can add when you're managing volume.
Cloud-based batch systems fit this stage because they process collections rather than isolated images. This is a key shift. When your business grows, image prep stops being “photo editing” and becomes operations.
If you've reached the point where your iPhone workflow can't keep up, MerchLoom is built for that jump. It lets you upload whole collections, chain tasks like background removal, reframing, colour correction, and upscaling, and process them as one organised workflow instead of one image at a time.
Stop editing product photos one at a time
Upload your catalog or connect your store. Describe the result once. MerchLoom does the rest.
Try it free — no signup