
How To Blur Background On iPhone For Scalable Product Photography
Master how to blur background on iPhone for pro product photos. A guide for e-commerce sellers using Portrait mode for catalog workflows.
If you're an online seller, the fastest way to get a professional, blurred-background look for your product photos is already in your pocket. Just open your iPhone's Camera app and find Portrait mode. It's the built-in feature that uses software to create a depth-of-field effect, but its real value isn't just one great photo—it's the first step in a high-volume, repeatable workflow for your entire catalog.
Why Your iPhone Is a Critical Tool for Batch Product Photography
Let's be real. As an e-commerce seller, you're drowning in product images. You don’t have time to pull out a DSLR setup for every new SKU. Your iPhone isn't just a phone; it's a vital part of your image production line, especially when you need to shoot hundreds of products quickly.
Getting good with your iPhone’s camera isn't about taking one perfect photo. It's about building a fast, repeatable process for your entire catalog. A simple, well-executed background blur makes your products pop—essential for grabbing a customer's attention on a crowded marketplace feed before they scroll past.
Boost Your Listings with a Professional, Consistent Look
That soft, out-of-focus background—what photographers call "bokeh"—isn't just a pretty effect. It has a real job to do for your business, especially at scale.
- It separates the product. Across hundreds of listings, a blurred background consistently tells the customer's eye exactly where to look, cutting through any visual noise.
- It creates a high-end feel. That depth effect mimics expensive camera gear, instantly making your entire product line feel more premium and valuable.
- It can improve click-through rates. On platforms like Etsy or Instagram, listings with clean, focused images are the ones that get the clicks. Consistency across all of them builds brand recognition.
Nailing that background blur on your iPhone is just the start of a much bigger, more efficient workflow. That blurred photo might be perfect for a lifestyle shot on social media. Or, it's the starting point before you process a batch of 200 images to create a compliant, pure white photoshoot background for your Amazon listings.
For sellers managing large catalogs, the goal isn’t a one-off artistic masterpiece. The goal is a consistent, professional look across every single listing. Your iPhone gets you 80% of the way there in seconds.
Ultimately, using your iPhone’s native tools is the first step in a powerful batch processing pipeline. Once you have your shots, a tool like MerchLoom can take your entire photo collection—hundreds at a time—and run it through a chained AI pipeline. It can automatically remove that blurred background for Amazon compliance, intelligently reframe the product for Shopify's square format, and upscale the final image to meet Etsy’s resolution requirements. This turns a painful, manual task into an automated, catalog-scale workflow.
Mastering Portrait Mode for E-Commerce Workflows
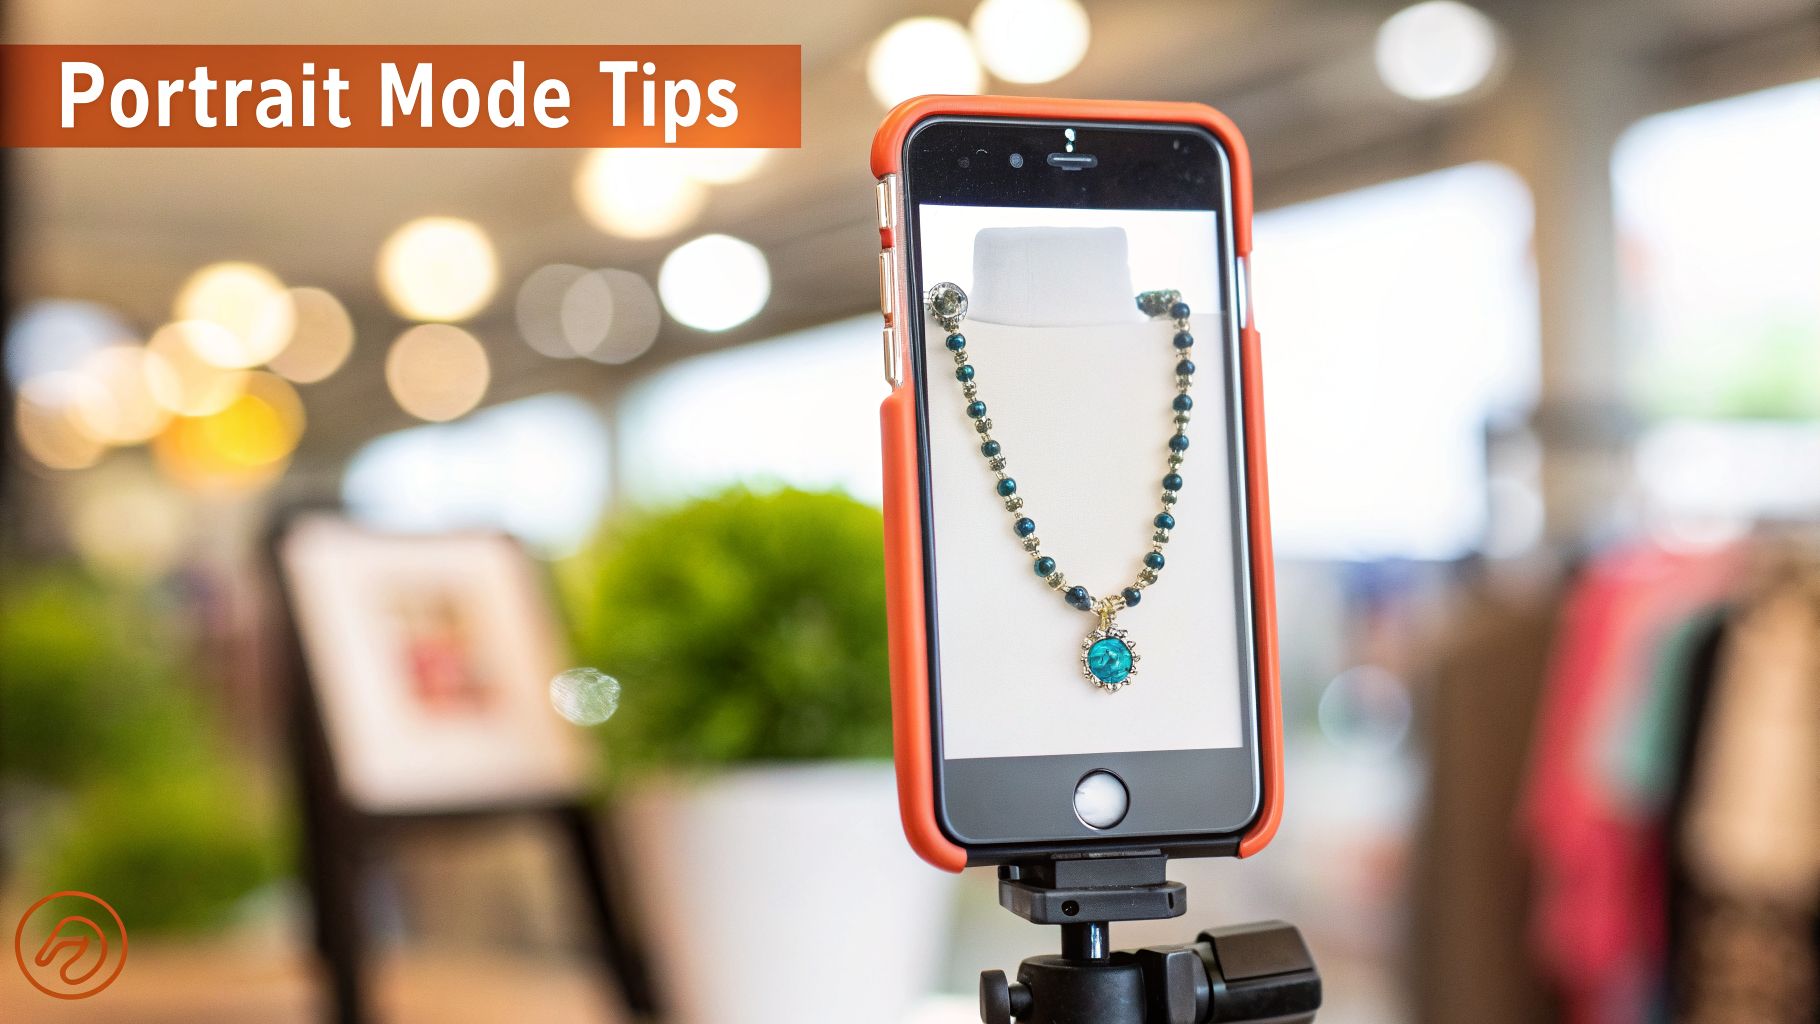
If you think Portrait mode is just for casual photos, you’re leaving money on the table. For an e-commerce seller, it's the fastest way to get pro-looking product shots straight from your iPhone. But there’s a catch: you have to use it with scale in mind, thinking about consistency from the very first tap.
Think of it as your portable studio for your entire product line. That mannequin, the handmade jewelry, the vintage lamp—Portrait mode is how you make them look like they belong in a real catalogue. The trick isn't just turning it on. It's building a repeatable process you can apply to every product in a new drop.
Getting the Shot Right, Every Time
First, open your Camera app and swipe over to Portrait. The background blurs instantly, giving you a live preview. But the phone's software is picky; it needs the right conditions to nail the effect consistently.
- Watch your distance. The camera will tell you what it needs: "Move farther away" or "Move closer." For most products, the sweet spot is between 0.5 and 2.5 metres. You’ll know you’re in the right zone when the "Natural Light" label turns yellow. That’s the signal that the depth effect is locked in.
- Light is everything. Forget fancy equipment. Soft, natural light from a window is your best friend for batch photography. It helps the software distinguish your product from the background, which means cleaner edges and a more natural blur. Stay away from harsh, direct sun—it creates hard shadows that confuse the algorithm.
The goal here isn't one perfect photo. It's a consistent setup. Same distance, same lighting, same angle. This ensures every product in your batch gets the same quality treatment, making batch editing easier later.
The most overlooked feature for sellers is the post-shot adjustment. This is where you move from taking a single nice photo to defining a consistent brand look across an entire product line.
The Key to Consistency: Depth Control
This is the game-changer for anyone managing a catalogue. After taking a Portrait mode shot, open it in the Photos app and hit "Edit." In the top left, you'll see an f-stop value, something like f / 2.8. Tap it. A slider appears at the bottom. This is the Depth Control slider, and it lets you dial the background blur up or down.
This is where you establish your brand's visual signature for a collection. Maybe a subtle f/4.0 blur looks best for your apparel. For jewelry, a more intense f/1.8 might be needed to make the product pop. Find that one f-stop value that defines the look for a collection and write it down. Now, you apply that exact same value to every single photo in that batch. This one step is how you achieve a uniform, professional look across all your listings.
You can learn more about precise blur adjustments in Apple's guide to see how their native tools are built for these workflows.
Once the blur is perfect, you still need a sharp subject. A soft background means nothing if the product itself is fuzzy. For challenging shots, you might need to sharpen them up; you can read our guide on how to sharpen an image in Photoshop for that final bit of pop. It’s a good final step before you send an entire batch of photos to a tool like MerchLoom for final marketplace-specific edits.
Workarounds for Older iPhones or Tricky Products
Portrait mode is a huge time-saver when it cooperates. But what happens when it doesn't? Maybe you're on an older iPhone without it, or you’re trying to photograph a product with fuzzy edges like a knit sweater or a piece of intricate wire jewelry. Suddenly, the built-in software just can't get the edges right.
This is a common headache when you’re trying to build a consistent look for your entire product catalogue. You can't afford to have a handful of great shots mixed in with a dozen that look amateur. The solution isn't to accept bad shots; it's to find a reliable tool for your workflow—a third-party app that brings controllable background blur to any iPhone. This isn't about a gimmicky filter; it's about a professional fix that works at scale.
Finding the Right App for Batch Work
The App Store is a flood of photo editors, but as a seller, your needs are specific. You need a clean, adjustable blur that mimics a real camera lens, and you need it to be repeatable across hundreds of images.
Two solid contenders that get the job done for product photographers are Focos and Phocus.
- Focos: This app is a powerhouse. It lets you take any regular photo and add a depth effect after the fact. Its real strength is precision. You can tweak the aperture size, change the bokeh shape, and "paint" focus onto specific areas—incredibly useful for cleaning up the edges around complex products that the iPhone's own software messes up.
- Phocus: Think of this as the simpler, more direct alternative. Phocus also applies a portrait effect after you've taken the picture, but its main focus is on speed. It's great for quickly applying a consistent blur across a batch of photos when you don’t need the super-detailed control that Focos offers.
The goal isn't just to blur a single background. It's to create a uniform depth of field that you can replicate across dozens of images. Find an app that lets you save your settings or makes it easy to remember the blur intensity you've chosen for a collection.
Your workflow should be straightforward: take all your product photos first. Then, open them one by one in your chosen app to apply the exact same blur setting. It’s a manual step, but it’s far faster and more reliable than fighting with Portrait mode on difficult products. Once you've nailed the blur, you might still need to get your product onto a compliant white background. You can read about that process in our guide on how to remove a background with GIMP.
Ultimately, these apps are a bridge. They get your images prepped for the most important step: batch processing. After you've achieved a consistent blur across the collection, you can upload all of them to a platform like MerchLoom, which handles the heavy lifting of reframing, background replacement, and upscaling for every marketplace you sell on.
The Pro Seller Workflow: From iPhone to Marketplace-Ready
Knowing how to blur a background on your iPhone is a good start. But for a real online seller, that's just one move in a much bigger game. The real work isn’t editing one photo; it’s processing hundreds, making them look consistent, and preparing them for every marketplace—each with its own maddening set of rules like square crops or pure white backgrounds.
Doing this for a whole catalog?
MerchLoom runs background removal, upscaling and AI editing across every product photo you have — one prompt, whole batch. Try 2 batches free, no signup.
Try it freeThis is where you stop thinking like a photographer and start thinking like a factory manager. Your product photos are inventory that needs to move down an assembly line. Snapping the shots on your iPhone is just the first station on that line.
From a Single Photo to a Batch Pipeline
Once you have a folder full of photos from your latest product drop, editing them one by one is a massive bottleneck. This is where you put the phone down and embrace automation. The goal is to take that whole collection of images and process it in one automated run. A batch processing tool is your command centre. Instead of opening each image, tweaking it, and saving it, you upload the entire folder at once. This is where a service like MerchLoom completely changes the game, letting you build a chained AI pipeline.
The professional workflow isn’t about perfecting one image. It’s about building an automated system that can process an entire catalogue while you get back to actually selling. That initial iPhone blur is just the raw material.
You upload your entire photo shoot—dozens, even hundreds of images—and tell the system what you need for each marketplace. This is how you handle the unique requirements for Amazon, Shopify, and Etsy, all at the same time.
Even if you're using an older iPhone without Portrait mode, the logic is the same. You just add one step at the beginning: use an app to create that initial blur, then feed those images into your batch processor.
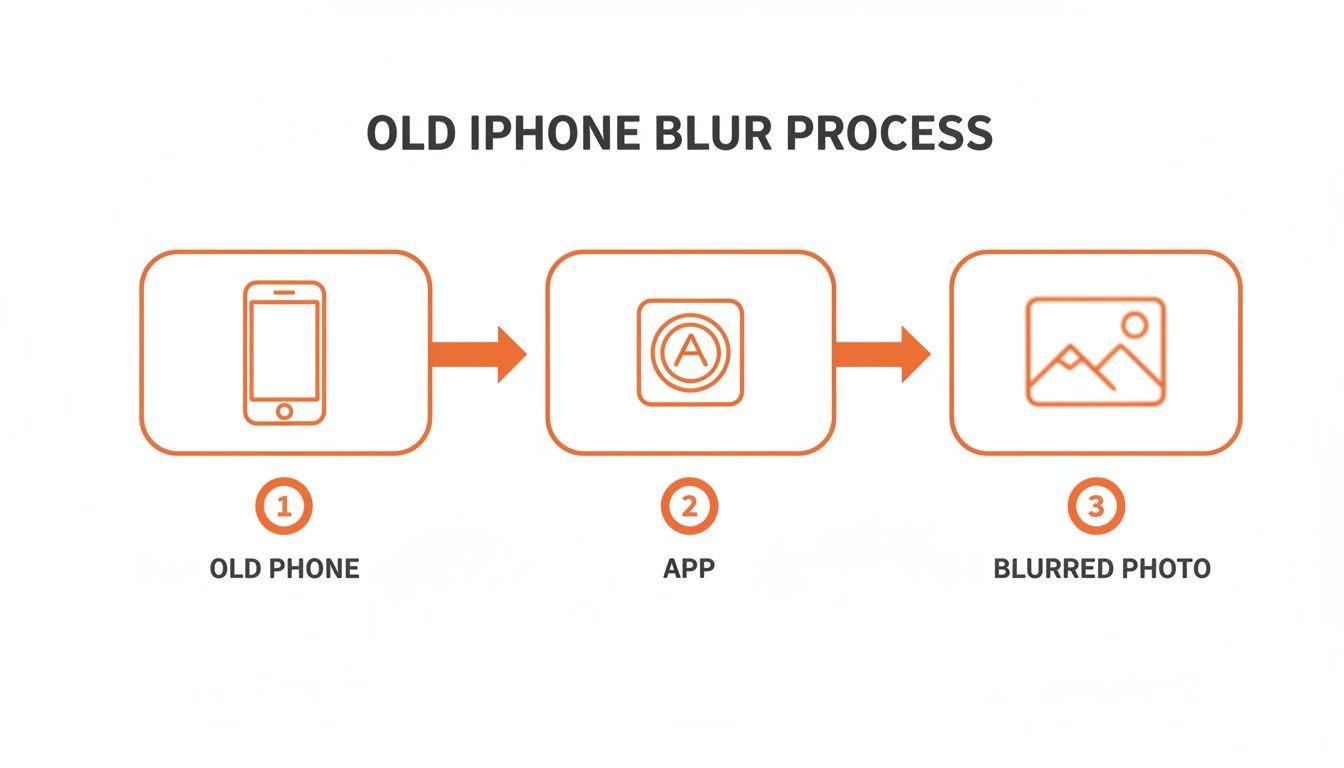
The process is fundamentally the same. You're just creating a suitable source image for the main batch-processing pipeline, even on older hardware.
Building Your Multi-Platform Pipeline
Let's say you just shot 100 new product photos. Here’s how that translates into a scalable, multi-platform workflow using an AI pipeline in a tool like MerchLoom:
For Amazon Compliance: Your first pipeline step is for Amazon. The system instantly removes the background from all 100 images and replaces it with a pure white one, ensuring you meet Amazon's strict image policies without opening a single file.
For Your Shopify Storefront: Next, you need square images. The pipeline can intelligently reframe the product in every photo, cropping the batch to a perfect square while keeping your product perfectly centred and scaled.
For Etsy and Social Media: For a platform like Etsy that demands high-resolution images, the same pipeline can upscale your photos to meet that 2000px requirement, all while keeping them sharp. You could even create another version that keeps the original artistic blur, ready for your Instagram feed.
This entire sequence happens automatically. You set the rules once, and the system chews through the whole batch. It’s about creating different finished assets from the same raw material. This approach saves countless hours and ensures your brand looks professional everywhere you sell. It even handles other tedious tasks, like when you need to remove colour from an image for a batch of schematic diagrams.
Getting Your iPhone Shots Right From the Start
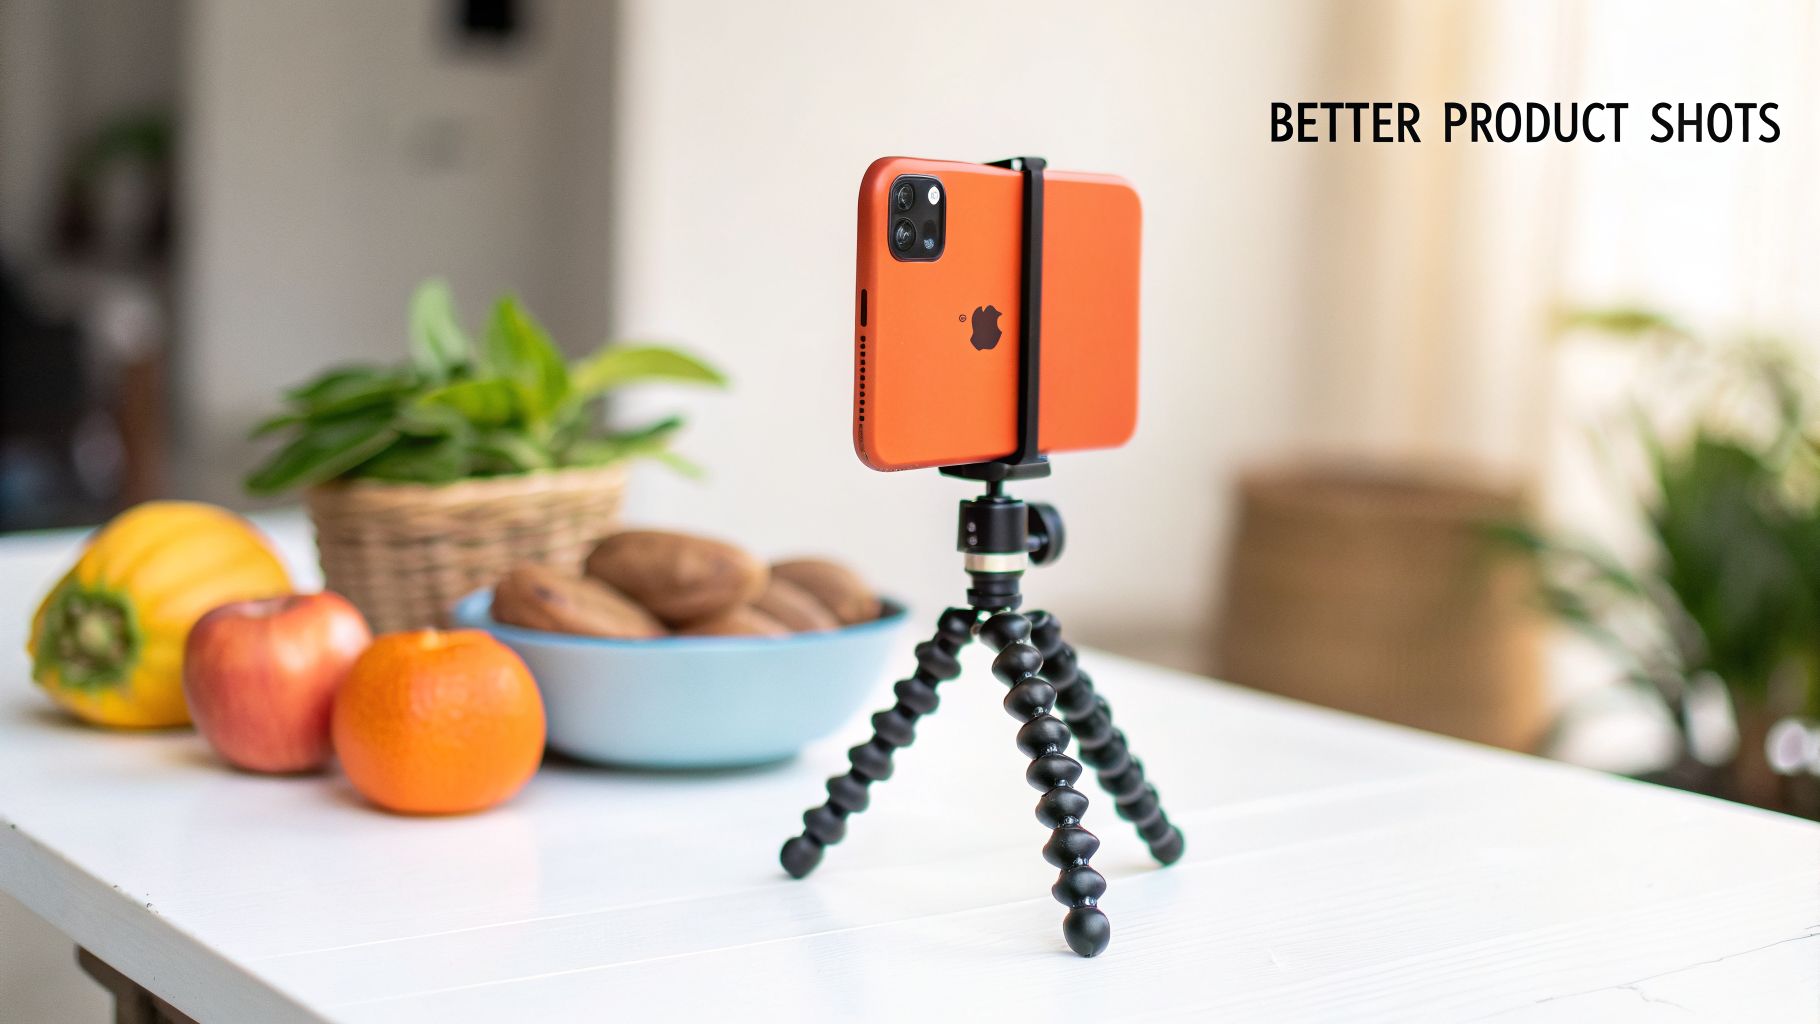
Learning how to blur the background on your iPhone is only half the job. The truth is, whether you’re using Portrait mode or a third-party app, the quality of that blur comes down to the quality of the photo you start with. Garbage in, garbage out. As someone who's shot thousands of products, I can tell you the fundamentals are what separate a pro-looking catalog from an amateur one.
Master Your Light and Distance for Better Edges
You don’t need a professional lighting rig. Your best friend for batch photography is a big window with soft, indirect sunlight. Set up your product near the window, but not in a direct sunbeam. This avoids the harsh shadows that confuse your iPhone’s blur algorithm and make edge detection a nightmare during background removal.
Distance is just as important for creating a natural blur across your entire product line. You need actual, physical separation between your product and the background.
- Product-to-Background: Put at least a metre of space between your product and whatever is behind it. This physical depth gives the camera’s software something real to work with, making the separation convincing.
- Camera-to-Product: Get your iPhone about 0.5 to 1.5 metres away from your product. This is the sweet spot where Portrait mode works best and the standard lens can capture sharp details without distortion.
The software is trying to mimic real-world physics. Give it more physical depth to work with, and the final blurred effect will look infinitely more natural across your entire batch of photos. A better starting photo always leads to a better final result.
Keep Your Setup Stable and Consistent
The slightest handshake can make your product look soft and kill a sale. A simple iPhone tripod is one of the smartest investments you can make. It guarantees every shot in your batch is sharp and framed identically, which is critical for a uniform storefront look.
And before you shoot a batch, wipe your iPhone lens with a microfibre cloth. Seriously. Fingerprints and dust are the number one reason photos come out hazy. It’s a two-second fix that makes a massive difference in clarity.
Once you’re set up, it’s all about consistency, especially when shooting a whole collection. Use the same:
- Lighting: Shoot at the same time of day.
- Angles: Lock your tripod in place.
- Distance: Keep product-to-background spacing identical.
This consistency makes a storefront look cohesive and makes your life easier in post-processing. Your images will need fewer one-off adjustments before you can confidently move on to more advanced batch edits, like learning how to change a car's colour for vehicle listings, or just sending your entire batch to MerchLoom to get them ready for any marketplace, automatically.
FAQs from E-commerce Sellers
You’re managing a whole catalogue, not just one perfect shot. When you're trying to get a hundred listings live, the little questions are what really slow you down. Here are the answers to the questions we see sellers ask most often.
Is Portrait Mode Good Enough for All My Products?
Honestly? No. Portrait mode is brilliant for simple, solid items—a hardcover book, a ceramic mug, a bottle of wine. The software can easily find the edges.
But throw it something complex and you'll see where it fails. A fuzzy sweater, a delicate chain necklace, a plant with fine leaves—the AI gets confused. It will blur the edges of your actual product, making your photos look amateurish. For those tricky items, don't fight it. Just shoot them against a plain, contrasting background and use a proper background removal service like MerchLoom later. You'll get crisp, perfect edges every time across the whole batch.
Should I Blur the Background When I Shoot or Do It Later?
For your actual product listings, it's a terrible workflow to rely only on in-camera blur. You should always capture a sharp, perfectly lit photo first. Think of this as your master file for the entire batch. From that one sharp master image, you can then create every version you need: one with a blurred background for a social media post, and one with a pure white background for your Amazon or Shopify listing. Working from a sharp master file is non-destructive and gives you the flexibility you need to run a real e-commerce business at scale.
How Do I Keep the Background Blur Consistent Across All My Photos?
Consistency is what separates a real brand from a hobbyist's page. The key here is the Depth Control slider in your iPhone’s Photos app.
After your first shot in Portrait mode, hit 'Edit' and check the f-stop number (e.g., f/2.8). That number is your new rule for the entire collection. Your only job is to ensure every other photo in that shoot is set to that exact same f-stop. This creates a uniform look across your entire collection, builds visual trust, and makes your whole storefront feel more professional.
Tired of editing photos one by one? You can stop. MerchLoom is built for the entire e-commerce workflow—upload hundreds of images and let its chained AI pipelines handle the background removal, reframing, and upscaling for Amazon, Shopify, and Etsy all at once. Try MerchLoom for free today.
Stop editing product photos one at a time
Upload your catalog or connect your store. Describe the result once. MerchLoom does the rest.
Try it free — no signup