
9 Product Photoshoot Styles for Ecommerce to Scale Catalogs
Discover 9 product photoshoot styles for ecommerce with setup tips, batch workflows, and examples to scale your catalog efficiently.
You're staring at a backlog of product photos, and every SKU seems to need a different image set. One shot is never enough, because a marketplace listing, a Shopify PDP, and an Etsy gallery all ask different questions. The fastest way through it is to treat product photoshoot styles for ecommerce as a repeatable catalog system, not a one-off creative exercise.
Start with the hero image format your platform requires, then build the rest of the set around the buyer question each image answers. Amazon's main image rules are strict, the background must be pure white RGB 255,255,255, and the product needs to fill at least 85% of the frame according to Photoroom's summary of Amazon image rules in its ecommerce photo guide, which also notes that Amazon recommends at least six images total with detail, infographic, or lifestyle slots reserved for the rest of the carousel (Photoroom's ecommerce image rules). For Etsy, aim for 2000 pixels on the shortest side, and for Shopify, keep square images up to 4472 by 4472 pixels so you can reuse the same source file across storefronts where possible (BigCommerce's image sizing guidance).
The catalog-scale mistake is shooting one beautiful image and then improvising the other 199. That breaks consistency, slows exports, and creates rework when Amazon, Etsy, and Shopify each need a slightly different crop or background treatment. The better system is simple. Shoot the product in a clean base format, then derive lifestyle, detail, angle, and packaging variations from the same batch.
1. Pure White Background with Product Isolation
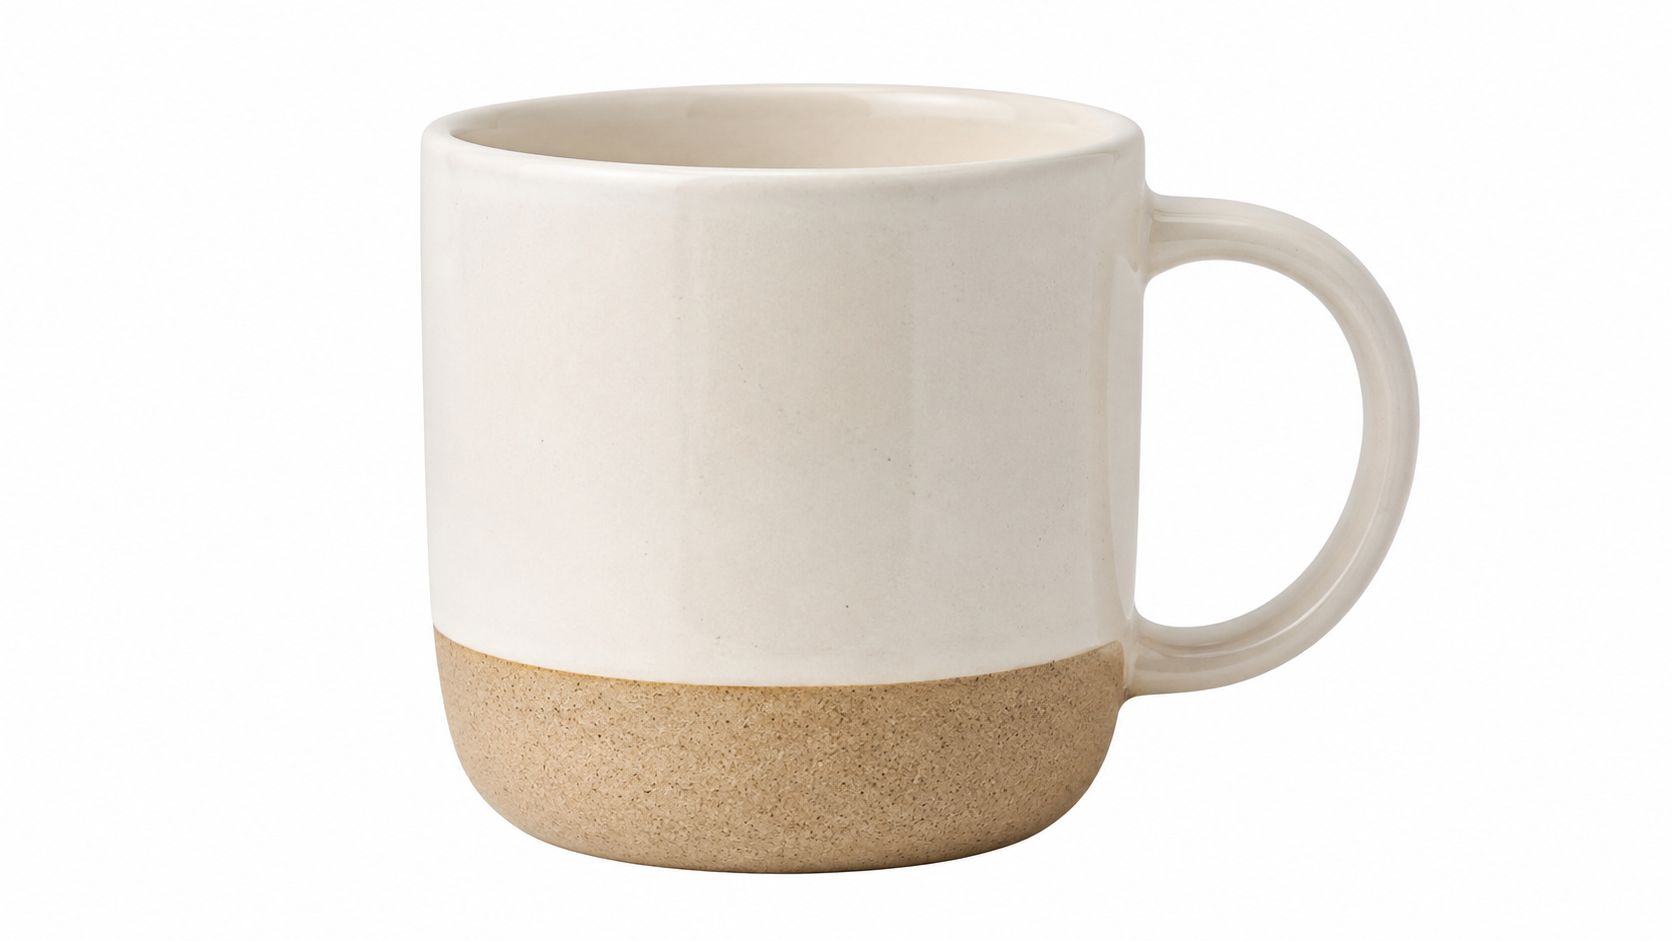
A pure white isolation shot is the baseline for marketplaces, and it's the first style I'd standardize across a large catalog. It keeps the product clear, reduces distractions, and gives you a clean starting point for every other export. This is the format most sellers need first for Amazon, and it also works well for eBay electronics, collectible listings, and smaller Shopify catalogs like jewelry or components.
How to set it up without creating extra work later
Shoot against a light gray or white backdrop, not a harsh pure white in-camera. Pure white is hard to keep clean without blowing out edges, especially when you repeat the process across hundreds of items. Use two side-fill lights and one overhead light so shadows stay controlled, then keep the product centered and the camera angle consistent.
At scale, the job is not taking the shot. It's keeping white balance, exposure, and shadow depth consistent across the whole batch. A smart workflow is to process 10 to 20 test items first, especially if you're dealing with matte, glossy, or translucent materials. Once the settings are right, batch the full set and use one reference image per category as the shadow benchmark.
Practical rule: If your source images don't already have a neutral background, background cleanup gets expensive fast across a large catalog. A light gray sweep or white set is easier to normalize than fixing every edge by hand later.
One more detail matters for reuse. Store the source file at 1600 pixels on the longest side for Amazon, then scale only if a platform needs it, like Etsy's shortest-side target or Shopify's square export range. That saves time when the same product has to appear in multiple channels with slightly different crop rules.
MerchLoom's guide to a white photoshoot background is useful here because the workflow is the same whether you're processing five products or five hundred. The point is consistency first, cleanup second.
2. Lifestyle and In-Context Shooting
Lifestyle images do a different job. They sell scale, use case, and mood. A sweater on a model, a lamp in a room, or a skincare bottle on a bathroom counter tells the shopper what the object feels like in real life, not just what it looks like in a vacuum.
That matters on catalog pages because the style that wins attention isn't always the style that closes the sale. In a 2024 analysis of 10,000 stores, lifestyle hero images produced 32% higher click-through rates from collection pages than studio-only hero images, while studio shots first on the product detail page correlated with a 19% higher add-to-cart rate (SellHound's lifestyle vs. studio product photo analysis). That's the whole trade-off in one pattern. Lifestyle gets the click, studio often helps the decision.
Keep the scene reusable, not random
For a solo seller, lifestyle work gets out of hand when each SKU needs a brand-new location, prop set, and lighting setup. The better approach is a shot list per category. For example, a sweater might need “on model, knit detail, folded flat, outdoor lifestyle,” while a candle might need “bathroom shelf, close-up label, lit scene, box shot.” Reuse the same 3 to 5 models, rooms, or backgrounds across the season so the catalog doesn't look stitched together from unrelated shoots.
Shoot the lifestyle batch in one or two days if you can. Same crew, same lighting, same props, same color treatment. That's how you keep room tone, skin tone, and shadows aligned across the set.
A lot of sellers use lifestyle as the primary image on Etsy, Instagram, or their own brand site, but keep it secondary on Amazon and eBay. That's the safer structure when compliance matters. If you're short on time, make lifestyle the hero only for a few key SKUs and use it as a secondary image elsewhere.
MerchLoom's AI product lifestyle image generator fits this workflow well because you can test in-context scenes before you commit to costly styling. That doesn't replace review, and it shouldn't. It does help you draft scene options across a full collection faster than building each one by hand.
3. On-Model and Fit Photography
Apparel lives or dies on fit. A shirt flat on a table won't answer the same questions as a shirt on a human body, and a handbag on a hook won't show the same scale as one worn over the shoulder. On-model photography earns its place because it shows drape, proportion, and styling in a way a flat image can't.
This style is common on Poshmark, Depop, Etsy fashion shops, Amazon Fashion, and small DTC apparel brands. The product should stay centered, and the model should be styled so the garment stays readable. The goal is not a fashion editorial look. The goal is a repeatable fit view that helps shoppers understand what they're buying.
Build the shoot around consistency, not improvisation
For catalog scale, use one model or dress form per season or collection if possible. That keeps body shape, posture, and fit presentation stable across SKUs. If you're shooting 50 to 500 items, changing the model style halfway through creates a visual mismatch that shows up immediately in the grid.
Use a standardized pose for the first image, then capture back, side, and detail views in the same order for every SKU. Keep the lighting rig static, one key light, one fill light, one background light, and move the model and product into frame instead of rebuilding the lighting every time. That saves hours over a long batch.
MerchLoom's models photo shoot guide aligns with this category because the same basic logic applies whether you're photographing one vintage jacket or a whole seasonal drop. Shoot in RAW, batch the white balance and skin tone edits later, and keep a checklist at hand so you don't skip a back view or detail frame in the middle of a long day.
Practical rule: If the garment needs heavy retouching to look right, the styling or fit is probably off. Fix the drape first, then retouch lightly.
A good repeatable pose system saves catalog sellers the most time and reduces rework more than any editing trick.
4. Flat Lay and Styled Arrangement
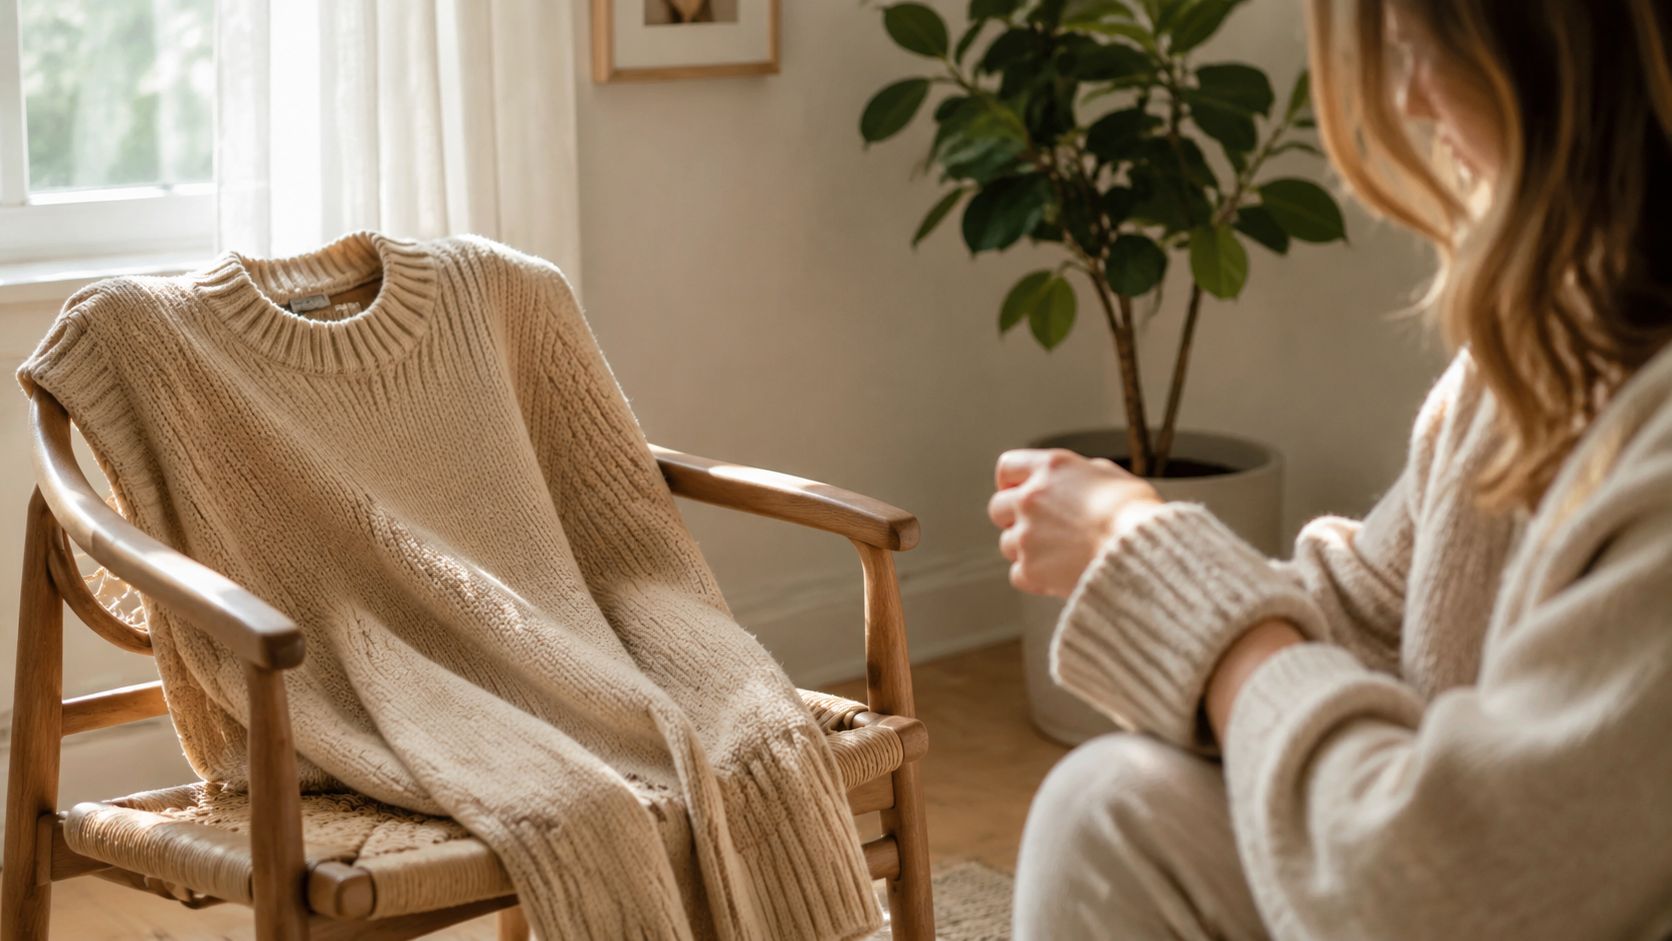
Flat lay work is efficient because the camera doesn't move much. You build the scene from overhead, arrange the products, shoot, then swap the items and repeat. For stationery, beauty kits, small accessories, and boutique collections, that makes it one of the easiest styles to batch across a full catalog.
The strength of flat lay is structure. It lets you show color variation, kit contents, and relationships between items without needing a model or a room set. Etsy stationery, home goods collections, and social-ready product groupings often benefit from this style because it feels organized and easy to scan.
Keep the layout system tight
Pick one surface material and reuse it for the whole category. White paper, wood, marble, or fabric can all work, but mixing surfaces across a collection makes the storefront look inconsistent. Use a fixed overhead rig, a tripod, and a mounted light source so exposure stays the same even when the arrangement changes.
For sharpness, shoot at f/11 or f/16. That keeps every item in the layout crisp, which matters when the customer is comparing packaging, labels, or small accessories. A remote shutter or timer helps avoid camera shake when you're shooting multiple setups in the same session.
Odd-number groupings often look more natural, so arrangements of 3, 5, or 7 can help. Leave negative space around the products so the frame doesn't feel cluttered. If the item size is ambiguous, add a ruler, coin, hand, or another known object for scale.
Batching is where this style pays off. You can shoot 15 to 30 flat lays in a few hours if the camera height, lighting, and background stay locked. Tag those files separately in your folders so later processing can apply slightly different treatments than your studio isolation shots.
MerchLoom's lay flat photography guide matches this approach because flat lays are easiest to scale when every file enters the same overhead workflow. That's what keeps a seasonal collection from turning into a pile of mismatched arrangements.
5. Detail and Close-Up Macro Photography
Detail shots answer the questions buyers ask right before they buy. Is the stitching clean, does the metal look solid, how does the glaze behave under light, what's on the label, and how fine is the weave? These images belong in the secondary slots because they reduce uncertainty without crowding the main image.
Etsy jewelry, handmade goods, apparel labels, ceramic glaze, wood grain, leather tooling, and vintage collectibles all benefit from close-up frames. They show craftsmanship and condition in a way the hero image can't. For catalog sellers, they're also one of the most repeatable shot types because the rig doesn't change much once it's set.
Use the same macro setup until the texture changes
A macro ring light helps with even illumination, especially for small items. Keep the product surface clean before every shot, because dust gets exaggerated when you zoom in. Shoot at f/5.6 to f/11 so as much detail as possible stays sharp, and tilt the camera or light when you need to reveal texture rather than flatten it.
Doing this for a whole catalog?
MerchLoom runs background removal, upscaling and AI editing across every product photo you have — one prompt, whole batch. Try 2 batches free, no signup.
Try it freeProducts with very different surfaces need different light behavior. Smooth metal, rough fabric, and carved wood don't respond the same way, so don't force one lighting angle across all categories. For high-magnification work, focus stacking can help, but it's slow, so reserve it for hero detail frames rather than every SKU.
Practical rule: Detail photos should prove quality, not decorate the listing. If the close-up doesn't answer a buyer question, it's taking a slot that could have shown stitching, a seam, a hallmark, or a label.
I'd still batch these by material group. Shoot all leather goods together, then all jewelry, then all fabric close-ups. That keeps the sharpening, color correction, and focus handling more consistent when you process the set later.
MerchLoom's small items photography guide fits neatly into this workflow because macro work rewards repetition. Once the camera position is right, the only thing that should change is the item itself.
6. Multiple Angle or 360-Degree Spin Photography
Some products need more than one point of view because the shape matters as much as the surface. Handbags, footwear, furniture, collectibles, and anything with hidden sides or moving parts benefit from multiple-angle coverage. If the shopper can't see the back, interior, thickness, or underside, the listing feels incomplete.
This is one of the most useful styles for larger catalogs because it reduces the need for long description copy. The image carousel does the explanation. A front view, side view, back view, top view, and detail sequence often answer the practical questions faster than text ever will.
Build the sequence so the carousel works for you
If budget allows, a motorized turntable saves time on large batches, and the plan notes here are realistic. For a setup like that, the price is usually in the $2000 to $5000 range, which is only worth it if you're processing a lot of SKUs and need time savings at scale. The bigger win is consistency, because the camera stays fixed while the product rotates through the same lighting.
Use 10 to 15 degree intervals if you want smooth playback, and name files in order so the export doesn't scramble. A sequence like product_angle_001, product_angle_002, and so on keeps processing clean for carousel viewers. Keep the camera 3 to 5 feet from the product, and don't change aperture or lighting mid-sequence.
The operational cost here is time, not just capture. Multi-angle shoots and processing take longer than single-angle isolation work, but the payoff shows up when size or construction is hard to judge from one frame. That's why this style matters more for furniture, bags, footwear, and high-value collectibles than for simple packaged goods.
MerchLoom can process one correction across all 36 images of a product in one pass, which is useful when you're standardizing a turntable batch and don't want every angle to drift. Keep the review human, though. Automation should preserve the sequence, not decide whether the angles answer the buyer's question.
7. Packaged and Unboxing Presentation
Packaging matters more than sellers sometimes think. For gifts, collectibles, premium beauty, and branded goods, the box is part of the product experience. A clean packaged shot tells the shopper what arrives, how it's presented, and whether the brand has thought about unboxing.
This style is secondary for many listings, but it can be primary for packaging-heavy categories. That includes luxury items, limited-edition figures, and giftable products where the box signals value. It also works well for Amazon, Etsy, and eBay when the packaging itself is a selling point.
Keep the box clean and the sequence realistic
Use the same white-background setup you'd use for isolation shots, then add diffused side lighting to reduce glare. Glossy and metallic packaging often needs a polarizing filter if reflections are getting in the way. Shoot the front of the box, a 45-degree angle, a top corner angle, and then the unboxing sequence.
That sequence should follow the actual customer experience. Closed box first, then partially open, then fully open, then contents arranged, then the product removed. If the packaging is pristine and you need it for shipments, use a test box for the shoot and keep the saleable inventory untouched.
Strong packaging photography makes the listing feel more complete, but it can't hide weak product presentation. The box should support the product, not replace the need for clear hero and detail shots.
At catalog scale, packaging work is efficient because the box stays consistent within a SKU. The challenge is category drift. Different box materials, sizes, and reflective finishes need their own light tweaks, so batch packaged items by packaging type instead of mixing them all into one long shoot.
The result is a better carousel and fewer surprises after purchase, especially when the box design is part of the brand story.
8. Contextual and Environmental Placement
Environmental placement moves the product out of the white sweep and into a setting that makes immediate sense. A chair in a room, a bottle on a shelf, boots on a trail, or a desk lamp on a workbench gives the shopper scale and context quickly. That is why this style shows up so often in home décor, furniture, outdoor gear, and brand-led DTC pages.
The trade-off is trust. A polished room can look strong on a product page, but if the scene hides size, color, or material truth, the shopper may feel misled. Contextual shots work best when they sit beside proof images like white-background views, close-ups, and clear scale references.
Reuse the room, not the labor
A catalog seller does not need a new room for every SKU. Build 3 to 5 hero environments per category, such as a modern bedroom, bohemian living room, minimalist kitchen, or outdoor campsite, then reuse those scenes across related products. Shoot each environment once with controlled light and styling, then swap products in and out without restyling the whole set.
Keep the color palette consistent across the collection. That does not mean every room has to look identical. It means the collection page stays coherent instead of reading like a patchwork of unrelated design choices. If the product size is unclear, place a person in frame or use a known furniture item as the scale anchor.
Batching matters here too. Shoot one environment, then bring in the next product without changing the room's basic structure. That keeps the catalog consistent and reduces setup variance, which usually turns into extra retouching later.
MerchLoom's AI product photo tools can help at the planning stage, but they should stay in a support role. Use them to test placements and scene variations, then compare the result with the actual product and the intended use case. For teams that also need to compare small business CMS options, it helps to keep the image workflow and the publishing workflow separate so the final asset still matches what the customer will receive.
9. Catalogue-Scale Batch Workflows and MerchLoom Guidelines
A large store usually struggles because the workflow is manual, not because the creative idea is weak. Sellers lose time re-editing white backgrounds, renaming files one by one, or rebuilding the same exports for Amazon, Etsy, and Shopify. A batch workflow fixes that by starting before the shoot and ending only when every file is ready for its platform.
MerchLoom fits that kind of setup because it can run chained AI pipelines across an entire collection instead of handling each image in isolation. The first images can be tried without an account, and it uses pay-per-image pricing with credits that never expire, so you can test a batch before committing to a larger run. Human review still belongs in the process. Automation speeds the work, but it does not make the styling, crop, or final selection decision for you.
Set the workflow before you touch the shutter
Start by sorting source files by category and image type. Use filenames that make downstream work obvious, such as sku123_white, sku123_lifestyle, or sku123_detail. That keeps post-processing simple when you apply different crops, sharpening, and background treatments to the same product set.
Then define export rules for each platform before editing begins. Amazon main images need pure white and a long side of at least 1600 pixels according to the platform guidance cited earlier. Etsy needs 2000 pixels on the shortest side. Shopify often uses square images up to 4472 by 4472 pixels. If you set those constraints after editing, you spend extra time resizing files that could have been exported correctly on the first pass.
Practical rule: remove backgrounds before you upscale when the image needs both. Smaller files are cheaper to process, and the output stays easier to review before you push it into the catalog.
A useful batch workflow also matches shot type to product risk. White isolation covers compliance, lifestyle images draw attention, detail shots build confidence, angle sets support fit and structure, and packaging or environmental shots only make sense where they help sell the item. For marketplace sellers, that mix usually covers the main buyer questions without creating a file pile that becomes hard to manage.
If your store already runs on Shopify, WooCommerce, BigCommerce, Amazon S3, Cloudinary, Google Drive, Dropbox, or similar storage, MerchLoom can pull from those sources and run the batch without forcing you to rebuild the rest of your process. That matters because the bottleneck is rarely capture. It is getting the right version of each image into the right place in the right format. If you also need to manage product data alongside the image workflow, compare small business CMS options to find a system that fits the way your catalog is published.
9-Style Ecommerce Photoshoot Comparison
| Item | Implementation Complexity 🔄 | Resource Requirements ⚡ | Expected Outcomes ⭐ | Ideal Use Cases 📊 | Key Advantages 💡 |
|---|---|---|---|---|---|
| Pure White Background with Product Isolation | Low–Medium, studio setup or automated batch removal | Seamless backdrop, basic studio lights, background‑removal tooling for scale | ⭐⭐⭐⭐, high conversion, compliant primary images | Marketplaces (Amazon, eBay), large catalog primary shots | Compliance, uniform thumbnails, fast loads, easy batch correction |
| Lifestyle and In-Context Shooting | High, location/styling and varied lighting | Models, stylists, props, location fees or AI scene compositing | ⭐⭐⭐⭐, higher engagement; +15–25% conversion vs isolation | Brand sites, Etsy, social, hero/product highlight images | Emotional context, aspirational storytelling, standout thumbnails |
| On-Model and Fit Photography | Medium–High, multiple angles and consistent poses | Model or dress form, wardrobe stylist, studio rig, retouching | ⭐⭐⭐⭐, industry standard for apparel; improves sizing confidence | Apparel, footwear, accessories, DTC fashion stores | Shows fit/drape, builds sizing trust, supports styling combos |
| Flat Lay and Styled Arrangement | Low–Medium, repeatable overhead rig and composition | Overhead tripod/rig, consistent surface, props library | ⭐⭐⭐, efficient for sets; good social/shareability | Small goods, beauty sets, stationery, social imagery | Efficient multi-item display, consistent composition, easy batch edits |
| Detail and Close-Up Macro Photography | Medium, precise focus; possible focus stacking | Macro lens, ring/LED lights, tripod, cleaning tools | ⭐⭐⭐, demonstrates craftsmanship; secondary image role | Jewelry, textiles, handmade goods, product detail slots | Highlights material quality, quick batch once rig is set |
| Multiple Angle / 360-Degree Spin Photography | High, turntable or precise manual repositioning | Motorized turntable (or rig), consistent lighting, storage for many files | ⭐⭐⭐⭐, strong trust builder; +20–40% for complex products | Furniture, bags, footwear, collectibles, interactive viewers | Full-angle inspection, reduces buyer uncertainty, great for carousels |
| Packaged / Box and Unboxing Presentation | Low–Medium, repeatable staging but careful handling | Pristine packaging samples, diffused lighting, polarizers for gloss | ⭐⭐⭐, communicates experience; lowers returns for gifting | Gifts, luxury items, collectibles, brand packaging showcases | Shows what buyer receives, packaging as product feature |
| Contextual and Environmental Placement | High, location styling or composite templating | Styled rooms/props or AI backgrounds, crew or compositing tools | ⭐⭐⭐⭐⭐, highest engagement; +20–35% conversion for home goods | Furniture, home décor, lifestyle brand narratives, social | Strong visualization of scale/use, highly persuasive storytelling |
| Catalogue-Scale Batch Workflows & MerchLoom Guidelines | Medium, upfront template and tagging work; repeatable | Automation tools (MerchLoom), turntables, macro rigs, storage & naming standards | ⭐⭐⭐⭐⭐, large time savings, consistent, platform-compliant outputs | Large catalogs, multi-platform exports, teams scaling imagery | Scalability, consistency, cross-platform derivatives, QA & automation guidance |
Streamline Your Next Shoot
Pick the styles that match your products, then turn them into a repeatable catalog workflow instead of treating every SKU like a separate project. Start with a small test set, check the platform specs, and make sure your image types answer the buyer questions that matter most on Amazon, Etsy, Shopify, and your own store. If you need one system to remove backgrounds, reframe exports, and process batches across a full catalog, MerchLoom is built for that kind of work.
Use it when you want to move faster without losing control of the output. It's a practical fit for sellers who need consistent product photoshoot styles for ecommerce, not a one-off editing tool for a single image.
Stop editing product photos one at a time
Upload your catalog or connect your store. Describe the result once. MerchLoom does the rest.
Try it free — no signup