
Create a Photo Into Puzzle for Your Store: Guide 2026
Create a custom photo into puzzle for your e-commerce store. Our guide covers batch processing, image prep, and creating print-ready files for catalogues.
If you sell online, you’ve probably looked at an existing photo library and wondered whether there’s another product hiding inside it. Apparel brands have campaign shots. Vintage sellers have one-off item photos. Gift shops have customer-submitted images. In all three cases, the raw material is already there. The hard part isn’t turning one image into a novelty item. It’s turning a whole catalogue into something you can list, print, fulfil, and maintain without creating a second full-time job.
That’s where most advice on photo into puzzle breaks down. It tells a buyer how to upload a single family photo, crop it, and place an order. It doesn’t help a seller decide whether puzzle SKUs belong in the catalogue at all, or how to prepare hundreds of files so they’re usable across print and marketplace listings.
From Photo Catalogue to Profitable Puzzle Line
The commercial question is usually more important than the design question. A seller doesn’t need proof that a custom puzzle can exist. That part is easy. The primary issue is whether the product can fit your operating model without dragging down margins, lead times, or listing quality.
A big gap in current guidance is that it doesn’t address the merchant case. Existing content on photo puzzles contains zero analysis of why e-commerce sellers should invest in them as a product offering, what conversion lift they deliver, or regional demand variation. It focuses on consumer motivation instead of merchant decision-making, which leaves sellers guessing about whether puzzles deserve a place in the product mix, as noted in search results for photo puzzle ROI in e-commerce.
That missing business layer matters because puzzle products behave differently from ordinary print-on-demand items. They combine image quality demands, packaging constraints, and visual merchandising requirements. A weak source image might still work for a social post. It usually won’t hold up once it’s chopped into interlocking pieces and examined at arm’s length.
Where puzzle products make operational sense
The sellers who benefit most tend to have one of these conditions:
- Strong visual archives: You already own a backlog of images with commercial value, such as lookbook shots, travel scenes, pet portraits, or vintage ephemera.
- Low-SKU expansion needs: You want to expand assortment without sourcing entirely new products or doing new photography for every launch.
- Giftable inventory: Your audience buys seasonal, personalised, or display-friendly products where puzzles fit naturally.
- Marketplace flexibility: You list on more than one platform and can reuse the same source image in multiple output formats.
What usually works and what usually doesn’t
Some categories translate well into puzzles because the images carry enough structure and detail to stay interesting once cut into pieces. Scenic photography, busy interiors, illustrated collages, and close-up product compositions tend to work better than flat graphics or minimal backgrounds.
Practical rule: Don’t think of puzzles as a print gimmick. Treat them like a product line that happens to start with an image asset.
The sellers who struggle are usually trying to force every image into the same template. That’s expensive in time and disappointing in output. A better approach is to audit the catalogue first, identify images that are puzzle-friendly, then build a repeatable workflow around those.
Preparing Your Image Catalogue for Print
Print problems rarely start at the printer. They start in the image folder. If your catalogue has a mix of old phone shots, supplier JPEGs, marketplace downloads, and cropped social assets, you need a quality baseline before you do anything else.
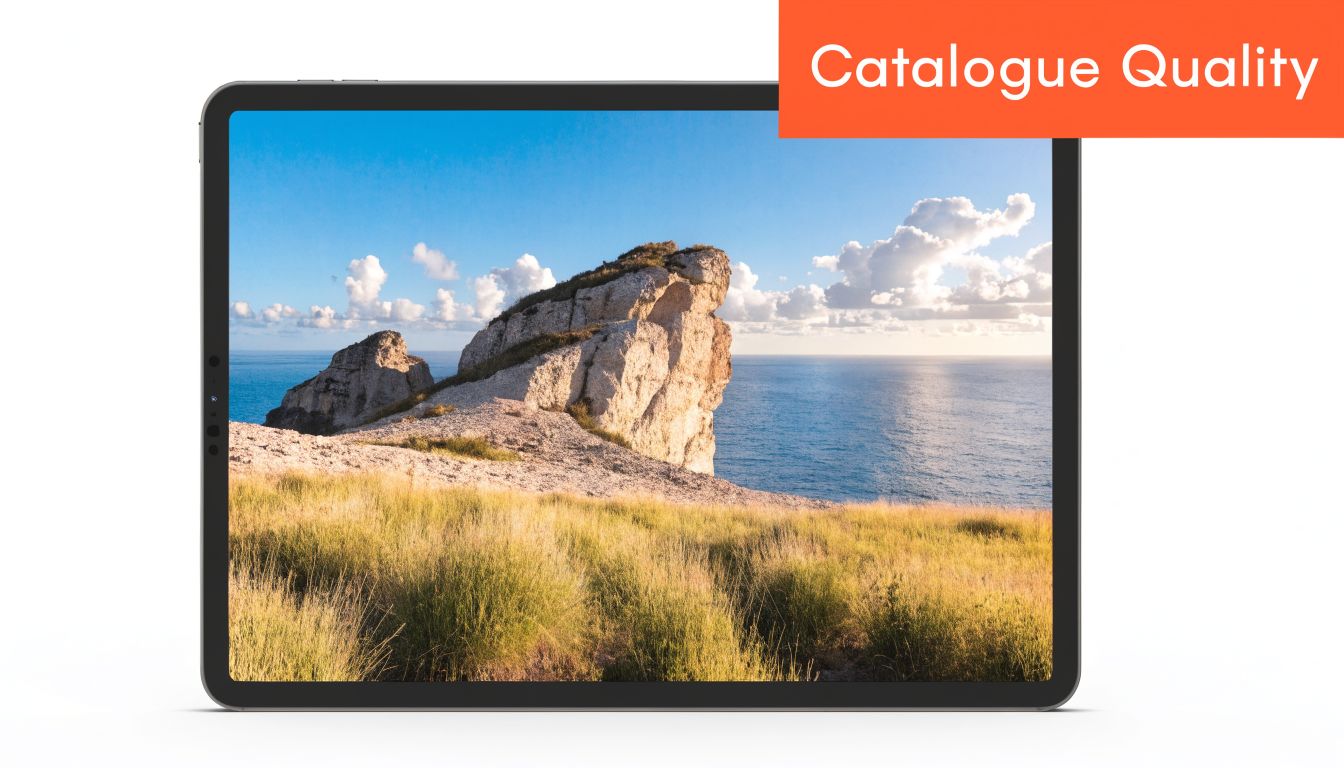
Most consumer guides mention a minimum like 3000 x 2000 pixels, but they stop there. They don’t explain what different puzzle sizes need, or how a seller should handle a mixed archive of legacy images. That gap is especially obvious when you’re batch-processing listings rather than polishing one file by hand, as discussed in this guide on choosing images for a custom jigsaw puzzle.
Build a triage system before editing
Don’t open files one by one and decide emotionally. Sort them into three buckets:
Ready now
High-detail, properly exposed, sharp images with enough pixel depth for print.
Recoverable
Good compositions, but too small, too compressed, or slightly soft. These may need upscaling, denoising, or colour correction.
Bad puzzle candidates
Heavily blurred images, screenshots, overly filtered assets, and anything with large empty areas or weak subject definition.
This kind of triage saves more time than any later editing trick. It also stops you from spending processing time on files that should never become products.
What makes an image puzzle-friendly
A good puzzle image usually has visual landmarks spread across the frame. You want texture, contrast, colour shifts, and enough variation that each area feels distinct. That helps at two levels. It improves the final customer experience, and it reduces the number of files you’ll reject later after mockup review.
Use these selection checks across the whole catalogue:
- Check edge detail: If the outer part of the image is empty sky, blank wall, or soft blur, the border pieces will be weak.
- Check subject spread: A tiny centred subject with dead space around it often looks fine in a listing thumbnail and poor in a puzzle layout.
- Check compression damage: Blocky JPEG artefacts become much more obvious once printed on interlocking shapes.
- Check tonal separation: If the image looks muddy on-screen, it usually looks worse in print.
A photo that sells a shirt isn’t automatically a photo that sells a puzzle. The composition has to survive being broken apart.
Standardise resolution before you standardise design
For a catalogue workflow, consistency matters more than perfection on the first pass. Set a target print-ready baseline, then bring all viable images up to that level before cropping and mockup generation. That might include AI upscaling for older assets, especially if your archive comes from past marketplaces or supplier feeds.
If you’re unsure how pixel dimensions relate to print output, a practical starting point is learning how image size converts into print quality. This walkthrough on an image DPI converter is useful for checking whether source files are likely to hold up.
A simple preparation stack often looks like this:
- Resize and upscale first: Bring recoverable files into a workable print range.
- Correct exposure next: Fix flat lighting and obvious colour cast before cropping.
- Flag exceptions manually: Some images need human review. Don’t force full automation where the source is weak.
- Export a clean master folder: Keep one organised set of puzzle-ready source files separate from listing thumbnails and social crops.
That master folder becomes the base for everything else.
Smart Cropping and Background Treatments at Scale
Cropping is where many puzzle projects get slow. A seller starts with a few promising images, opens each one manually, tests a few aspect ratios, then realises the same decision has to be repeated across dozens or hundreds of files. That’s manageable for a weekend project. It’s not manageable for a catalogue.
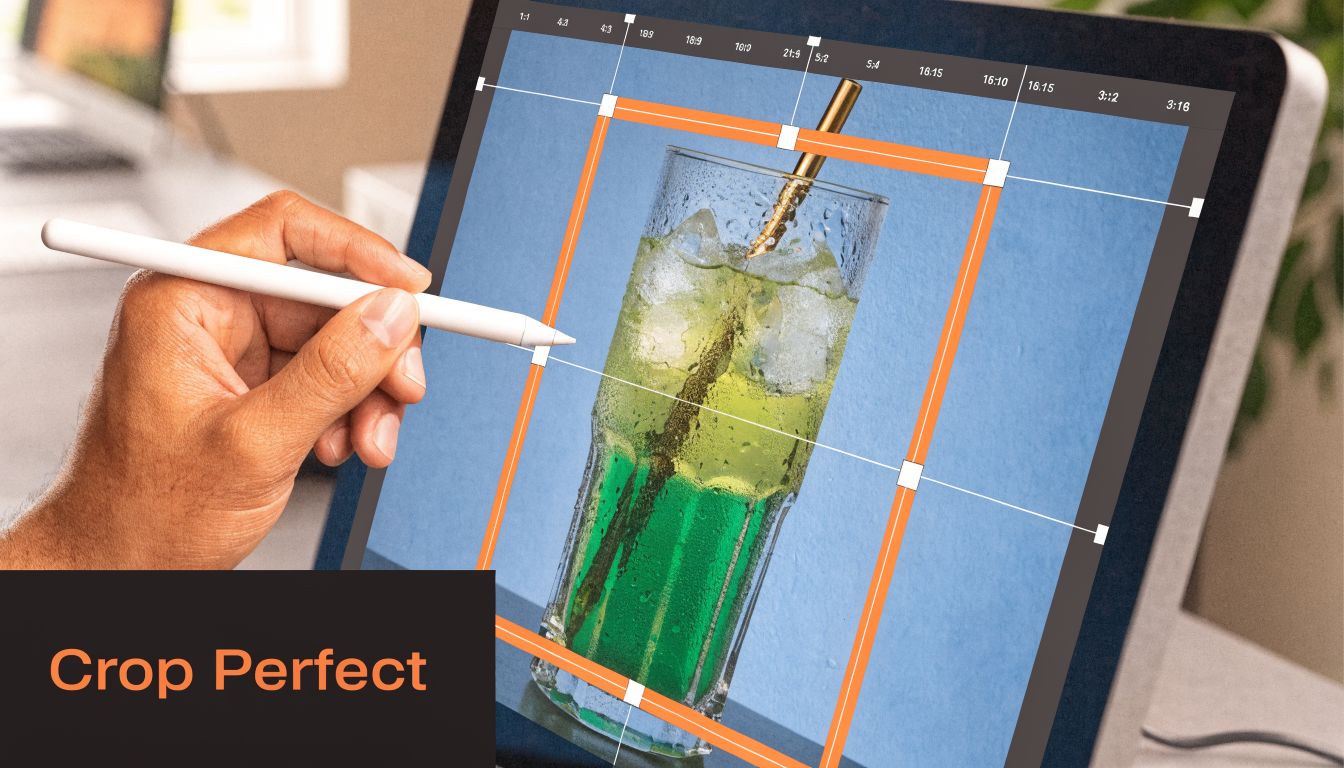
The key is to stop thinking of cropping as a design flourish. It’s a production rule. Every puzzle format has a frame, and your job is to make the subject sit inside that frame without losing what makes the image worth printing.
Cropping rules that work across a large collection
For one-off consumer orders, manual cropping is fine. For store inventory, you need repeatable rules. The cleanest setups use a shortlist of crop templates tied to actual sales channels and print formats.
That usually means defining outputs such as:
- Primary print crop: The version used for the puzzle itself.
- Square listing crop: Needed for Shopify collection pages and many social placements.
- Marketplace crop: A wider or platform-specific variation for Etsy or other listing environments.
- Packaging preview crop: Sometimes the box image needs slightly different framing from the puzzle face.
When sellers skip this planning, they end up re-cropping later. That duplicates labour and creates visible inconsistency across the storefront.
Background treatments are not just cosmetic
Background removal and background simplification do two different jobs. First, they help produce cleaner mockups and marketplace images. Second, they reduce clutter that can interfere with later automated steps in the workflow.
That matters if you’re generating multiple outputs from the same source set. A white-background marketplace image and a richer puzzle print can still come from one organised file system, but only if you decide early which assets need isolation and which need the full scene preserved.
A practical reference for product-image cleanup is this guide on removing backgrounds in Canva. Even if your final workflow uses a different tool, the underlying decision remains the same: isolate only when it improves the output.
If the background tells the story, keep it. If the background only adds noise, strip it out early and don’t pay for that noise again in later processing.
Reframing beats shrinking
The common mistake is to force every image into the target frame by scaling it down until it fits. That often leaves too much dead space or makes the subject feel distant. Reframing is better. It preserves presence while adapting composition for the destination format.
Use manual review only for the edge cases:
- Tall subjects that get clipped in horizontal templates
- Flat lays with important details near the frame edge
- Group shots where one face or object keeps getting pushed out
- Highly asymmetrical images that confuse auto-centre logic
For the rest, content-aware crop rules do enough. The main gain isn’t just time saved. It’s consistency across listings.
A short demo helps if you’re training a team or documenting a repeatable workflow:
Doing this for a whole catalog?
MerchLoom runs background removal, upscaling and AI editing across every product photo you have — one prompt, whole batch.
Try MerchLoomOnce your catalogue has stable crop logic, later steps become much easier. You’re no longer designing each product from scratch. You’re running a system.
Applying Puzzle Die-Lines Across Your Collection
The visible difference between a standard print and a puzzle product is the die-line. That’s the pattern that turns one image into an arrangement of interlocking pieces. Sellers often treat this as a simple overlay. At catalogue scale, it’s more complicated than that.
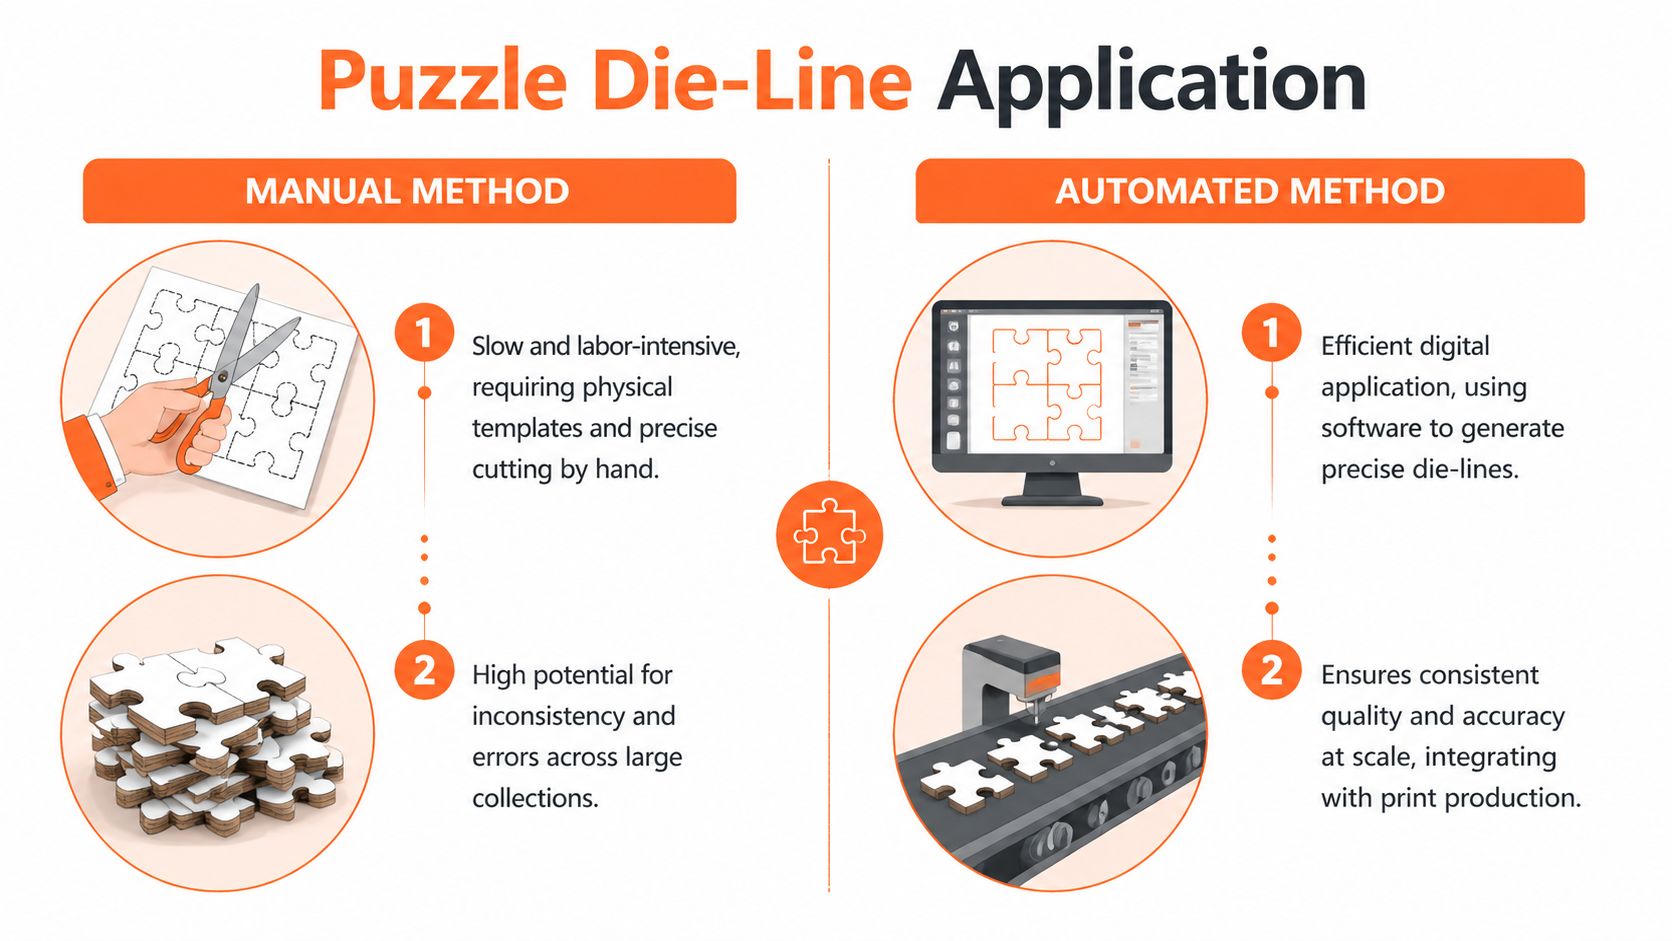
A manual method usually starts in Photoshop or Illustrator. You place the artwork, align a die template, mask or preview the cut pattern, then export a product image and perhaps a mockup. That’s fine for a custom order queue with low volume. It breaks when you need to process a whole collection and keep every output aligned.
Why automation gets tricky here
Computer vision work on puzzle reconstruction shows why this step isn’t trivial. The process involves splitting an image into many patches and using global optimisation to determine how pieces fit together. For e-commerce image workflows, one especially useful takeaway is that background removal before applying a puzzle die-line mask can shrink image data by up to 87%, improving processing speed and helping edge detection during mockup generation, as described in the MIT paper on jigsaw solver optimisation and patch-based reconstruction.
That doesn’t mean a seller needs to understand the full research pipeline. It means the order of operations matters. If you apply a die-line over cluttered, inconsistent source files, you’ll spend more time correcting previews, re-exporting assets, and checking whether the piece pattern reads well on the listing image.
Manual versus automated die-line workflows
Here’s the operational difference:
| Workflow | Strength | Weakness |
|---|---|---|
| Manual template placement | Good control on a single hero image | Slow, repetitive, and hard to keep consistent |
| Semi-automated action sets | Faster for small runs | Breaks on unusual crops and inconsistent source files |
| Fully chained pipeline | Best for catalogue-scale output | Needs clean inputs and clear export rules |
A core benefit of automation isn’t just speed. It’s output discipline. You can generate the same style of puzzle overlay, the same shadow treatment, and the same listing mockup structure across a broad product set.
Practical die-line rules for sellers
What works in production is usually simple:
- Use one approved die-line family per collection: Too many cut styles make the catalogue look messy.
- Preview at listing size, not just full size: Some overlays look good in a design file and unreadable in a thumbnail.
- Keep die-line contrast controlled: If the piece lines dominate the image, the product starts to look cheap.
- Separate print art from mockup art: The printer file and the storefront preview shouldn’t always be the same export.
A related idea appears in sticker workflows too. The logic of applying a cut path cleanly across many assets is similar to puzzle die-line handling. This piece on turning a logo into sticker lays out a useful parallel for thinking about cut boundaries, preview assets, and production consistency.
Don’t evaluate die-lines only at 100% zoom. Most customers first see them as small marketplace thumbnails, where clarity matters more than technical elegance.
Batch output needs naming discipline
The unglamorous part of die-line work is file management. If you’re exporting print art, clean mockups, marketplace variants, and packaging previews, naming logic matters. Use a convention that records product, crop, die-line version, and output destination. Without that, your production folder turns into guesswork.
A reliable naming pattern is often more valuable than one more editing trick. It cuts rework, prevents printer mistakes, and makes it easier to rerun only the files that failed QC.
Exporting Print-Ready Files and Marketplace Mockups
A puzzle product doesn’t ship as a layered working file. It ships as a production-ready asset set. That means you need two outputs from the same source image: one for the printer and one for the storefront.
Those outputs have different jobs. The printer file needs detail, stable colour handling, and clean dimensions. The storefront asset needs visual clarity at thumbnail size, platform-friendly framing, and enough polish to sell the product before anyone reads the description.
The baseline specs that matter
Professional print labs commonly recommend 300gsm cardstock and 300+ DPI source images for quality custom puzzles. They also note that low-resolution uploads are a major problem, causing up to 60% of pixelation issues, especially along interlocking edges during assembly, according to this print guide on creating your own custom photo puzzle.
That edge visibility point matters more for puzzles than for many other printed products. Slight softness that goes unnoticed on a poster can become obvious on a piece boundary.
Print-ready puzzle export specifications
| Attribute | Recommendation | Why It Matters |
|---|---|---|
| Source quality | High-resolution original image | Weak inputs stay weak after export |
| Print resolution | 300+ DPI | Helps preserve detail on piece edges |
| Stock expectation | 300gsm cardstock | Supports a more substantial finished product |
| Print file version | Keep a dedicated master export | Prevents accidental reuse of listing JPEGs for print |
| Marketplace mockup version | Create separate web-optimised assets | Print files are often too large and poorly framed for listings |
| Colour review | Check against a test proof if possible | Screen appearance and print appearance don’t always match |
| File organisation | Group by SKU and output type | Makes reruns and printer handoff easier |
Print file and listing file should not be the same thing
Here, a lot of small shops lose control. They export one “final” file and use it everywhere. That leads to bloated listings, accidental compression, and confusion over which version went to the printer.
Use separate outputs for separate jobs:
- Printer asset: Your highest-quality approved file, with the correct size, colour intent, and no extra marketplace graphics.
- Primary listing image: The clean storefront hero, usually with the puzzle visible as a product rather than just flat artwork.
- Secondary mockups: Lifestyle scenes, packaging previews, close crops, or alternate ratios for specific platforms.
- Archive master: A retained source export in case you need to rerun new derivatives later.
Match exports to the platform, not to your design software
Shopify, Etsy, Amazon, and social placements all reward different framing choices. A square hero may work beautifully in one storefront and feel cramped in another. That’s why marketplace mockups should come out of the same production chain as the print assets, but with destination-specific presets.
If you also sell through visual channels, a resource on creating an Instagram post mockup is a useful reminder that marketplace presentation is an output problem, not just a design problem. The best systems generate those derivatives automatically rather than treating them as a separate creative task every time.
The moment you reuse a marketplace JPEG as a print source, quality control is already slipping.
The cleanest export workflow is boring in the best way. Approved source in. Predictable outputs out. No guessing which file is current.
Troubleshooting and Optimizing Your Workflow
Most puzzle workflow problems don’t come from one catastrophic mistake. They come from small inconsistencies repeated across a batch. A few weak source files slip through. One crop template cuts too aggressively. A low-detail image gets approved because it looked fine as a thumbnail. Then the product line launches, and your QC issues show up all at once.
That’s why troubleshooting needs to be part of the workflow, not an emergency step after the fact.
The problems worth catching early
One of the most common design failures is uniform colour. Large areas like open sky or soft gradient backgrounds can make pieces too similar. In computer vision puzzle solving, those regions lead to a 20 to 30% misplacement rate, which is a useful warning for product selection as well, even outside a research setting. The same issue is discussed in the earlier MIT-linked section, and the practical lesson for sellers is straightforward: choose images with stronger colour variance and more identifiable landmarks.
A QC pass should look for:
- Blurry edge zones: The centre of the image may be sharp while the outer frame falls apart.
- Weak piece readability: The die-line preview looks muddy or overbearing at listing size.
- Colour drift: The image feels warm, cool, or dull compared with the approved source.
- Composition fatigue: The subject is technically centred but visually uninteresting once cut into pieces.
Build a feedback loop, not a fix-it pile
When a puzzle listing fails review, don’t just patch that one file. Record why it failed, then update the workflow rule that allowed it through. That could mean rejecting certain image types earlier, adjusting crop safe zones, or changing how you prepare old low-resolution assets.
If your team still relies on manual fixes for basic sizing issues, it’s worth tightening that process. A reference like this guide on how to scale image in Photoshop is useful not because Photoshop is the final answer, but because it clarifies where manual resizing still appears in many teams’ workflows.
Good QC saves money before the order exists. It prevents you from listing products that were never strong enough to sell or fulfil well.
The strongest setup turns every approved puzzle image into future content too. Once you have a clean processed asset, you can reuse it for ads, social posts, gift guides, and seasonal listing refreshes. That’s when the workflow starts paying off. Not because one image became one puzzle, but because one organised image pipeline keeps generating usable outputs.
If you’re managing hundreds of images and want a cleaner way to turn a photo catalogue into listing-ready puzzle assets, MerchLoom is built for that kind of batch workflow. You can upload a full collection, chain steps like background removal, smart reframing, colour correction, and upscaling, then generate consistent outputs for print and marketplaces without rebuilding the process for every file.
Stop editing product photos one at a time
Upload your catalog or connect your store. Describe the result once. MerchLoom does the rest.
Try MerchLoom