
A Better Instagram Post Mockup Workflow for Ecommerce Sellers
Stop editing images one by one. Learn a new workflow to batch create any Instagram post mockup from your entire product catalog and beat the 2026 algorithm.
An Instagram post mockup is more than just a template; it’s a way to show customers exactly how your product will look when it pops up in their feed. For anyone selling online with a large product catalog, these mockups are your best bet for creating a polished, professional look that stops the scroll and actually converts followers into buyers, especially when you have to create them for hundreds of products.
Why Your Old Instagram Strategy Is Hurting Sales
Let’s get straight to it: the old Instagram playbook for e-commerce sellers is broken. If you're managing a big product catalogue on a platform like Shopify or Etsy, you’ve probably felt the frustration. You're posting more content than ever, but your reach has flatlined, and sales just aren't keeping up. The old "post more, sell more" mantra simply doesn't work anymore when you're dealing with catalog-scale image needs.
What you're experiencing is a real shift in how the platform works. The constant flood of content, especially with Reels dominating feeds, has created an incredibly crowded space. Those generic product photos—even the clean, white-background shots required for Amazon—are now practically invisible on Instagram. They get lost in a sea of visual noise, failing to grab the attention of potential customers.

The Algorithm's New Focus: Quality Over Quantity
The Instagram algorithm has stopped rewarding sheer volume. Instead, its focus has clearly shifted to prioritizing quality and genuine engagement. This is where a high-quality Instagram post mockup becomes less of a "nice-to-have" and more of a critical tool for your business's survival, especially when you need to apply this quality standard across your entire product line.
It’s easy to see why. The platform wants to keep users engaged, and compelling visuals are the key. Polished, on-brand mockups do two things brilliantly: they instantly signal professionalism, and they encourage the likes, saves, and shares that tell the algorithm your content is worth showing to more people.
Think of your product photos as your digital storefront. A messy, inconsistent feed is like a cluttered, disorganized shop—it discourages customers from even looking inside. A clean, professional mockup is your beautiful window display.
The numbers back this up. We've seen a massive change in how content performs since the big algorithm update. For e-commerce sellers, the old strategies just aren't cutting it in 2026.
Instagram Content Performance Shift Pre vs Post 2026 Algorithm
| Metric | Old Strategy (Pre-2026) | New Reality (Post-2026) | Takeaway for Sellers |
|---|---|---|---|
| Reach | Posting 2-3x daily to maximize impressions | High-quality posts get organically pushed to a wider audience, while low-quality is suppressed | Focus on making every single post count. One great post beats five mediocre ones. |
| Engagement | Measured by likes and comments | Measured by saves, shares, and watch time (for video) | Create content people want to save for later or share with friends. |
| Content Type | Static images and carousels dominated | Reels and high-impact visuals (like polished mockups) are favoured | Your static images need to be styled exceptionally well to compete with video. |
| Sales Conversion | Driven by volume and frequent promotions | Driven by brand trust and visual appeal | Build a brand aesthetic that looks trustworthy and professional, leading to more confident purchases. |
This shift makes it clear that investing a little time in your visual workflow pays off. A well-crafted mockup isn't just about looking good; it's about aligning your content with what the algorithm—and your customers—actually want to see.
Connecting Great Mockups to Your Bottom Line
For a seller juggling hundreds of SKUs, creating unique, high-quality visuals for every product can feel completely overwhelming. This is where you need to stop thinking about one-off edits and start building an efficient system. You don't need a graphic design degree to get a professional look across your entire catalogue.
The key is a workflow that lets you turn a whole batch of standard product photos—even ones shot on your phone—into a cohesive set of stunning mockups. In fact, just learning how to blur the background on an iPhone is a great first step to isolating your product before it goes into an automated pipeline.
This is exactly why we built MerchLoom. It's designed for sellers who need to create beautiful content at scale. You can run entire collections through a custom workflow. Imagine uploading 200 raw product photos and having the system automatically remove the backgrounds, apply your branded colour palette, and add realistic shadows. This approach makes top-tier content scalable, even if you're a one-person shop.
Organizing Your Product Photos for Batch Processing
Before you can even dream of creating a single Instagram post mockup, we need to address the elephant in the room: your source files. We've all been there—staring at a folder bursting with hundreds of raw product photos, feeling completely overwhelmed. A disorganized asset folder is the number one killer of an efficient workflow for any online seller.
Getting your files in order from the get-go is the difference between a smooth, almost magical automated process and a frustrating slog that eats up your entire day. This isn't about painstakingly perfecting every single image. It's about creating a system that lets a tool like MerchLoom do the heavy lifting for you.
Embrace the "Good Enough" Mentality
Let’s be real. When you know a powerful AI is going to handle background removal and colour balancing, there’s absolutely no need to manually tweak every photo from a shoot. Your time is far better spent sorting and culling. I call this the "good enough" principle: if the product is well-lit and in focus, it's a keeper. Let the software handle the rest.
When you’re sifting through your raw shots from a product shoot, just look for these deal-breakers:
- Focus: Is the main product tack-sharp? If it’s blurry, no amount of editing can save it. Toss it.
- Lighting: Can you see the product clearly, or is it lost in harsh glares or deep shadows? Small inconsistencies are fine, but major lighting flaws mean the shot is a no-go.
- Completeness: Is the entire product actually in the frame? Don't hang on to shots where a key feature is cut off.
The point of culling isn't to find that one elusive, "perfect" shot. It's to rapidly weed out the 50-70% of images that are obviously unusable. Your only job here is to build a solid pool of candidates for your AI workflow.
Trust me, this approach will save you hours. Instead of agonizing over exposure levels on 500 different photos, you can confidently pick the best 100 in just a few minutes, knowing the tedious work will be done for you later.
A Smart Naming System Is Your Best Friend
Once you've culled your images, it's time to name them. A folder full of files named IMG_8734.jpg is a nightmare waiting to happen, especially when you need to find a specific product shot months from now. A consistent naming convention is non-negotiable for anyone working at scale.
A simple, effective structure I’ve used for years looks something like this:
[CollectionName]_[ProductSKU]_[Angle]_[Sequence].jpg
Here are a few real-world examples:
Summer24_Towel-Blue_Front_01.jpgSummer24_Towel-Blue_Detail_02.jpgHolidayGifts_Mug-Red_Lifestyle_01.jpg
This kind of structured naming makes your assets instantly searchable and easy to manage. When you're ready to create a batch of Instagram post mockups, you can grab all the "Front" shots for your entire "Summer24" collection with a single search. It’s a foundational step that makes everything else possible. If you also have to resize or reformat these images, it's helpful to know how an HD photo converter can fit into your workflow.
Ultimately, organizing your photos is all about building a clean, predictable pipeline for your assets. You feed this organized library into a tool like MerchLoom, and it knows exactly what to do. By sorting everything from the start, you eliminate bottlenecks and create a repeatable system that grows with your business, whether you're processing 50 images or 5,000.
Building Your Automated Mockup Creation Workflow
Alright, you've culled your product photos and have a clean, organised set of assets. Now for the fun part: building the machine. This is where we stop thinking about editing one image at a time and start designing a system that can turn a folder of raw photos into an endless stream of perfect Instagram post mockups.
The idea here is to move away from the grind of opening files one by one in Photoshop. Instead, we're building a hands-off assembly line. Imagine dropping 500 product shots into a folder and coming back to find them all transformed into brand-consistent mockups, perfectly sized for Instagram’s 1:1 square and 4:5 portrait formats.
This initial prep work—getting your files in order—is crucial. It’s the one human touchpoint that ensures only your best shots make it into the automated pipeline, which saves a ton of time and processing credits down the road.
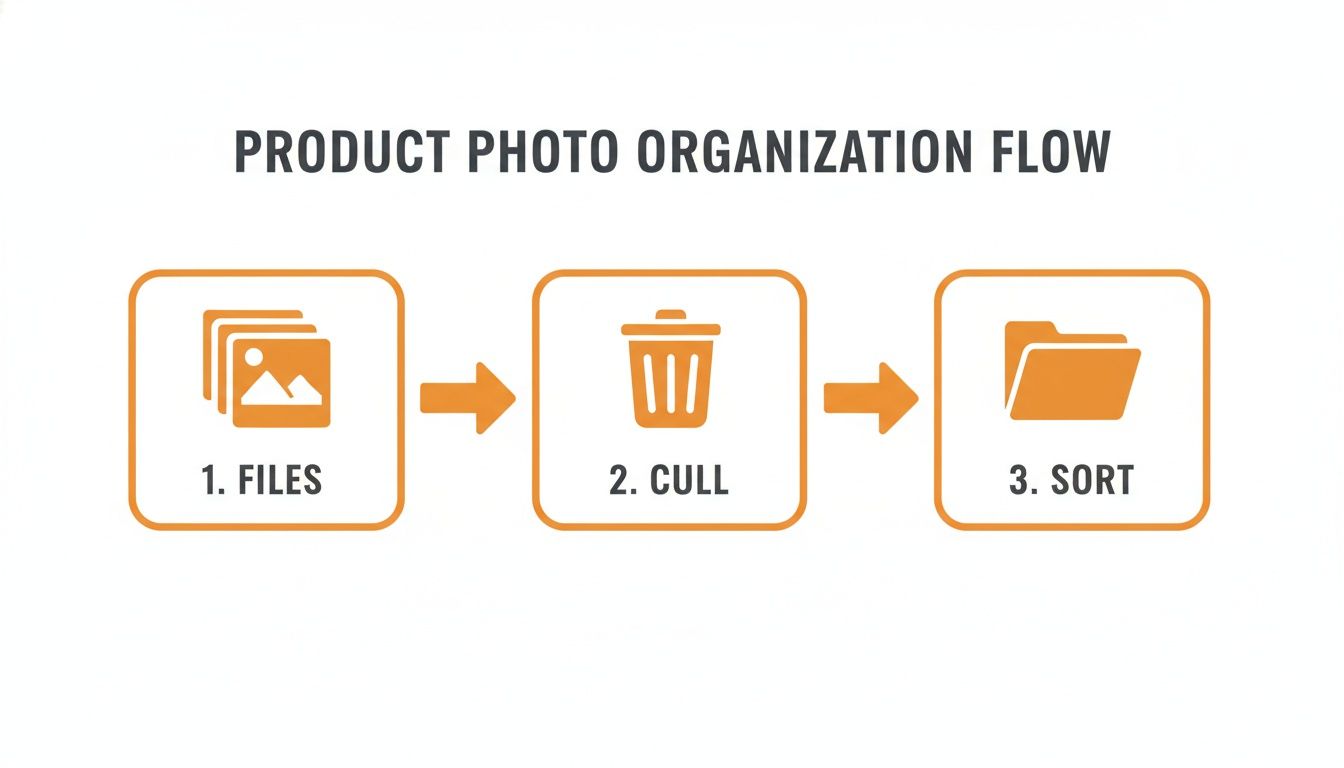
Think of this as quality control before the factory line starts.
Designing Your AI Pipeline
An "AI pipeline" sounds complicated, but it's really just a recipe. You define a sequence of editing steps once, and then you can apply that exact recipe to hundreds or thousands of images automatically.
For creating a great Instagram post mockup, a really effective pipeline looks something like this:
- Batch Upload: First, you dump your entire folder of organised photos—whether it's 50 or 1,000—into the system.
- Automatic Background Removal: The AI gets to work isolating every single product from its background, creating a clean slate with a transparent layer.
- Smart Reframing: This is a game-changer. The pipeline intelligently reframes each product to fit that crucial 4:5 portrait ratio, which takes up more valuable screen real estate in the Instagram feed.
- Realistic Shadow Application: To keep your mockups from looking like cheap cutouts, the system adds a soft, natural drop shadow. This little detail adds depth and makes the product feel grounded.
- Final Upscaling & Export: Finally, the images are upscaled to a crisp 1080x1350 pixels and exported as post-ready JPGs or PNGs.
This entire sequence is exactly what tools like MerchLoom are designed to do. You chain these operations together to create your own custom workflow, hit "run," and let the machine handle the rest. You just come back to a folder full of finished mockups.
The real magic here is getting perfect consistency at scale. Every mockup gets the exact same treatment, which makes your Instagram grid look incredibly cohesive and professional. That's how you build brand recognition and trust.
The Logic of Chained Operations
The order you put your steps in matters more than you’d think, especially when it comes to efficiency and cost.
For example, always remove the background first. By doing that, any later steps—like adding shadows or reframing—are only processing the pixels of the product itself, not the entire original image. It drastically cuts down on the computational work, which saves you money.
You can even create branching pipelines. Once the background is gone, you could have one branch create your 4:5 Instagram post while another creates a 1:1 square version for your Shopify product page, or a 2000px white background image for Etsy. This idea of sequencing different AI edits is incredibly powerful. If you want to go deeper, our guide on how an AI image combiner can build complex visuals from simple parts is a great read.
Why Automation Beats Manual Editing for Mockups
Let's get practical. Here’s how an automated workflow stacks up against doing things the old-fashioned, manual way, especially if you have a decent-sized product catalogue.
| Aspect | Manual Mockup Creation | Automated AI Workflow (e.g., MerchLoom) |
|---|---|---|
| Time per Image | 5-15 minutes, depending on complexity. | A few seconds per image, processed in parallel. |
| Consistency | Varies from edit to edit. Prone to human error. | 100% consistent. Every image follows the exact same rules. |
| Scalability | Awful. Processing 100 photos takes 100x the time. | Excellent. Processing 1,000 photos takes about the same time as 10. |
| Cost | High, whether it's your time or a designer's fee. | Low pay-per-image pricing. No recurring subscription fees. |
| Flexibility | Need to change something? You're starting over. | Tweak one step and re-run the entire batch in minutes. |
The takeaway is simple: if you're a seller with more than a handful of products, manual mockup creation is a bottleneck that's actively holding your business back. It’s time that could be spent on marketing, customer service, or finding new products. By building an automated workflow, you're not just making images faster—you're creating a scalable asset that saves money and elevates your entire brand.
Applying Custom Backgrounds and Styles at Scale
So, you’ve run your product photos through an automated workflow and now have a clean set of images with transparent backgrounds. That’s a massive win. But let's be honest, a product floating in a digital void isn't going to stop anyone mid-scroll.
Doing this for a whole catalog?
MerchLoom runs background removal, upscaling and AI editing across every product photo you have — one prompt, whole batch. Try 2 batches free, no signup.
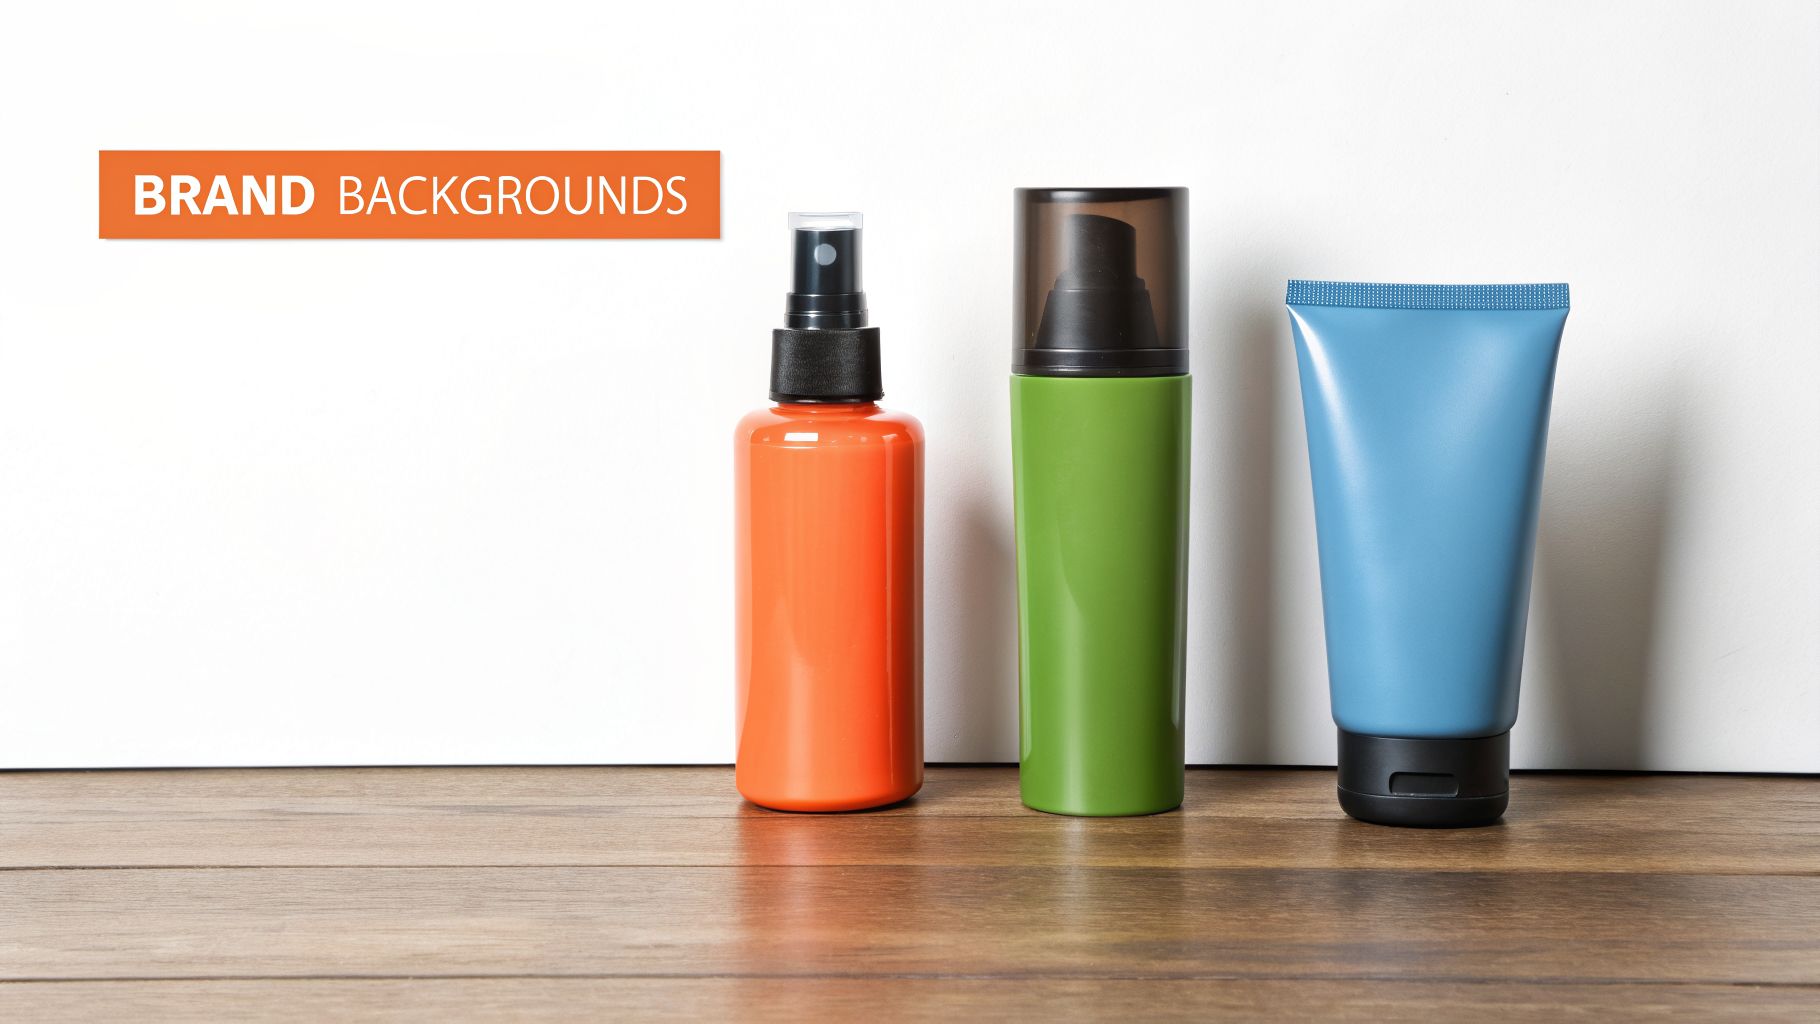
Try it freeThat clean, white background might be perfect for an Amazon listing, but on a visual-first platform like Instagram, it can feel cold and uninspired. What you need is an Instagram post mockup that does more than just show off your product—it needs to tell a story and reflect your brand’s vibe. This is where you bring the personality back, but the trick is doing it efficiently across hundreds of images.
Building a Library of On-Brand Backgrounds
The secret to doing this at scale is to stop reinventing the wheel for every single post. Create a reusable library of approved backgrounds. This gives you a go-to set of visual themes that line up perfectly with your brand identity, ensuring everything looks consistent yet varied across your entire product catalog.
Your background library could have a mix of styles:
- Solid Brand Colours: A palette of your primary and secondary brand colours. It's a simple move, but it creates a really bold and cohesive feed.
- Subtle Gradients: Soft gradients using your brand colours can add a bit of depth and sophistication without stealing the spotlight from your product.
- Textured Surfaces: Think light wood, clean marble, soft linen, or even sandy textures. These are great for setting a mood or adding a bit of real-world context.
- Abstract Patterns: Simple, non-distracting patterns that echo your brand’s aesthetic can add a unique touch.
Having these assets pre-approved and ready means that when a new batch of products comes in, you’re not scrambling for ideas. You just pick a theme and let your workflow do the rest.
The Power of Batch-Specific Styling
This is where your system really starts to pay off. You can set rules to apply different background styles to different collections, all within the same operation. This means you can create distinct, campaign-specific visuals without ever having to manage separate projects.
Think about it this way. You’ve got two new collections ready to launch:
- 'Summer Brights' Collection: For these 200 photos, you can tell your system to use a light, sandy texture. Instantly, you get that warm, beachy feel.
- 'Winter Neutrals' Collection: In the same go, you can process these 150 photos against a cool, grey-blue gradient to give them a cozier, more subdued mood.
A tool like MerchLoom is built for this exact scenario. It's an AI tool that processes entire image collections through chained pipelines. You can define these rules right in your pipeline—if a filename has "Summer," use background A; if it has "Winter," use background B. It's how you can generate thousands of unique, on-brand mockups from a single, organized library.
The most overlooked detail in a product mockup is the shadow. A fake-looking, generic shadow screams 'bad photoshop.' A realistic, soft shadow that matches the product’s shape is what sells the illusion and makes your mockup look professional.
Adding Realistic Shadows for Believable Depth
I’ve seen it a thousand times: a fantastic product photo ruined by a terrible shadow—or worse, no shadow at all. When a product just floats on a background, it looks cheap and unprofessional. The shadow is what grounds your product, giving it weight and making it feel like it truly belongs in the scene.
Manually creating realistic shadows for hundreds of products is a nightmare. It's tedious, mind-numbing work. This is another spot where automation is a total game-changer. Modern AI tools can analyze the shape of each product and generate a soft, natural-looking drop shadow that looks just like real light would create.
This should be one of the final touches in your pipeline. Once the product is on its new background, the shadow adds that last bit of realism. It’s a small detail, but it makes a huge difference in how professional your final mockup looks.
While mastering background removal is the first hurdle, getting shadows and textures right is what separates the pros from the amateurs. If you’re still working on the basics, our guide to getting a perfect white photoshoot background is a great place to start before diving into more advanced styling.
Using Data to Time Your Posts for Maximum Impact
So you’ve done it. You have a folder brimming with hundreds of professional, on-brand Instagram post mockups. Your products look incredible, your branding is sharp, and you’re ready to fill your feed with amazing content. But creating the assets is only half the job.
Posting those perfect mockups at the wrong time is like setting up a beautiful storefront in an empty alley. No one will see it. With Instagram's organic reach getting tighter and competition fiercer than ever, when you post has become just as critical as what you post.
This is where your batch-processing workflow really shines. Since you’re no longer stuck creating images one by one, you suddenly have the time and the content reserves to be truly strategic. You can use a scheduling tool to deploy your mockups during peak engagement windows, ensuring they hit your audience's feed when they are most likely to be scrolling, shopping, and buying.
Decoding Your Audience's Digital Habits
Guesswork just doesn't cut it anymore. We need to lean on data to figure out those golden hours for e-commerce brands. Luckily, there's been plenty of research on this, and while every account's audience is a bit different, the broad patterns give us a fantastic starting point.
For online sellers, the most valuable engagement often happens when people are unwinding and in a "discovery" mindset. Think weekday evenings and weekend afternoons. This is when they're casually browsing, open to finding new products, and far more likely to tap that "link in bio."
A detailed analysis of 9.6 million posts found that certain weekday slots can be incredibly powerful for businesses. The research identified Thursday at 9 a.m. and Wednesday at 12 p.m. and 6 p.m. as prime times. But the real gold for the core 25-34 demographic—which powers a massive 35% of the platform—is in the evenings from 6-11 p.m. across all time zones.
If you want to dive deeper, you can read the full analysis on Buffer's findings to see how these times might apply to your specific audience.
Building a Data-Informed Posting Schedule
So, how do you turn this research into a real-world plan for your hundreds of new mockups? You build a content calendar based on these peak times and let a scheduler execute it flawlessly.
Here's a practical way to approach it:
Start with the high-potential slots. Based on the data, begin by scheduling posts for weekday evenings (7–9 p.m.) and midday lunch breaks (12–1 p.m.). These are solid bets for most e-commerce brands.
Test and measure everything. Don't just post and walk away. For a few weeks, consistently schedule your mockups across these different times. Pay close attention to your analytics. Which posts get the most saves? Which ones drive the most link clicks?
Refine your schedule with your own data. Once you have some results, use your Instagram Insights to double down on what works. If your Saturday afternoon posts are consistently outperforming your Wednesday morning ones, it's time to adjust your calendar.
Your goal isn't to find one "perfect" time to post forever. It's to identify a handful of high-impact windows and consistently fill them with the excellent content you've already prepared.
The real beauty of having a huge batch of ready-to-go Instagram post mockups is the flexibility it gives you. If you discover a new, high-performing time slot, you aren't scrambling to create something for it. You just dip into your library of approved visuals, schedule them out, and keep optimizing. This is how you make your visuals work harder for your business, turning an efficient production process into measurable results.
Common Questions About Batch Mockup Creation
Even with a great workflow in place, jumping into batch processing for your Instagram post mockups can feel a little daunting. If you’ve hit a few snags, you're not alone. Let's walk through some of the most common questions and hurdles I see e-commerce sellers run into all the time.
How Can I Ensure My Mockups Look Realistic and Not Fake?
This is the big one, isn't it? Nothing screams "amateur" faster than a cheap, fake-looking mockup. It can honestly do more harm to your brand than a simple, clean product photo.
The secret to realism isn't some complicated trick; it comes down to two things you can (and should) automate: consistent lighting and believable shadows.
When you're processing a big batch of photos, the first thing you want to do is apply a single colour correction profile across the entire set. This makes it look like every product was shot under the same light source, creating a cohesive, professional feel.
What really sells the effect, though, is the shadow. A hard-edged, generic drop shadow is a dead giveaway of a poor edit. You need a tool, like MerchLoom, that actually analyses each product's shape to cast a soft, natural-looking shadow. It’s this detail that adds depth and makes your product look like it's genuinely part of the scene.
What’s the Most Efficient Way to Create Mockups for Multiple Platforms?
Ah, the classic e-commerce headache. You need a 4:5 ratio for Instagram, a 2000px square for Etsy, and a pure white background for Amazon. Making unique assets for each platform is a monumental waste of time.
The key is to build a ‘process once, output many’ workflow.
Instead of running different projects for each sales channel, think of it as a single pipeline with multiple branches. You start by doing the core work that applies to everything—like background removal and basic colour correction. From there, your workflow can split.
Inside a tool like MerchLoom, for instance, you can take that one clean product image and automatically run it through parallel steps:
- The Instagram Branch: This path could reframe the product to a 4:5 aspect ratio, add your branded gradient background, and apply that all-important soft shadow.
- The Etsy Branch: Simultaneously, this path could resize the canvas to a 2000px square, fill the background with pure white (#FFFFFF), and centre the product perfectly.
You upload your product photos just once, set up the rules for each branch, and the system generates perfectly optimised images for every platform you sell on. It’s a complete game-changer.
Will Better Mockups Actually Help My Dropping Instagram Reach?
Yes, absolutely. In fact, it's more critical now than ever before. If you've seen your reach decline, it's likely a direct result of algorithm changes designed to weed out low-effort content. Instagram is actively rewarding quality and penalizing generic posts.
A polished, professional Instagram post mockup tackles this problem in two ways. First, it just looks better. A stunning image stops the scroll and grabs attention in a crowded feed. But more importantly, it sends strong quality signals to the algorithm. When people save your post because the mockup is beautiful or share it because it looks aspirational, Instagram sees that and shows your content to more people.
The algorithm shifts in 2026 have been particularly tough on generic content. The February overhaul, for example, hit many San Francisco businesses hard by demanding more niche-specific visuals. An analysis by Metricool of over 15 million posts found that while Reels frequency shot up 35%, average post reach plummeted 31% to just 6,754. You can read more about how the Instagram algorithm changes affect visibility on lensonluxury.com.
Switching from basic product-on-white shots to crisp, well-styled mockups is a direct strategy for fighting that decline. You're creating content that doesn't just show an item; it builds a brand that looks desirable and trustworthy. And if your source photos have tricky lighting or colour casts, it's a good idea to learn how to remove colour from an image before you even start. It’ll save you a lot of headaches.
Ready to stop editing images one-by-one and start creating beautiful mockups for your entire product catalogue? MerchLoom builds and runs AI image editing pipelines for you. Upload your collection, describe the edits, and get hundreds of perfectly processed images in minutes. Try it for free today at https://merchloom.ai.
Stop editing product photos one at a time
Upload your catalog or connect your store. Describe the result once. MerchLoom does the rest.
Try it free — no signup