
Image Upscaling API for E-commerce Catalogs
Learn how to use an image upscaling API for bulk product catalogs. Covers models, costs, platform rules, and integration for Shopify, Amazon, and Etsy.
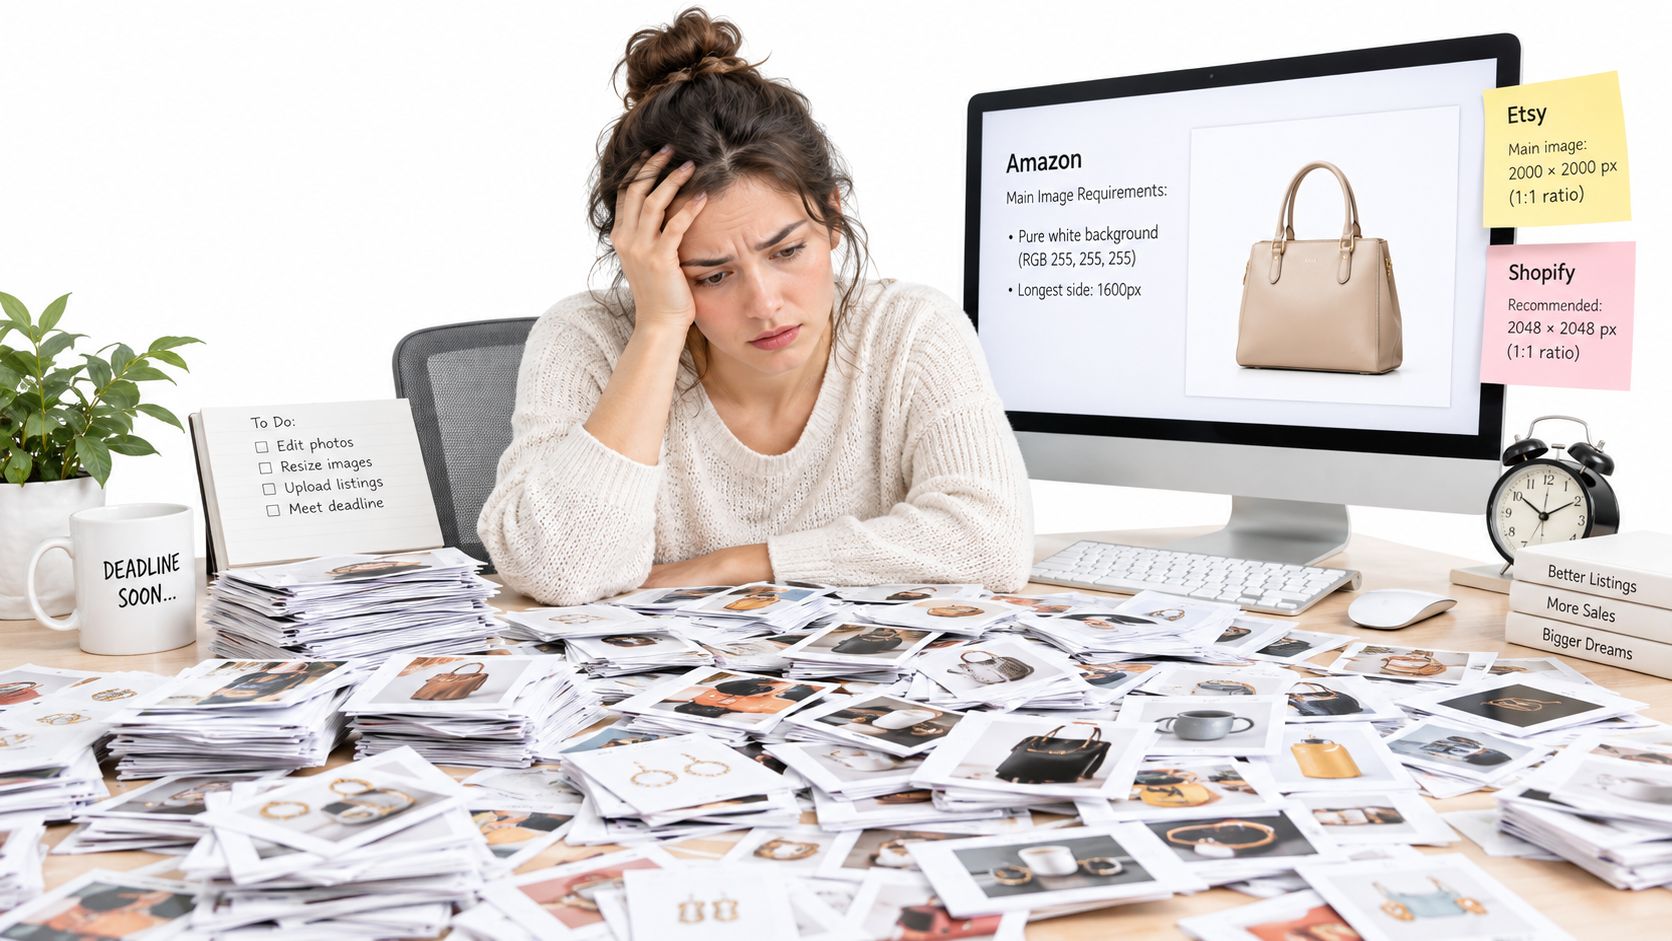
Your launch is tomorrow, but the product folder is full of small smartphone photos, compressed marketplace downloads, and images that look acceptable on a phone but fall apart when buyers zoom in. You have hundreds of SKUs to prepare, not one photo to rescue. Opening an editor for every file creates a second problem: inconsistent crops, backgrounds, sharpness, and export settings across the same collection.
Start by defining the output rules before choosing an image upscaling API. Record the target canvas, marketplace, format, aspect-ratio policy, background color, and review rule. Then apply that specification to a representative batch, rather than trusting a single attractive before-and-after sample.
The Catalog Upscaling Dilemma
Manual editing breaks down as soon as your inventory grows. A seller preparing a seasonal launch might have product photos from different phones, photographers, and suppliers. One image needs enlargement, another needs a white canvas, and a third needs a crop that matches the first two. Processing them individually makes every decision depend on who edited the file and which defaults were active that day.
A batch workflow treats image preparation as a repeatable production rule. Each SKU enters with a source ID and leaves with a known width, height, format, background policy, and model setting. That consistency matters on Shopify collection cards, Etsy listing grids, Amazon detail pages, and stores built with WooCommerce. Buyers should see a coherent catalogue, not a mixture of tightly cropped products and oversized images with uneven padding.
A simple resize only spreads existing pixels across a larger canvas. An AI service attempts to reconstruct plausible detail from the lower-resolution source. That can improve edges and texture, but it can also create detail that was never present. The workflow therefore needs both automation and approval, especially for packaging, jewelry, labels, and small accessories.
Practical rule: Automate the repeated decisions, not the final judgment on every risky image.
If you're still fixing individual files, start with this guide to repairing pixelated pictures, then convert the successful settings into a batch preset. The aim isn't to make one hero image look impressive. It's to make two hundred listings follow the same visual rules without requiring a designer for each upload.
What an Image Upscaling API Actually Does
An image upscaling API receives an image, applies a reconstruction model, and returns a larger file through an application endpoint. The underlying field is single-image super-resolution, which reconstructs a higher-resolution image from a lower-resolution input. SRCNN, introduced by Dong and colleagues in 2014, used a three-layer convolutional neural network and established an end-to-end method for mapping low-resolution pixels to high-resolution output. The research reference describes this development and the later shift toward perceptual quality.
Later systems changed the visual trade-off. SRGAN, introduced in 2017, used generative-adversarial training to produce sharper-looking textures. ESRGAN refined that direction with Residual-in-Residual Dense Blocks and architectural changes aimed at cleaner edges and textures. This is why an AI upscaler can look different from bicubic interpolation. It isn't only enlarging the canvas. It's using learned image priors to infer what detail might plausibly belong there.
That inference is useful for soft fabric, product edges, and compressed photos. It's risky for a logo or label because the service may produce a convincing approximation rather than recover the exact missing pixels. Treat every output as a generated reconstruction, not a verified copy.
The settings that matter in a catalogue
A production API should expose controls for:
- Target dimensions: Set an exact width and height when a marketplace or theme requires a fixed canvas.
- Aspect-ratio behavior: Preserve the original ratio by default. Independent width and height scaling can visibly distort a product.
- Crop and pad policy: Decide whether the service crops the image, adds padding, or fits the product inside a standard frame.
- Output format and quality: Keep the export rule consistent across the collection.
- Processing order: Resolve geometry first, then apply enhancement or sharpening where that sequence produces the cleanest result.
Keep the original asset immutable. Store the source ID, requested dimensions, crop mode, background policy, model version, output format, and quality setting with each job. The MerchLoom explanation of image upscaling software is useful background when you're deciding whether your workflow needs enlargement alone or a connected set of image operations.
For wider image-workflow context, you can also browse Secta Labs blog, particularly if your catalogue process includes other AI image transformations. The important distinction remains practical: an API is a controlled transformation endpoint, not a magic button.
Choosing Between AI Model Tiers
Model selection is a factuality decision, not just a quality decision. Conservative enhancement models try to preserve the original geometry and content. Generative models are more willing to invent plausible texture and micro-detail. That difference may improve a knitted sweater while damaging a barcode, necklace setting, or printed instruction label.
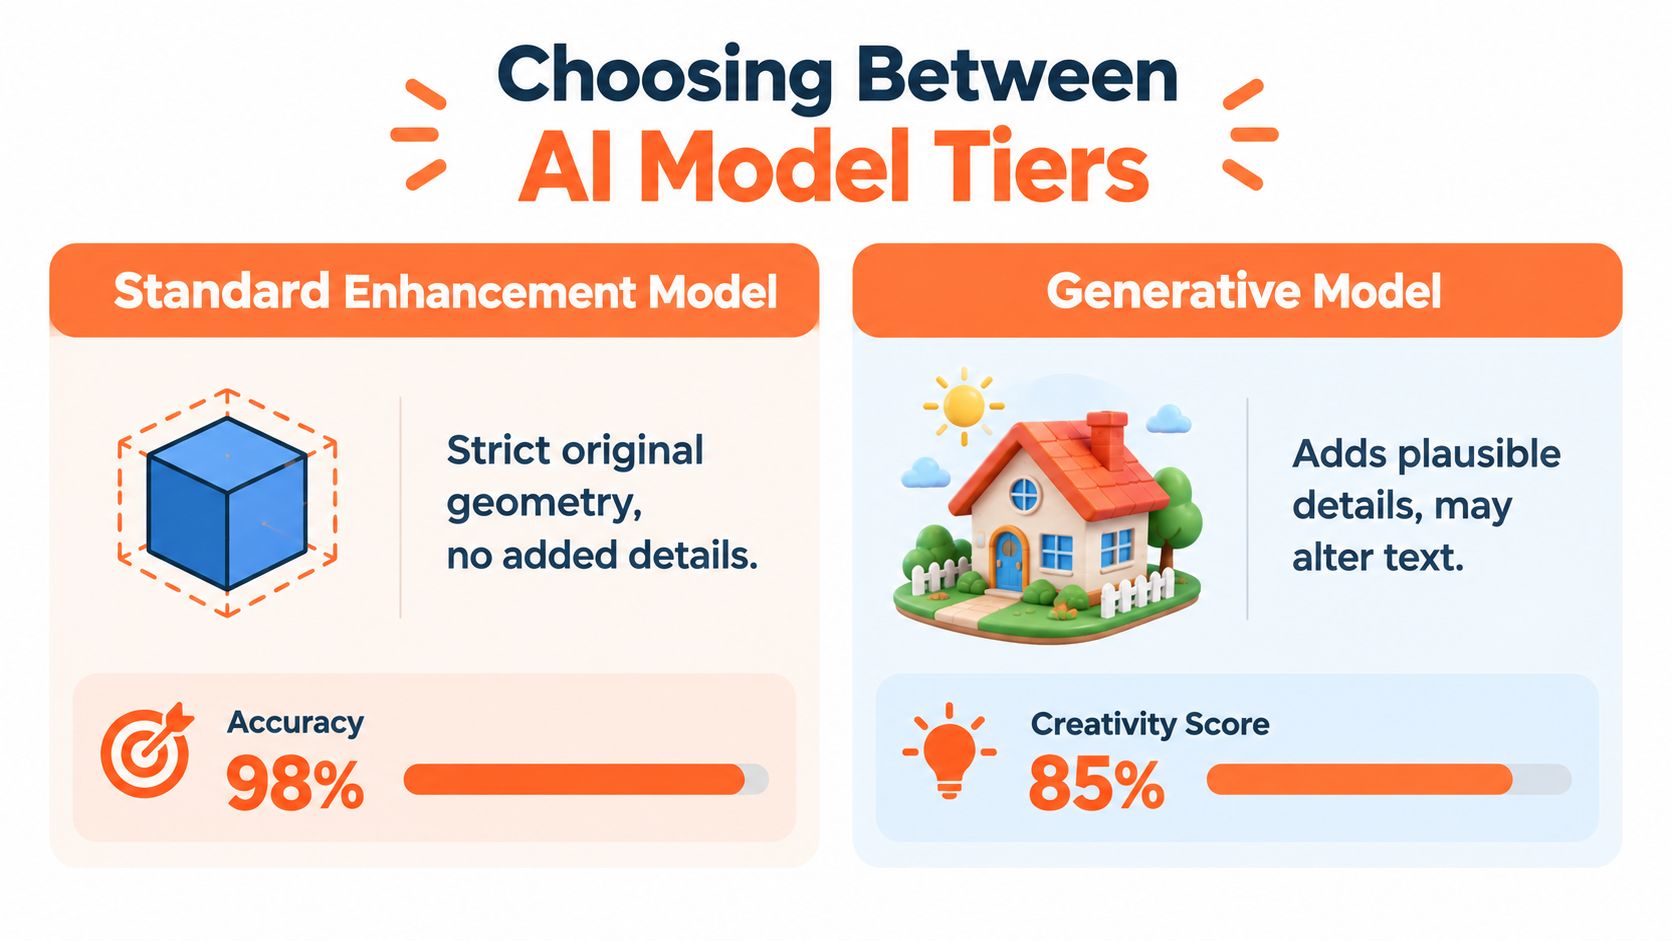
Use the conservative tier for products where literal accuracy matters:
- Packaging and labels: Preserve letter shapes, ingredient panels, and brand marks.
- Jewelry: Protect stone count, prongs, chains, and settings.
- Electronics: Keep connector layouts, ports, and button positions unchanged.
- Technical goods: Avoid reconstructed seams, fasteners, or component geometry.
A generative tier can make more sense for materials whose commercial value depends on visual texture. Fabric, leather, wood grain, and lifestyle scenes may benefit from a sharper perceptual result, provided the product remains recognizably faithful. Run those images through side-by-side review before publishing.
Read metrics without surrendering judgment
Two common benchmarks are PSNR, measured in decibels, and SSIM, generally expressed from 0 to 1. In one reported DIV2K comparison, SRCNN reached 30.12 dB PSNR and 0.892 SSIM, while ESRGAN reached 32.85 dB and 0.921 SSIM. The comparison and its evaluation context are documented here.
Those figures can help compare models under a controlled test, but they don't tell you whether a marketplace buyer will trust a product label. A perceptual model may look sharper while scoring lower on conventional pixel metrics. Conversely, a high score doesn't prove that a tiny logo or barcode survived unchanged.
Build a small internal test set containing white-background packshots, transparent PNGs, dark garments, reflective products, low-light phone photos, text-heavy packaging, and close-up details. Approve a model tier by human approval rate, OCR agreement, geometry preservation, file compliance, failure handling, processing time, and cost per publishable image, not by one laboratory score. Recent evaluation work also compares perceptual index, CLIP-based image quality, and MANIQA because no single measure captures every dimension of perceived quality. The study shows why multi-metric evaluation is more useful than one score.
Scale Factors and Output Limits
A scale factor changes pixel dimensions, but it doesn't guarantee recovered detail. ×2 is often suitable when the source is already close to the required canvas. ×4 gives a larger jump and can expose reconstruction errors more clearly. ×8 demands even more caution because the model has to infer detail across a much larger output.
Choose the factor from the final requirement, not from the largest button in the API dashboard. If a marketplace needs a specific canvas, target dimensions are usually easier to audit than repeatedly multiplying an already enlarged image.
Validate the output before processing
Google's Imagen Upscale documentation sets a final output ceiling of 17 megapixels. A 4,000 × 4,000 image contains 16 megapixels, so it remains below that limit. A 4,500 × 4,000 image contains 18 megapixels, so it exceeds the ceiling before any later operation. Google's research and documentation reference provides the relevant upscaling constraint.
That validation belongs before the API call. Calculate the requested width multiplied by the requested height, reject impossible jobs, and record the reason in the batch log. Don't assume the service will reduce the output in a way that still matches your marketplace preset.
Compare the operational choices
| Approach | Where it fits | Main risk |
|---|---|---|
| ×2 | A source that needs moderate enlargement | It may not reach the required canvas |
| ×4 | A smaller source headed for a standard listing image | Fine texture and text may become synthetic |
| ×8 | Special cases that need a substantially larger output | Output limits, artifacts, and review workload increase |
Scale factor and visual quality are separate variables. A larger file can still contain inaccurate text, softened edges, or invented texture. For a practical explanation of larger output targets, see this guide to 4K upscaling, then test the result against the actual marketplace canvas rather than judging the label alone.
Integrating the API into Your Workflow
Doing this for a whole catalog?
MerchLoom runs background removal, upscaling and AI editing across every product photo you have — one prompt, whole batch. Try 2 batches free, no signup.
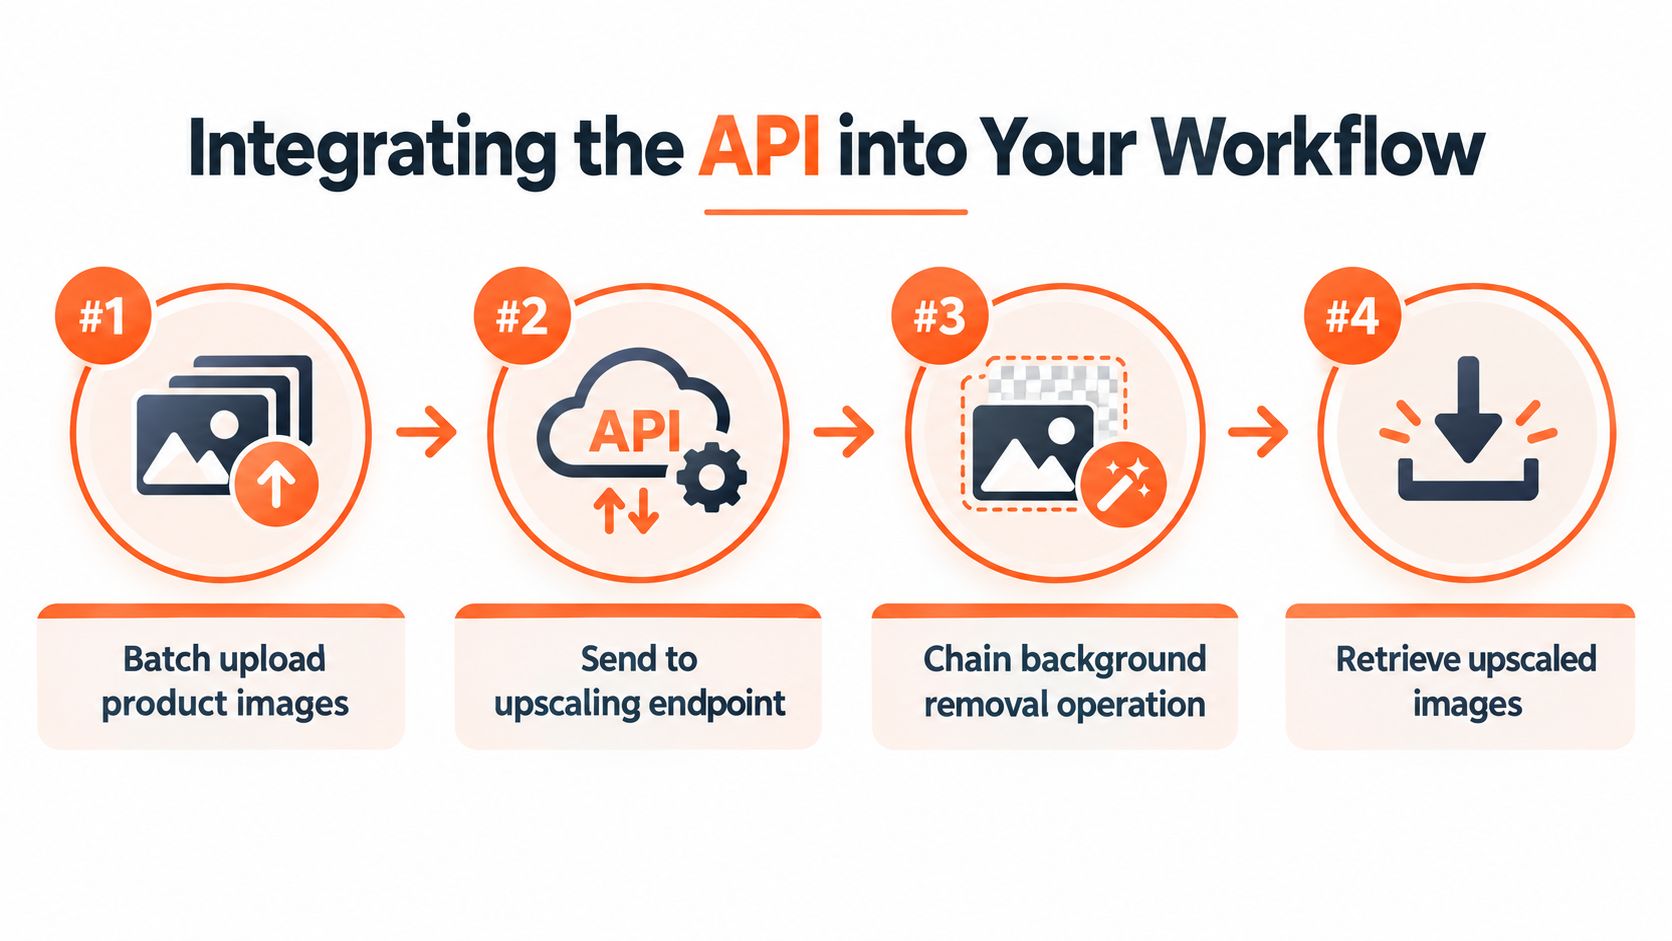
Try it freeA production pipeline should process images in a fixed order and preserve an audit trail. Start with the original asset, not a previously exported marketplace file. Repeatedly enlarging compressed outputs compounds artifacts and makes it harder to identify which step caused a defect.
Build the job specification first
For each image, store a deterministic transformation record:
- Identify the source: Save the asset ID, source location, original dimensions, and file type.
- Resolve geometry: Apply the target canvas, aspect-ratio rule, crop mode, and padding policy.
- Run image operations: Chain background removal, enhancement, and upscaling in the chosen order.
- Validate the output: Check dimensions, format, file size, background color, OCR changes, and visual defects.
- Publish or route: Send approved files to the correct marketplace folder and send failed files to review.
The order can change the result and the processing cost. If background removal creates a smaller transparent subject image before enlargement, the later operation may process fewer pixels. MerchLoom's workflow guidance describes this kind of chained processing and reports that removing backgrounds before upscaling can save up to 87% in the relevant workflow. The platform overview documents that cost optimization claim.
Don't overwrite the source after any step. Save the model version and transformation parameters with the output so a rerun produces the same intended variant even if an API default changes.
A catalogue job also needs failure handling. Retry temporary service errors, but don't automatically retry a content failure forever. Mark images with missing inputs, invalid dimensions, unreadable formats, or failed validation separately so you can fix the cause instead of creating a confusing pile of duplicates.
For storage-based catalogues, this guide to image processing from Amazon S3 gives useful workflow context. The same logic applies to cloud storage, a Shopify import, WooCommerce media, or a local photography handoff.
Avoiding Factuality Hallucinations
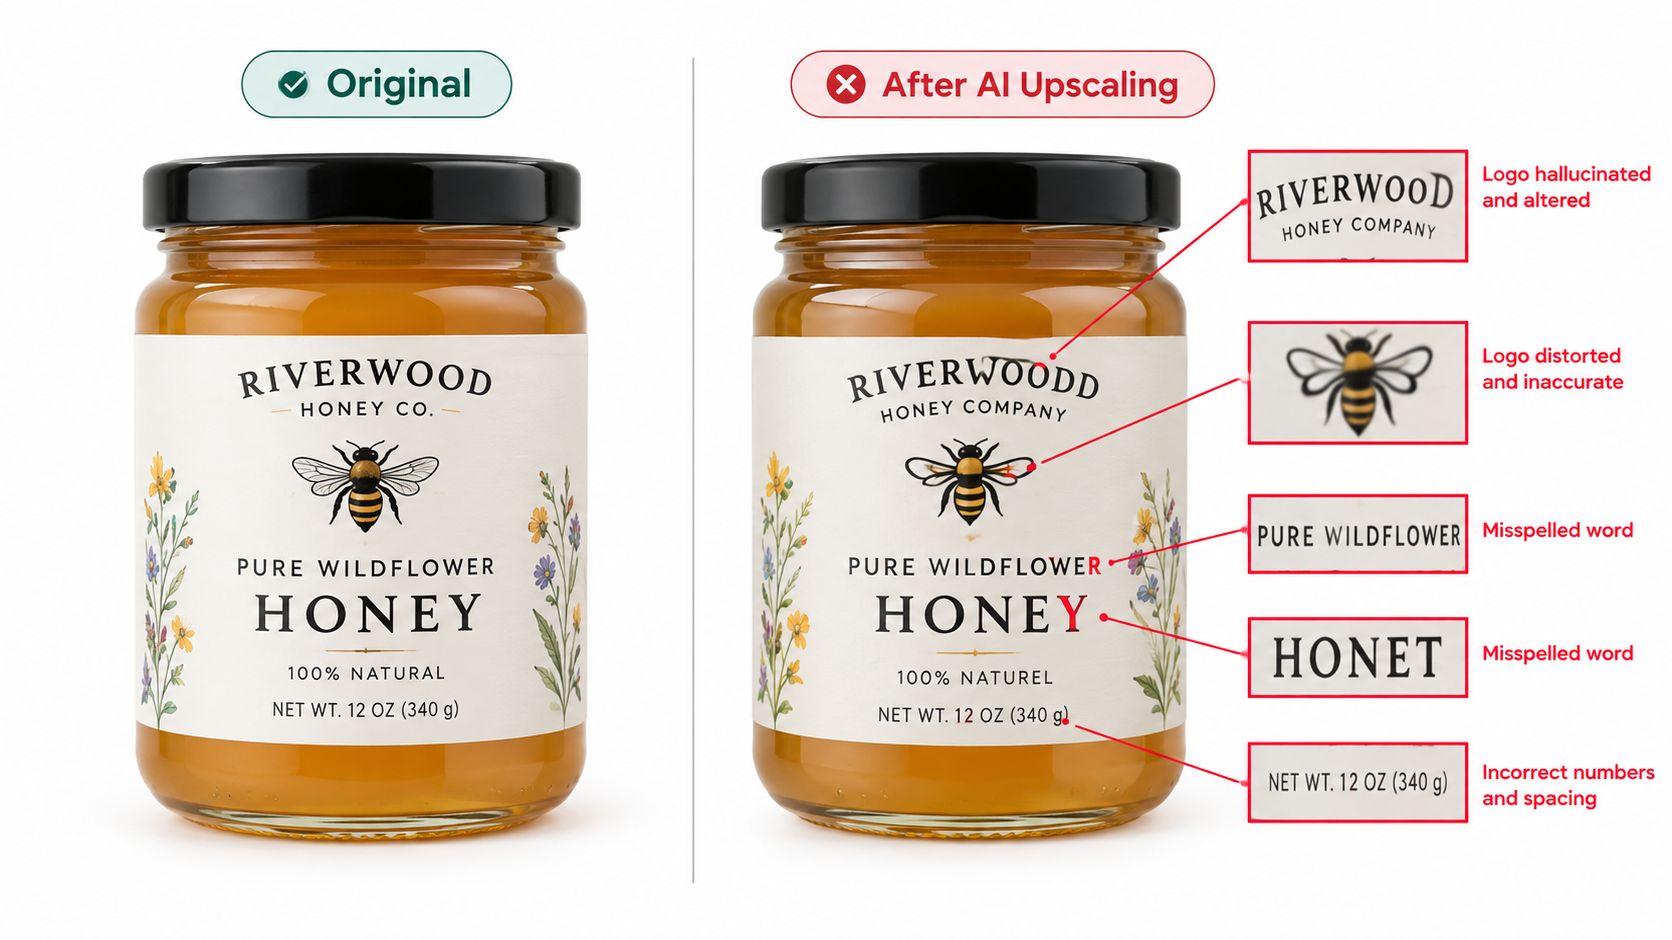
The dangerous output isn't always blurry. Sometimes it's sharp, attractive, and wrong. A generative upscaler may change a letter on a honey label, smooth a logo into a different shape, add a seam to a garment, or alter the number of stones in a ring. Those changes can create returns, customer complaints, and a product page that no longer represents the item in stock.
Protect the regions buyers rely on
Create a risk policy around the product, not just the file resolution:
- Text regions: Run OCR on the original and the enlarged version. Flag changed words, missing characters, and altered line breaks.
- Logos and marks: Keep a protected-region mask over brand elements and compare the shape before approval.
- Barcodes and codes: Don't let a generative model redraw them freely. Preserve the original region or reject the image for manual treatment.
- Small components: Compare buttons, connectors, clasps, product counts, and jewelry settings at close range.
- Edges and geometry: Check silhouettes, handles, seams, corners, and repeated patterns for additions or omissions.
A confidence score can help route files, but it shouldn't be treated as proof. Low-confidence images should enter human review, and high-value or text-heavy SKUs deserve side-by-side inspection even when automated checks pass.
Recent research identifies hallucination as a central problem in generative super-resolution and discusses multimodal guidance from depth, segmentation, edges, and text as ways to reduce it. The Google research reference provides the relevant background on factuality and hallucination. The operational lesson is simple: use AI to reconstruct visual quality, then use rules to test whether the object stayed the same.
A sharper image is not automatically a more accurate image.
Don't publish the first successful response from an API. Compare the source and output, preserve the original for audit, and make rejection a normal pipeline state. For a catalogue of thousands, those safeguards are faster than handling a wave of listings that show incorrect packaging or altered product details.
Meeting Marketplace Resolution Rules
A clean upscale can still be rejected the moment it hits a marketplace. I see this happen when teams judge output by sharpness alone and skip the boring checks that decide whether a listing goes live, dimensions, background, file type, and framing. Set channel-specific presets for Amazon, Etsy, Shopify, eBay, WooCommerce, Poshmark, and Depop, then validate the export against the destination rules before upload.
Amazon needs exact framing
Amazon is the strictest place to get casual. Its official product-image specification requires the longest side to be at least 500 pixels and no more than 10,000 pixels. Amazon recommends at least 1,000 pixels because images at that size can enable zoom. The main image needs a pure white background with RGB values 255,255,255, and the product should fill about 85% of the frame while remaining fully visible. JPEG is preferred, while PNG, TIFF, and non-animated GIF are also accepted. Amazon's product-image requirements provide the complete specification.
For the editorial rule used here, export the main image with the longest side at 1,600 pixels or more when your Amazon presentation needs a larger zoom-ready canvas. For a deeper walkthrough of Amazon's listing rules, see Amazon product image requirements. Then check the exact background RGB, product coverage, and longest-side threshold before upload. That last step matters because an API can enlarge a file into compliance on paper while still leaving soft edges, clipped shadows, or framing that Amazon rejects.
Etsy and Shopify need different presets
Etsy and Shopify should not share the same preset.
Etsy recommends listing photos with both width and height at least 2,000 pixels. Its first listing photo should be at least 635 pixels in each dimension to avoid appearing lower in search. Etsy accepts JPG, GIF, and PNG. Etsy's image guidance explains these listing-photo requirements.
Shopify's developer documentation lists a maximum of 4,472 × 4,472 pixels and recommends 2,048 × 2,048 pixels for square product images. Shopify product and collection guidance also describes images up to 5,000 × 5,000 pixels or 25 megapixels, with files smaller than 20 MB, so confirm which Shopify surface and documentation rule your store uses. Shopify's product-media documentation covers the supported formats and dimensions.
| Channel | Useful batch preset |
|---|---|
| Amazon | White RGB 255,255,255 canvas, consistent product framing, JPEG where appropriate |
| Etsy | At least 2,000 pixels on both dimensions, with a consistent crop |
| Shopify | Square 2,048 × 2,048 output for square themes, while staying within the applicable maximum |
Keep social presets separate too. A marketplace-safe square image often performs poorly when someone manually stretches or crops it for a pin, which is exactly the kind of batching shortcut that creates rework later. A reference covering sizes for Standard and Carousel Pins helps when Pinterest sits in the same catalog pipeline.
Running Batch Workflows with MerchLoom
MerchLoom lets you import product images from cloud storage or e-commerce platforms, describe the desired result in plain English, and run a chained AI pipeline across a collection. For an upscaling workflow, define the marketplace preset, background rule, crop policy, output format, and review conditions before starting the batch.
A practical sequence looks like this:
- Import the original product folder or collection.
- Separate risky SKUs with labels, logos, barcodes, or small components.
- Remove or replace backgrounds where required.
- Apply the selected enhancement and enlargement settings.
- Export marketplace-specific variants.
- Review flagged outputs and reuse approved settings for the next batch.
The platform can optimize operation order, including background removal before upscaling when that reduces the pixels processed in the expensive step. It supports a pay-per-image credit model, credits never expire, and you can try the first images without an account. That makes it suitable for testing a real catalogue sample before committing to a larger workflow. It isn't a full Photoshop replacement, and AI outputs still need human review for factuality and marketplace compliance.
MerchLoom gives you a way to run these chained AI pipelines across a whole collection instead of preparing one image at a time. Try your first product images without an account, test the marketplace presets, and visit MerchLoom when you're ready to process the rest of the catalogue with pay-per-image credits that never expire.
Stop editing product photos one at a time
Upload your catalog or connect your store. Describe the result once. MerchLoom does the rest.
Try it free — no signup