
How to Check the DPI of an Image: Windows, Mac, & Photoshop
Learn how to check the DPI of an image on Windows, Mac, & Photoshop. Essential guide for e-commerce sellers to optimize product image quality.
You're usually checking DPI at the worst possible moment. A marketplace flags an upload, a printer says the insert file is too soft, or someone on the team swears the image is “high res” because it looks sharp on a laptop.
That's where most DPI advice falls short. It tells you where to click, not which number matters. For a single photo, that's annoying. For a catalogue with hundreds of SKUs moving through Amazon, Shopify, Etsy, packaging, inserts, and ad creatives, it becomes a QA problem.
If you want to know how to check the DPI of an image properly, treat it as two separate questions. First, what DPI or PPI is embedded in the file metadata? Second, what resolution will the image deliver at the final print size? Those aren't always the same, and that gap is where teams get rejections, blurry packaging, and inconsistent outputs.
DPI vs PPI and Why It Matters for Your Store
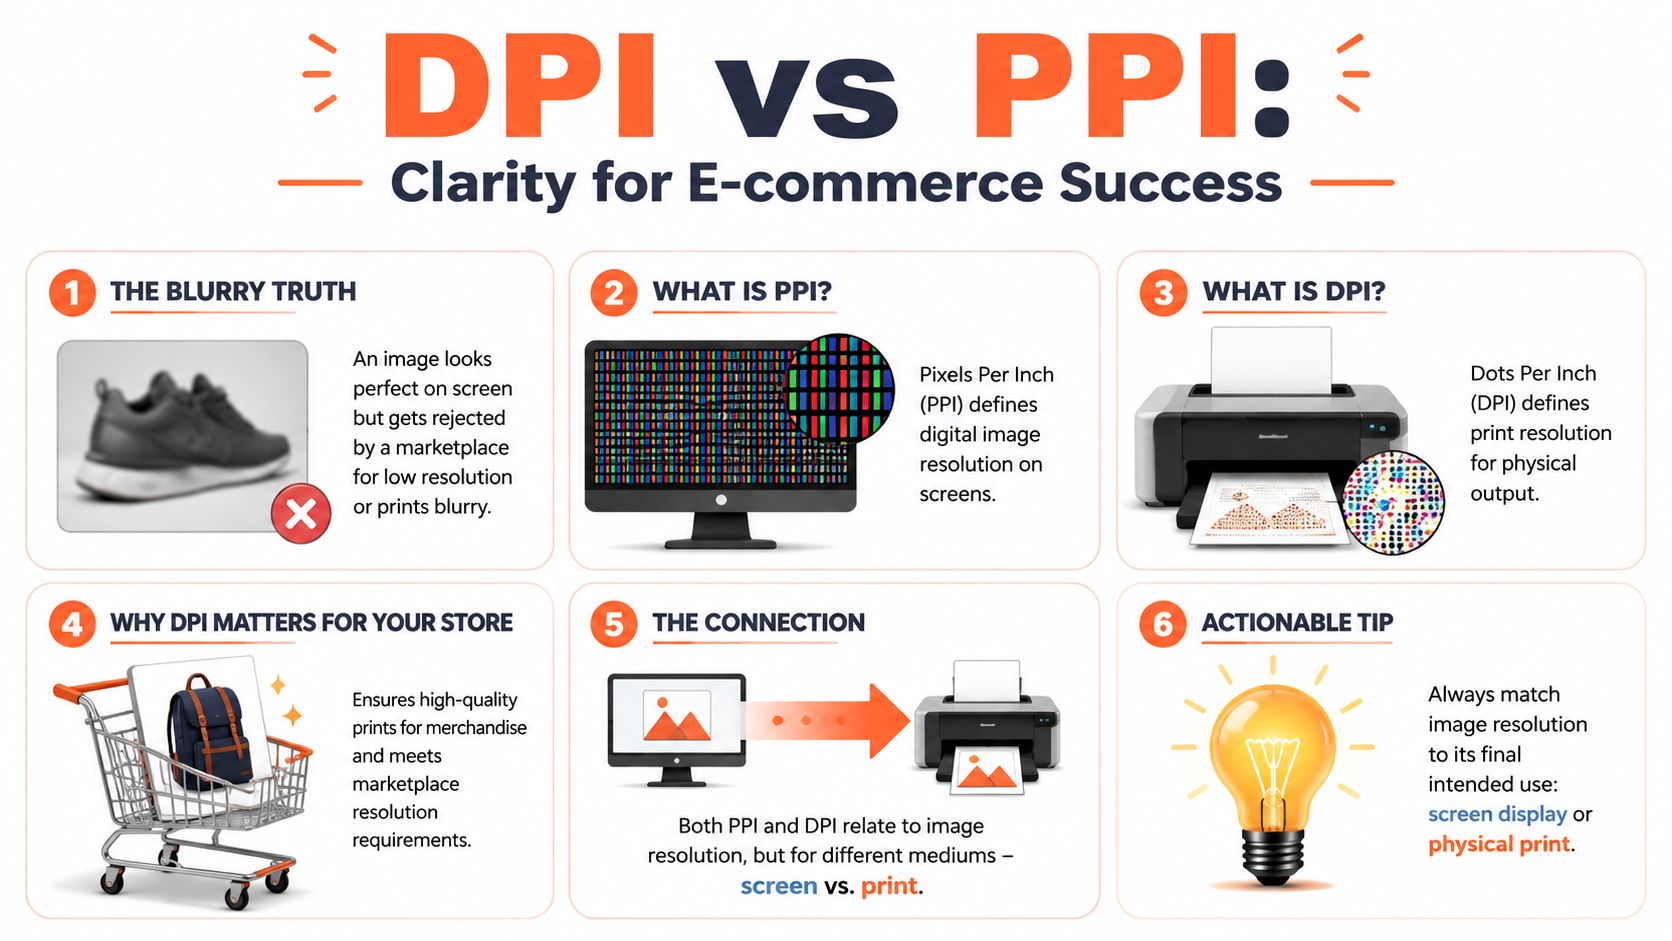
A product photo can look perfect on screen and still fail in print. That's normal. Screens display pixels. Printers output dots. People often use DPI and PPI interchangeably, but in workflow terms, the distinction helps you avoid bad assumptions.
PPI is about the pixel density of a digital image or display. DPI is about printed output. In day-to-day e-commerce work, teams often say “300 DPI” when they really mean the image needs enough pixel density to print cleanly at the intended size. The part that matters is the relationship between pixel dimensions and physical print dimensions.
Think in pixels per printed inch
Pixels are the raw building blocks. If you spread too few of them across too much paper, the result softens. That's why the long-standing print benchmark is 300 DPI, and print tools commonly show recommended output around 300, 200, and 150 DPI. The standard formula is DPI = pixels ÷ inches. A concrete example from printing guidance is that a 2400 × 3000 pixel image prints at 300 DPI at 8 × 10 inches (Centex Printing print size guidance).
For store owners, that affects more than brochures. It shows up in:
- Product inserts: Small printed pieces are viewed closely, so softness is obvious.
- Retail packaging: Labels and box panels expose weak source files fast.
- Print-on-demand assets: Artwork may pass a digital preview but still disappoint in physical output.
- Brand consistency: One SKU can look clean while the next looks fuzzy because the team trusted metadata instead of final output size.
What matters more than the number in properties
If you only remember one thing, remember this.
Practical rule: The DPI tag in the file is useful, but the trustworthy number is the one tied to the final physical size.
That's why a seller handling both online listings and print materials should separate “looks fine on screen” from “prints clean at size.” If you need a plain-language companion resource, T-Shirt Envy resolution tips are useful for thinking through print readiness in practical terms. For a deeper look at what the benchmark means in production, this explanation of what 300 DPI means is a good reference point.
Quick Methods for Checking a Single Image
For one image, the fastest check is still local inspection. You're not judging quality by eye. You're reading the file's metadata first, then deciding whether that number is meaningful for the intended use.
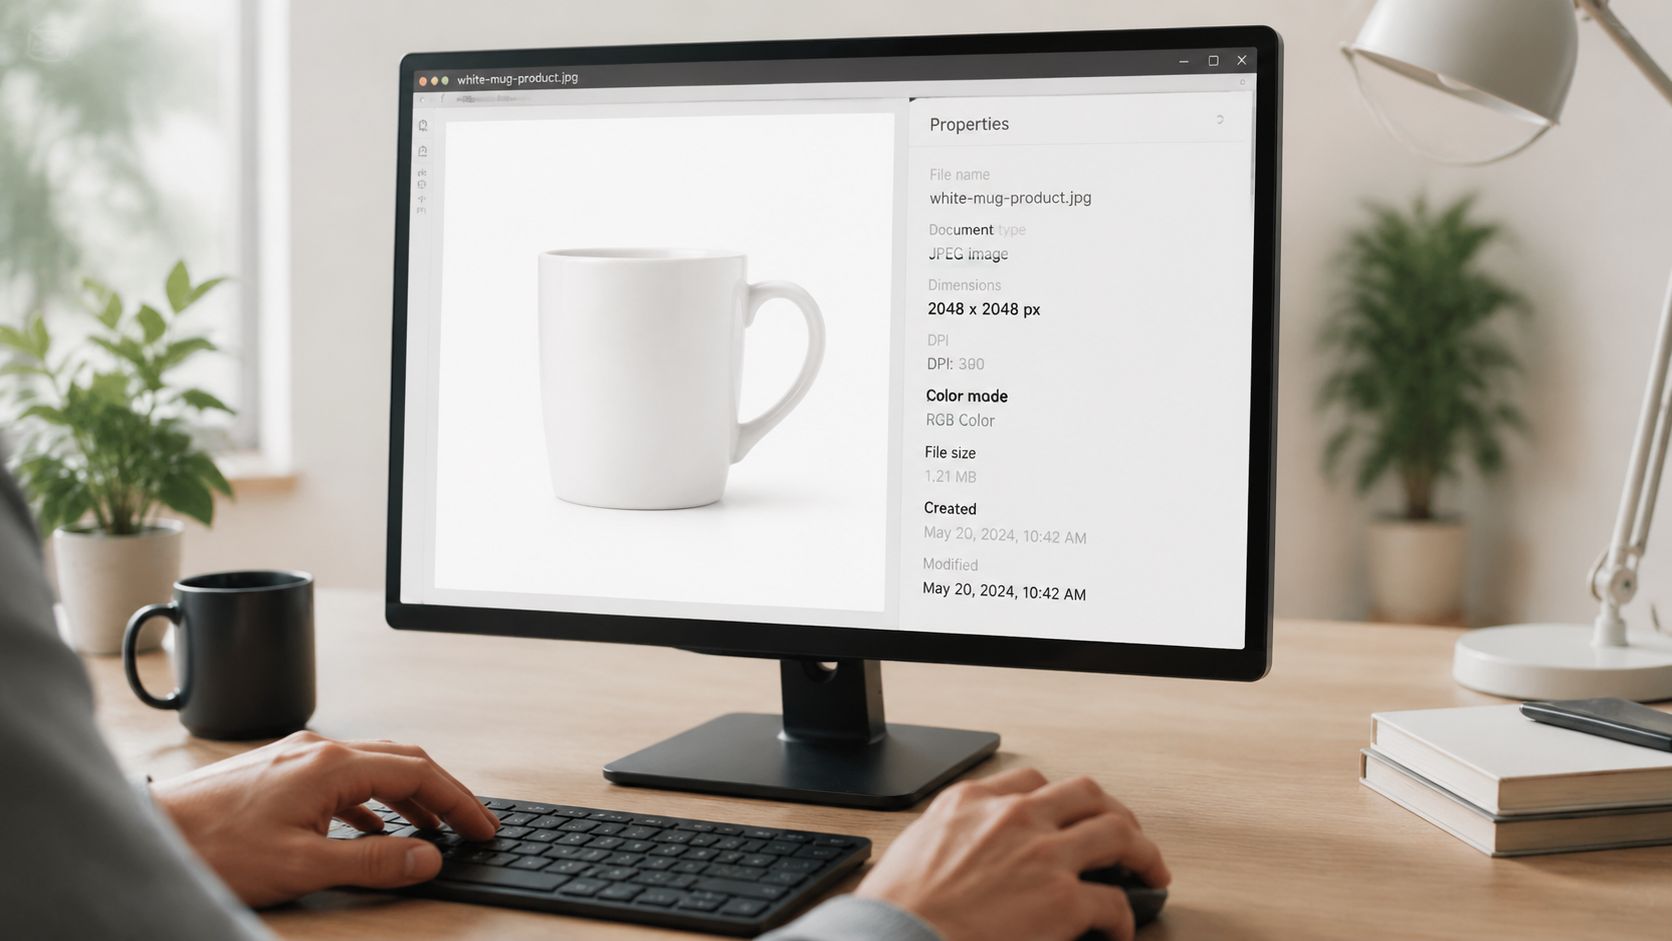
A reliable baseline is this: checking image DPI is a metadata task, not just a visual one. On Windows, the common path is File Explorer > Properties > Details or Paint's Properties > Resolution. On macOS, it's usually Preview > Tools > Show Inspector. That matters because some file types and workflows don't expose DPI consistently in the operating system (practical DPI inspection steps).
On Windows
Windows is usually the quickest place to verify a single local file.
- Find the image in File Explorer.
- Right-click the file and choose Properties.
- Open the Details tab.
- Look for Horizontal resolution and Vertical resolution.
If those fields are present, you're seeing the embedded resolution metadata. That's useful for a quick check before uploading to a printer portal or sending a file to a designer.
A few cautions matter:
- Missing values don't always mean bad quality. The metadata may be absent.
- Matching horizontal and vertical values are normal.
- A high number here doesn't guarantee a sharp print if the artwork will be enlarged later.
On macOS
Mac users usually inspect image resolution in Preview.
- Open the file in Preview
- Go to Tools
- Choose Show Inspector
- Check the Resolution field
This is often enough for one-off checks on inserts, packaging mockups, or art files before handoff. If the image came through several tools, don't assume the metadata survived unchanged.
In Photoshop
Photoshop is where many sellers and designers make a costly mistake. They open Image Size, see a resolution value, and assume the problem is solved.
Use Photoshop to inspect both metadata and real dimensions:
- Open the image
- Go to Image > Image Size
- Check the pixel dimensions
- Check the resolution field
- Notice whether Resample is on or off before changing anything
If you need help resizing without degrading the source unnecessarily, this guide on how to scale an image in Photoshop is useful for the practical side of the workflow.
Here's a walkthrough if you prefer watching the steps in action:
In GIMP
GIMP is a solid fallback when you don't have Photoshop.
Check the image like this:
- Open the file
- Go to Image
- Open Print Size
- Review the resolution values
GIMP can show you the metadata value, but the same warning applies. The number alone doesn't tell you whether the file is suitable for the actual output size.
If the image is headed to print, always pair the metadata check with the intended physical dimensions.
What works for one-off checks
When someone asks how to check the DPI of an image, they usually mean “How do I know if this file is safe to use?” For one image, use this quick decision path:
| Situation | Best quick check |
|---|---|
| Local JPG on Windows | Properties > Details |
| Local image on Mac | Preview Inspector |
| Designer file in editing | Photoshop or GIMP |
| Print-critical asset | Check metadata, then confirm final size manually |
That last row is the one people skip.
Using Online DPI Checkers Securely
Online DPI checkers are convenient. For a casual user checking one photo, they can be the fastest option. For a seller handling unreleased product shots, packaging art, or licensed designs, convenience shouldn't be the only filter.
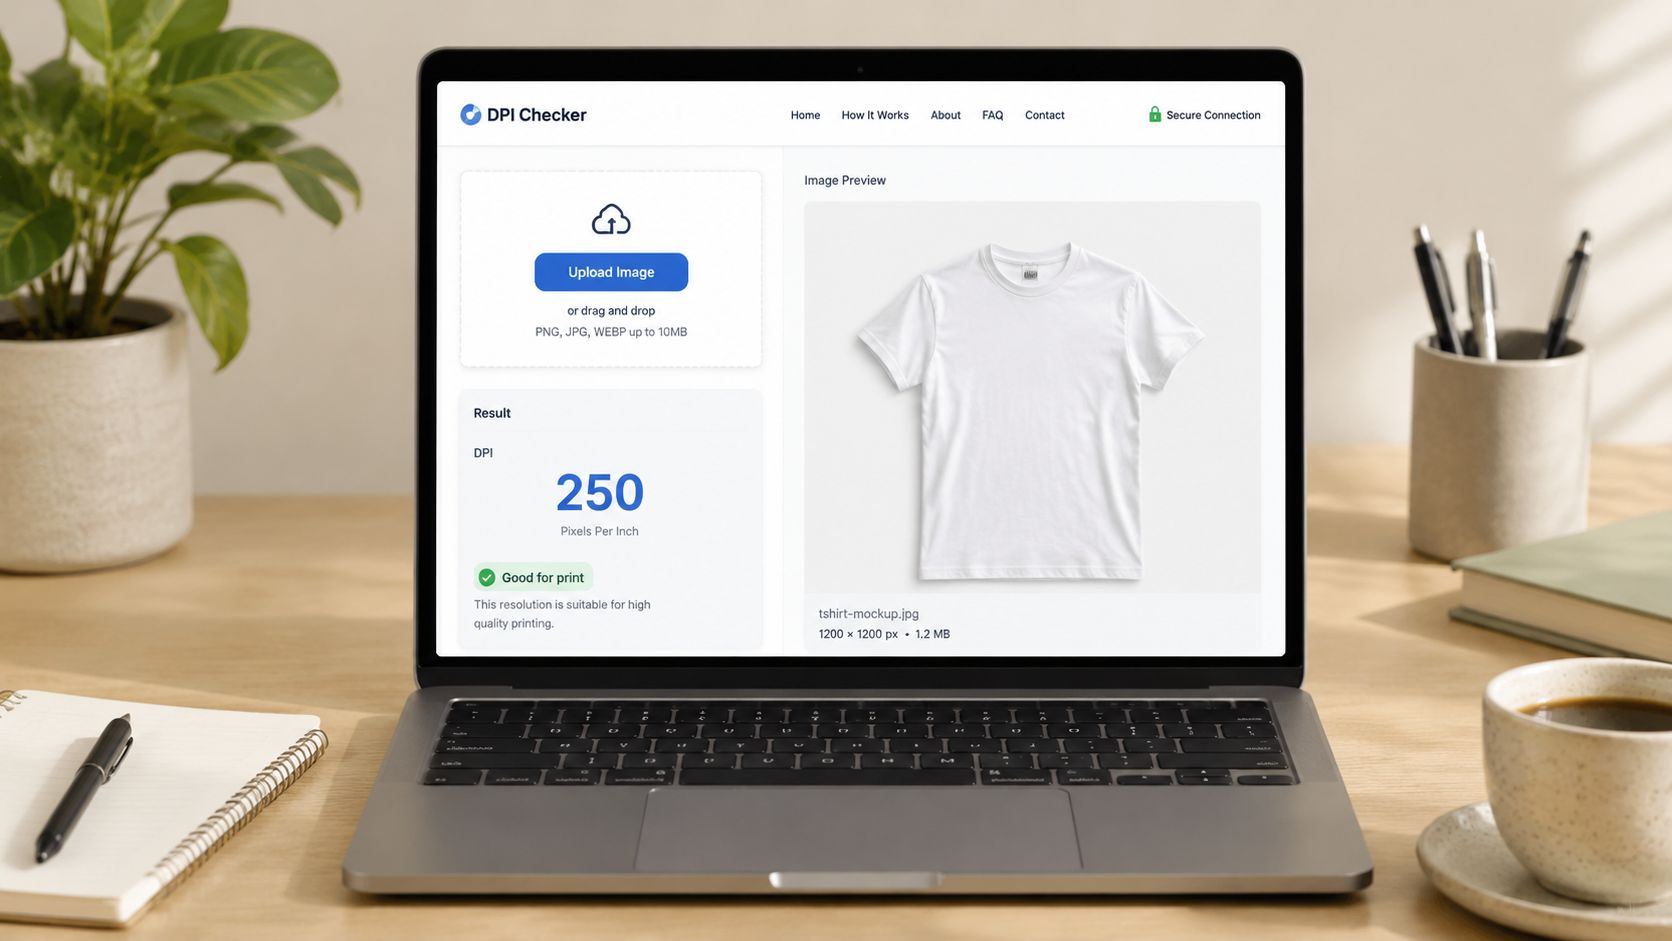
The main issue isn't whether the tool can read metadata. Most can. The issue is where the file goes and what happens to it after upload. Some checkers run in the browser. Others send the image to a server. If the image contains proprietary product photography or pre-launch artwork, that distinction matters.
What to look for before using one
Use a simple review standard:
- Browser-based processing: Prefer tools that say they run locally in your browser.
- No forced account creation: For quick checks, that's usually a cleaner sign.
- Clear file handling language: If the site doesn't explain uploads, assume the file leaves your device.
- Suitable use case: Fine for a one-off mug mockup. Less wise for a full branded packaging set.
A file that only needs a yes-or-no metadata check doesn't need to enter a risky workflow.
When online tools make sense
Doing this for a whole catalog?
MerchLoom runs background removal, upscaling and AI editing across every product photo you have — one prompt, whole batch. Try 2 batches free, no signup.
Try it freeThey're useful when:
- you're on a borrowed machine
- you don't have Photoshop or GIMP
- you want a quick read on a single exported file
- you're checking something non-sensitive
They're less useful for organised catalogue QA, because they don't solve consistency. They answer one question about one file. They don't tell you whether the whole collection was resized, recompressed, or stripped of metadata somewhere between editing and upload.
A quick checker can confirm a value. It can't replace a repeatable quality-control process.
Checking DPI Across Your Entire Product Catalog
Manual inspection breaks down fast. It's fine for one insert, one flyer, or one image a printer has questioned. It's a poor method for a catalogue where hundreds of files move through background removal, resizing, compression, square crops, and channel-specific exports.
For batch QA, the more dependable method is to calculate effective DPI from the image's pixel dimensions and its intended size in inches, then compare that result to your target threshold. A standard print benchmark is 300 ppi/DPI for most commercial print, while some larger-format work may be acceptable at 150 ppi. One print workflow guide also recommends using a Preflight check that flags images below 300 ppi (Mailpro preflight guidance for print readiness).

What batch checking actually means
At catalogue scale, you're not asking, “Where's the DPI number?” You're asking:
- which files have usable metadata
- which files will print cleanly at the intended dimensions
- which assets were enlarged in layout
- which exports came back with inconsistent settings
- which groups need replacement, resampling, or escalation to design
That's why experienced teams stop treating DPI as a file-by-file curiosity and start treating it as a QA rule.
A practical batch workflow
This is the workflow that holds up when product images pass through multiple people and tools.
Collect pixel dimensions first
Start with width and height in pixels. That's the raw material.Define the intended output size
A listing image, a package panel, and an insert card don't have the same requirement.Calculate effective DPI
Divide pixels by inches for the actual print size.Flag failures automatically
If a file falls below your internal threshold for that use case, don't leave it to someone's eyesight.Fix upstream, not at the last export
If the original source is weak, changing the last export rarely saves it.
Technical teams can script it
If your team is comfortable with command-line tools such as ImageMagick, you can extract image properties in bulk and build simple checks around file dimensions and resolution metadata. That approach works well for teams with technical support or a disciplined asset pipeline.
The drawback is maintenance. Scripts help with inspection, but most sellers still need the rest of the workflow handled too. Files still need reframing, background cleanup, compression review, and channel-specific output.
Business teams need consistency, not just numbers
For operational teams, the bigger issue is keeping every image collection consistent after editing. A white-background Amazon set, a square Shopify set, and an Etsy-friendly export can all start from the same source and end up with different resolution risks if the pipeline isn't organised.
That's why it helps to think in terms of workflow stages, not isolated checks:
| Stage | What can go wrong |
|---|---|
| Import | Mixed source quality across suppliers |
| Edit | Cropping and scaling reduce usable density |
| Export | Compression or resizing changes output behaviour |
| Upload | Platforms may reprocess files |
| Print reuse | A web-safe file gets reused for packaging by mistake |
For teams that need to standardise this kind of work, a dedicated process for batch conversion and validation is more useful than occasional spot checks. If you're comparing options for changing or normalising resolution across many assets, this overview of an image DPI converter workflow is a practical reference.
Catalogue QA works best when DPI checking is tied to the final use of each asset, not treated as a disconnected metadata lookup.
Troubleshooting Common DPI Issues
Most DPI problems are really workflow problems. The number looks wrong, goes missing, or changes after export, and people assume the image itself changed in the same way. Often, it didn't.
My image says 72 DPI, so do I just change it to 300
Symptom: A file shows a low DPI value in metadata.
Likely cause: The file was exported with a legacy or default resolution tag, or the metadata was rewritten during editing.
Solution: Don't assume the file is unusable. First check pixel dimensions and final intended size. Changing the DPI tag alone only relabels the file unless you also increase actual pixel dimensions.
Changing the DPI tag doesn't add detail. If the image lacks pixels, you need to resample, upscale, or replace the source.
If you're evaluating tools and methods to improve image resolution, keep that distinction in mind. The useful question isn't “Can this set the file to 300?” It's “Can this produce enough real detail for the required output?”
The DPI disappeared after upload or export
Symptom: The file had resolution metadata locally, then another version doesn't show it.
Likely cause: The workflow stripped or rewrote metadata.
Solution: Check the export settings and the platform behaviour. This is common when files move through web tools, marketplaces, or optimisation services. JPG and PNG don't store resolution the same way. JPG DPI is typically stored in EXIF, while PNG uses a pHYs chunk, and some tools rely on those embedded fields rather than a universal rule (Templated notes on image DPI storage by format).
That's why two files with identical visible quality can report resolution differently after processing.
The image looked fine until someone placed it in a layout
Symptom: The original file looked acceptable, but the printed output is soft.
Likely cause: Someone enlarged it in the layout or reused a web export for print.
Solution: Inspect the placed size, not just the original file properties. This is also where compression damage often becomes obvious. If the image has already been heavily optimised for web, inspect it for artefacts before trying to push it into print. This guide to JPEG compression artefacts is useful when the file technically passes checks but still looks rough in real output.
Different files in the same catalogue report different DPI values
Symptom: Similar product images show inconsistent metadata.
Likely cause: Mixed suppliers, different editing apps, or inconsistent export presets.
Solution: Standardise the intake process. Normalise how files are exported, named, and routed. In catalogue operations, inconsistency is usually a process issue before it's an image issue.
The fix for repeated DPI confusion is rarely “check harder.” It's “standardise the workflow that creates the files.”
Making DPI Checks an Effortless Part of Your Workflow
The easiest way to stop losing time to DPI problems is to stop treating them as last-minute surprises. Check them at intake, check them again before print use, and tie the decision to the asset's final purpose.
For a casual user, that might mean opening one file in Preview or Properties and confirming whether it's suitable. For an e-commerce seller, it means building a repeatable rule set for collections. Listing images, inserts, labels, and packaging don't all need the same treatment, but they do need a consistent review process.
A good workflow does three things well:
- Separates metadata from real output suitability
- Flags weak files before they reach upload or print
- Keeps catalogue-wide exports consistent across platforms
This is how to check the DPI of an image. You check the embedded value when you need a quick read. You trust effective resolution when physical output matters. And if you manage a large catalogue, you automate as much of that validation as possible.
For teams working on repeatable catalogue operations, AI image workflow automation becomes useful. Not because DPI is glamorous, but because repetitive QA shouldn't steal time from merchandising, launches, and growth.
If you're managing product images across Amazon, Shopify, Etsy, packaging, and ad creatives, MerchLoom is built for that reality. It helps teams run repeatable batch image workflows across whole collections instead of fixing one file at a time, which makes it easier to keep resolution, formatting, and output consistency under control as your catalogue grows.
Stop editing product photos one at a time
Upload your catalog or connect your store. Describe the result once. MerchLoom does the rest.
Try it free — no signup