
Size of Etsy Listing Photos: A 2026 Guide for Sellers
Get the definitive size of Etsy listing photos for 2026. Our guide covers pixel dimensions, aspect ratios, and batch processing workflows for busy sellers.
If you're resizing one Etsy photo at a time, most sizing advice looks simple. If you're managing 200 listings, seasonal refreshes, variant sets, and cross-posting to Shopify or Amazon, the problem changes completely. The core job isn't just knowing the right size of Etsy listing photos. It's building a repeatable standard that keeps your catalogue clean, consistent, fast to upload, and hard to break when Etsy changes how it crops thumbnails.
That’s where most sellers lose time. They fix one hero image, forget the second angle, upload a lifestyle shot that’s too large, then discover the first image crops badly in search. On a single listing, that's annoying. Across hundreds of SKUs, it turns into operational drag.
The practical approach is to choose one master spec, one crop strategy, and one export workflow that your whole catalogue can follow. Etsy still rewards good presentation, but batch-friendly consistency is what keeps a shop maintainable.
The Definitive Etsy Photo Specifications for 2026
Etsy photo specs aren’t flexible in the way many sellers hope. There’s room for strategy around aspect ratio, but the baseline technical rules should be treated as fixed.
The core requirement is straightforward. Etsy listing photos should be at least 2000 pixels on the shortest side, set to 72 PPI, and kept under a 1MB file size for dependable platform performance, according to this Etsy listing photo size guide. That same source notes that going beyond 2000px supports zoom, which matters because 80% of shoppers zoom for details.
If you only remember one thing, remember this. Build around the shortest side, not the long side. Sellers often upload a visually large image that still fails the practical test because one edge drops below Etsy’s threshold.
The master spec that works in real shops
For most catalogues, the cleanest operational standard is a master export that hits Etsy’s minimum comfortably while staying easy to compress. You want a file that looks crisp, survives cropping, and doesn’t create unnecessary upload friction.
A practical baseline looks like this:
| Attribute | Recommendation | Rationale |
|---|---|---|
| Shortest side | At least 2000px | Supports clear display and zoom readiness |
| Resolution | 72 PPI | Standard web output for marketplace images |
| File size | Under 1MB | Helps page performance and upload efficiency |
| Colour mode | sRGB | Best fit for consistent web display |
| Primary file type | JPG | Best default for most listing photos |
| Secondary file type | PNG | Useful when graphics or texture-heavy overlays need cleaner edges |
What to standardise in batch processing
When teams process hundreds of files, the issue isn’t knowing the rules. It’s preventing exceptions.
Use these as must-haves:
- Set a minimum dimension floor so anything below 2000px on the shortest side gets flagged before export.
- Export to sRGB every time. Mixed colour profiles create inconsistent product colour across a catalogue.
- Use JPG by default for standard product images, then reserve PNG for graphics where text edges or overlays need extra cleanliness.
- Compress at export, not after upload. Waiting until the end usually creates a pile of oversized files that need rework.
Practical rule: Treat Etsy compliance as an export preset, not an editing decision. If a human has to remember the settings each time, the workflow will drift.
How Etsy Displays Photos and Why It Affects Your Sales
The first image in an Etsy listing does two jobs at once. It has to work as a full product image on the listing page, and it has to win the click as a cropped thumbnail in search. Those are not the same viewing conditions, which is why technically acceptable photos can still underperform.
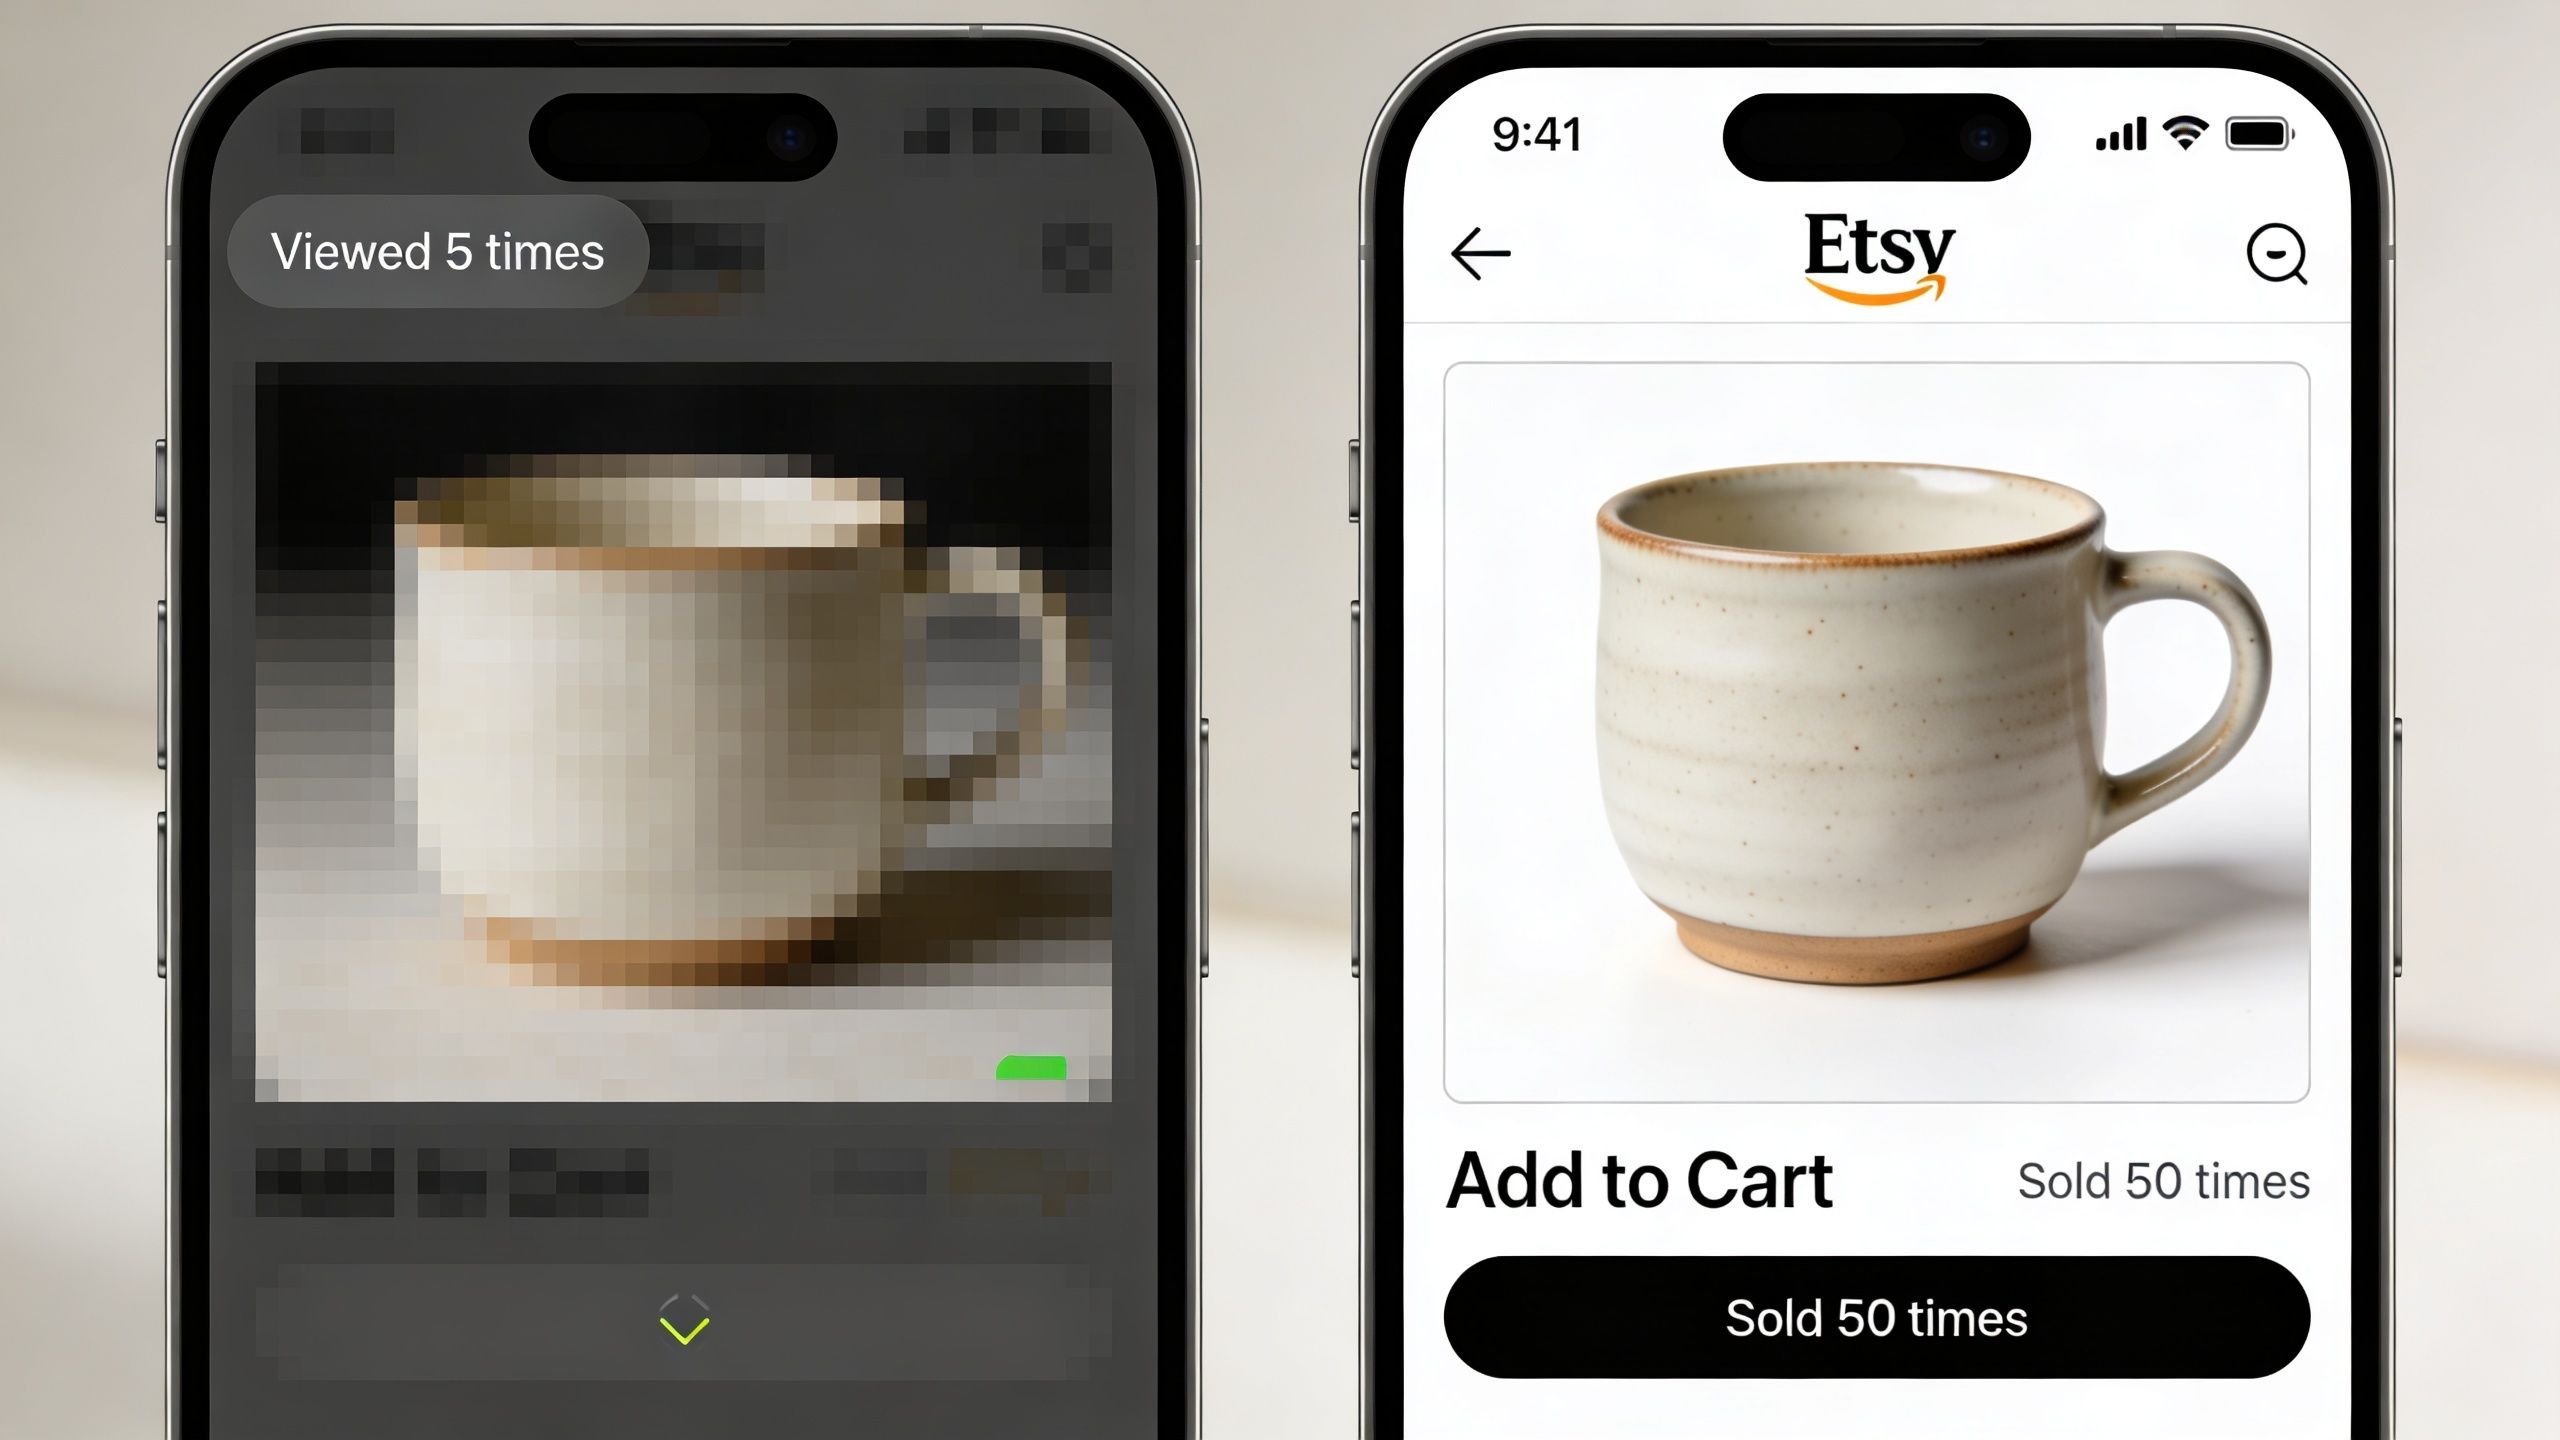
According to Photoroom’s guide to Etsy product photo display, Etsy creates square 1:1 thumbnails from listing photos in search results. That means the first image gets cropped automatically, and products placed too close to the edges can be cut off.
The thumbnail is the real first impression
Sellers often judge their image by the full-size editor view. Buyers often see the cropped version first. If the product handle, necklace clasp, chair leg, or candle label gets clipped in search, the listing looks weaker before anyone even opens it.
That’s why centre composition matters more on Etsy than it does on many standalone storefronts. You need a built-in safe zone around the product, not just a nice photo.
A simple rule works well in production:
- Keep the product centred
- Leave margin around the outer edges
- Avoid placing key details in the corners
- Check the first image as a square before exporting the batch
Safe framing beats perfect framing
A tightly cropped image can look polished in editing software, but it often fails once Etsy applies its own crop logic. Safer framing usually performs better operationally because it survives search thumbnails, mobile previews, and app variations.
If you’re improving source photography as well as post-processing, this guide on how to improve product visuals for sales is useful because it focuses on practical composition choices that translate well to marketplace thumbnails.
A strong Etsy image doesn’t just show the product well. It survives the crop well.
For large catalogues, this is where smart reframing matters. Manual cropping might work for ten listings. It breaks down when you need the same thumbnail logic across ceramics, jewellery, prints, and apparel in the same week.
Choosing the Right Aspect Ratio for Your Product Catalogue
Aspect ratio decisions get overcomplicated because sellers think in terms of individual products. Catalogue management works better when you think in terms of default ratio plus exceptions.
The most flexible master image for many Etsy workflows is 4:3 at 3000 x 2250px, because it preserves strong resolution and can still be cropped into a square when needed, as explained in Printify’s Etsy image size reference. That makes it useful as a source format even if your final display strategy leans square.
Square versus 4 to 3
A square catalogue is easier to manage. It simplifies batch exports, reduces thumbnail surprises, and aligns neatly with Etsy’s square thumbnail behaviour. If you sell varied products, square is usually the least fragile standard.
A 4:3 master has a different advantage. It gives you extra horizontal room for wider products like trays, framed prints, benches, scarves, or tool kits. That extra room can help during capture and editing, especially when you need space around the product for later cropping.
Here’s the practical trade-off:
| Ratio | Best use | What works | What causes trouble |
|---|---|---|---|
| 1:1 square | Mixed catalogues | Consistent thumbnails, simpler batch exports | Can feel cramped for wide products |
| 4:3 landscape | Wider product lines | Flexible master file, room for safe crop | Needs stronger thumbnail checks |
| Mixed ratios | Rare exceptions only | Helps unusual items | Creates inconsistent listings and more manual review |
How to choose once and stop revisiting it
For most sellers, the right answer is operational, not artistic.
Choose square as the catalogue default if:
- you sell across multiple categories
- you want one reliable crop standard
- you don’t want every listing reviewed by hand
Choose 4:3 as the master capture format if:
- your products are consistently wide
- you want room for later square crops
- you maintain an organised source library separate from final exports
Don’t switch ratios listing by listing unless the product genuinely demands it. That usually leads to uneven shop presentation and more rework than the extra framing is worth.
Optimizing Images for Quality Performance and SEO
A good Etsy photo isn’t just sharp. It also has to load quickly, compress cleanly, and remain readable on mobile screens. That’s where many sellers go wrong. They either export files so large they create friction, or they compress so aggressively that fabric texture, engraving, and finish details start to break apart.
The safest target for most working catalogues is an image that looks crisp at listing size, stays within Etsy’s file expectations, and doesn’t require rescue edits later. That’s usually less about extreme resolution and more about controlled export settings.
Quality and file size need to be balanced
A common mistake is treating “higher quality” as “bigger file”. On marketplaces, that logic fails fast. Buyers don’t reward file weight. They reward images that render quickly and still show detail clearly.
For sellers who want a broader primer on the trade-offs, this piece on image optimization for content creators does a good job of explaining how dimensions, compression, and delivery interact.
Use a simple export checklist:
- Start with a clean master file rather than repeatedly resaving older compressed JPGs.
- Compress once at the end of the workflow.
- Review at mobile size before approving the batch.
- Keep text overlays bold and high-contrast if you use infographic slides.
PPI matters less than sellers think
For Etsy listings, pixel dimensions matter far more than print-style resolution settings. The platform cares about how many pixels the image contains and how efficiently the file loads.
If you're cleaning up old files from mixed sources, a tool or guide that helps normalise export settings can save time. This overview of an image DPI converter workflow is useful when you inherit files with inconsistent metadata and need a stable output standard.
Workflow note: Don’t waste time manually fixing every strange DPI tag in old files. Standardise the pixel dimensions and export settings, then move on.
From an SEO and visibility standpoint, image optimisation supports the listing experience rather than replacing core listing fundamentals. Faster, cleaner image delivery helps the page feel more reliable. It won’t rescue weak titles or poor photography, but it does remove a common source of avoidable friction.
A Scalable Workflow for Batch Processing Etsy Photos
Doing this for a whole catalog?
MerchLoom runs background removal, upscaling and AI editing across every product photo you have — one prompt, whole batch. Try 2 batches free, no signup.
Try it freeThe difference between an organised seller and a constantly-behind seller usually comes down to pipeline design. Editing isn’t the hard part. Repeating the same decisions across hundreds of assets is.
A batch workflow for Etsy should be boring. That’s a good thing. If the process changes every time you touch a new collection, you’ll get inconsistent crops, mixed file types, and listings that look like they came from three different shops.
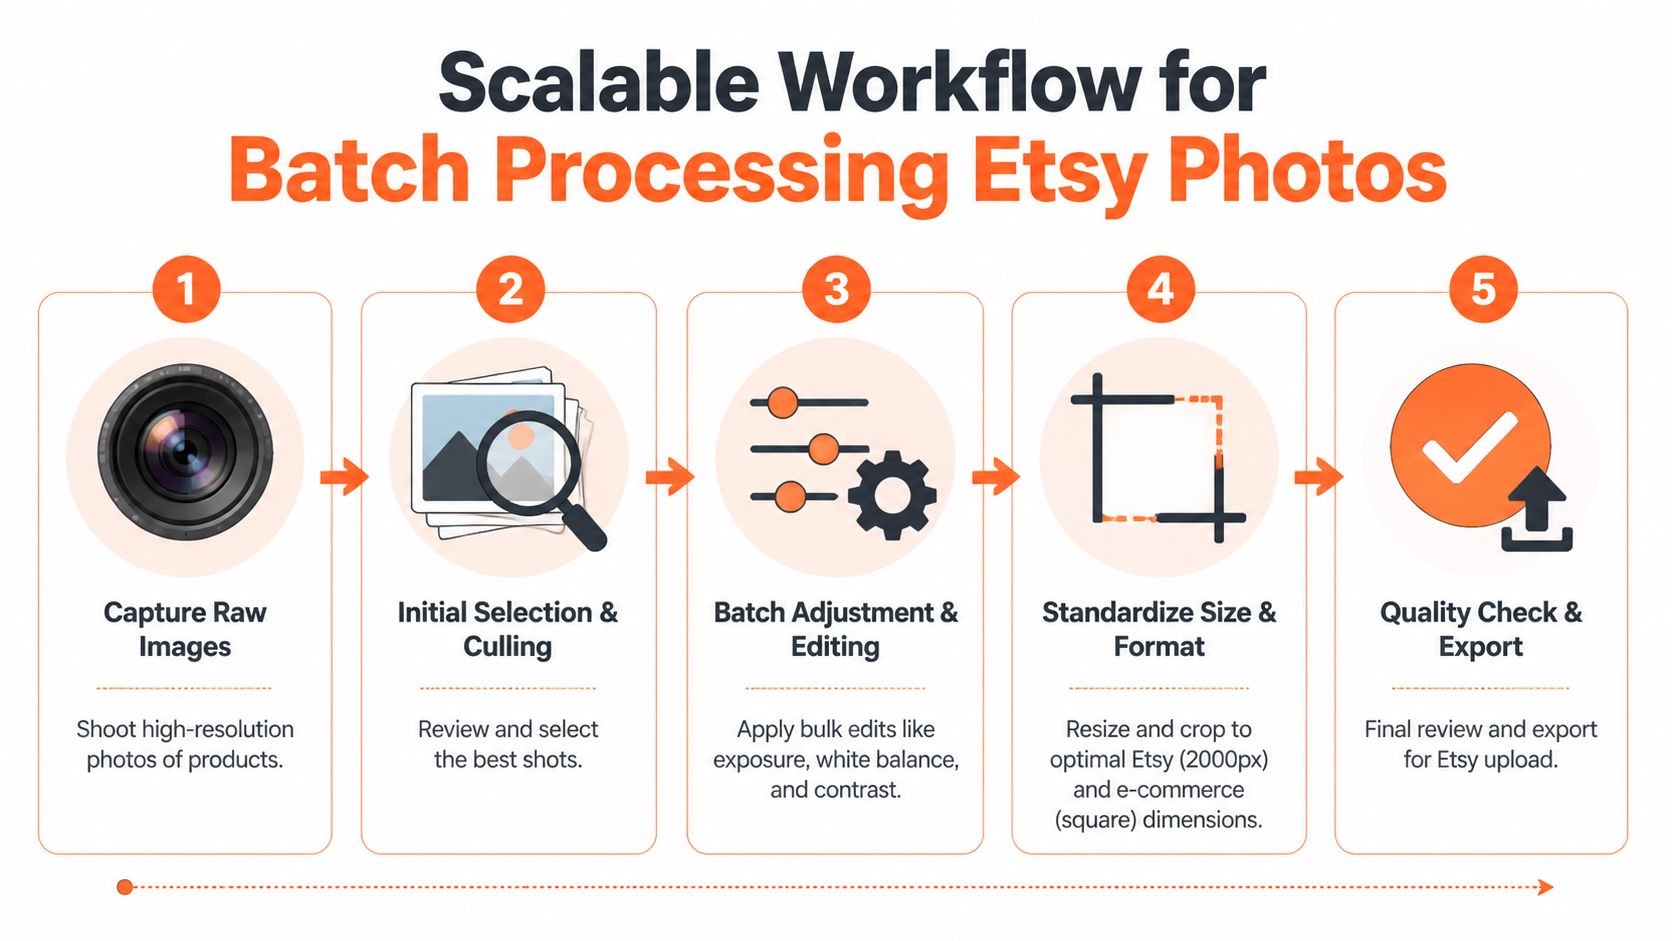
A practical five-stage pipeline
The cleanest workflow usually follows the same order every time:
Capture raw images
Start with the highest-quality originals you have. Even casual sellers should keep untouched source files separate from listing exports.Initial selection and culling
Cut duplicates, weak angles, and soft shots before any editing starts. There’s no reason to resize files you won’t use.Batch adjustment and editing
Apply broad fixes first. Exposure, white balance, contrast, and basic colour consistency belong here.Standardise size and format
Crop and resize to your Etsy-ready standard. During this process, your aspect ratio rules and centring logic need to be consistent.Quality check and export
Review thumbnails, text readability, edge spacing, and final file size before upload.
Why sequence matters
Sellers often do the right tasks in the wrong order. They upscale too early, crop before removing distractions, or export multiple times while still making edits.
That creates wasted processing and inconsistent outputs. If you’re using Photoshop as part of the chain, this walkthrough on how to scale images in Photoshop is a useful reference for handling resizing cleanly before final export.
A few habits make the whole system sturdier:
- Keep raw, working, and final folders separate
- Name files by listing and image role
- Approve one batch preset per product type
- Check the first image in every listing as a thumbnail, not only as a full view
Batch processing works when each stage answers one question. Is this image worth keeping? Is it visually consistent? Is it framed correctly? Is it export-ready?
That discipline matters even more when you sell on more than one marketplace. Etsy may want centred, thumbnail-safe images. Amazon may need white background shots. Shopify may favour square catalogue consistency. The workflow should branch from one organised source set, not start over for each platform.
Using MerchLoom to Automate Your Etsy Image Workflow
At catalogue scale, automation helps most when it removes repetitive judgement calls. The goal isn’t to hand everything to software and hope for the best. The goal is to define rules once, then apply them consistently.
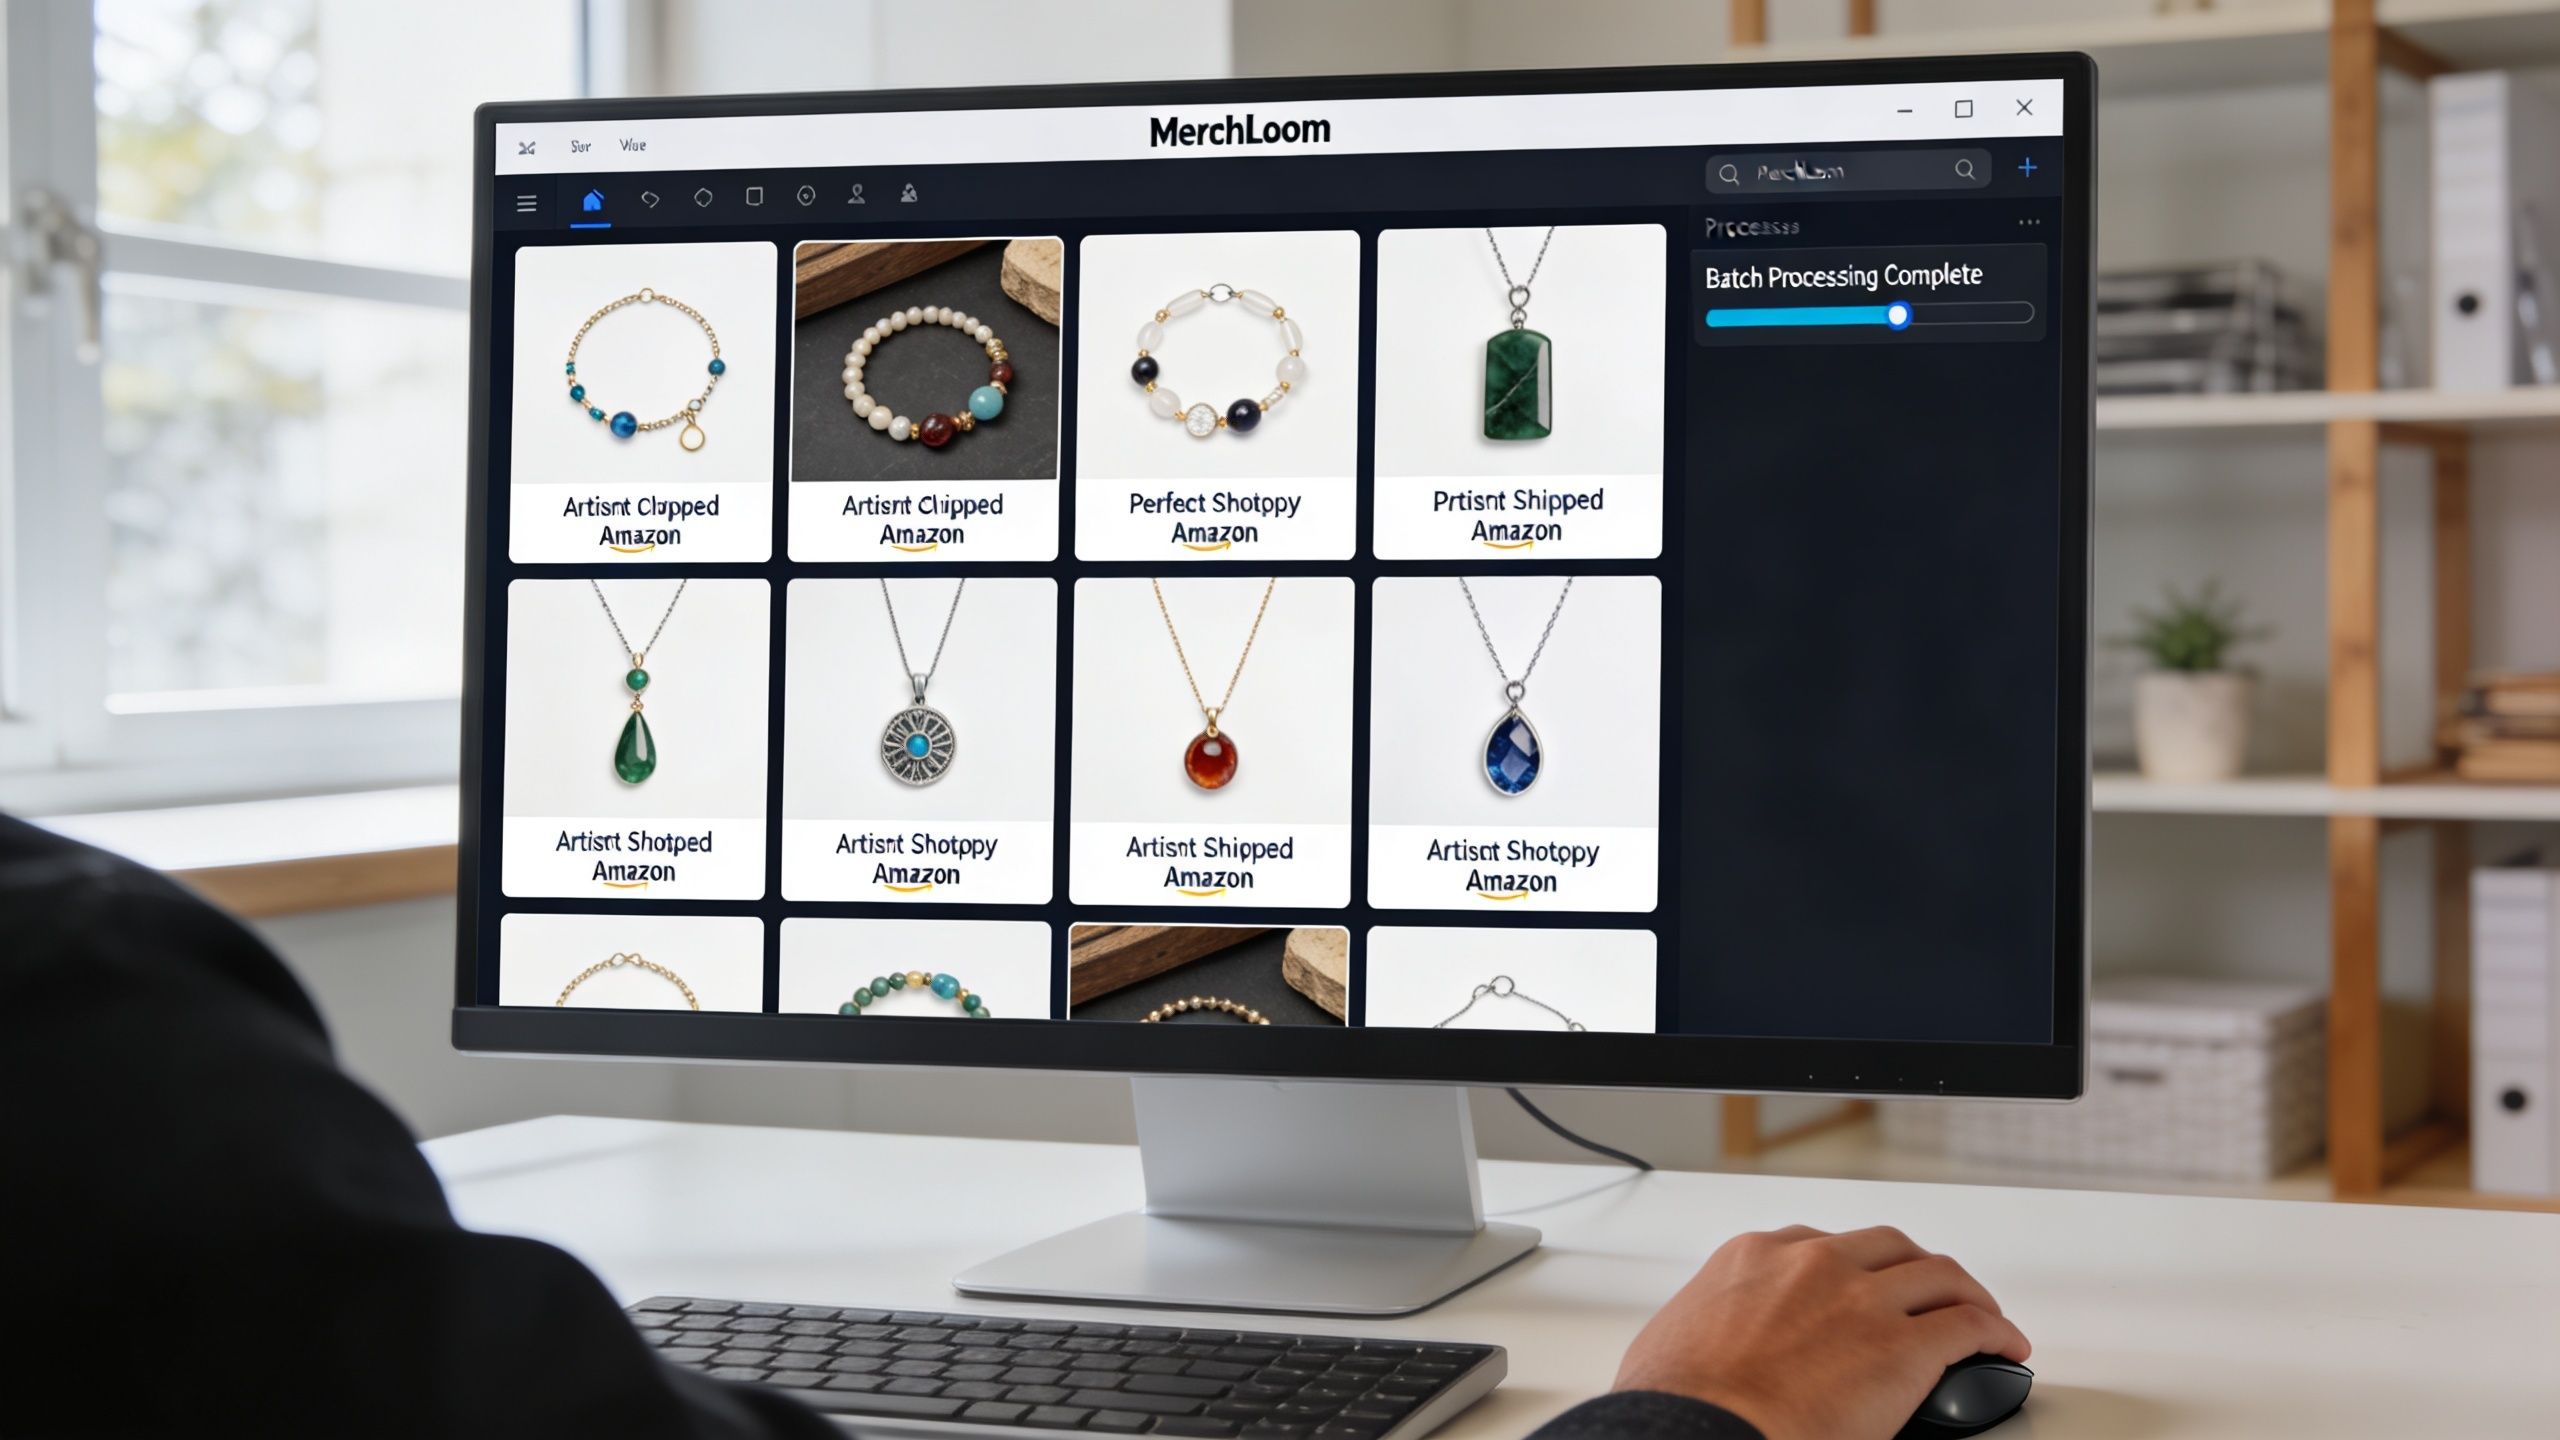
One useful benchmark comes from EasyChannel’s Etsy photo size testing, which reports that optimized images in the 2000 to 2400px range can produce 31% higher click-through rates and 22% faster load times. The same source notes that tools like MerchLoom can batch reframe catalogues to 2000x2000px or 2400x2400px specifications.
Where automation helps most
The biggest gains usually come from four repetitive jobs:
- Background cleanup for inconsistent source photography
- Reframing so products sit safely within Etsy’s square crop area
- Upscaling when older images fall below the minimum standard
- Final export control so files stay listing-ready
This is especially useful when your catalogue has mixed origins. Maybe newer products were shot on a good phone in natural light, while older listings came from a reseller lot, a supplier archive, or an old DSLR session. Without automation, those differences show up fast.
What a working pipeline looks like
A sensible Etsy pipeline in MerchLoom would look something like this in practice:
- remove distracting backgrounds from the source files
- re-centre the product for square-safe thumbnails
- upscale anything that falls below your chosen minimum
- export as compressed JPG files that fit your marketplace standard
The operational detail that matters is sequencing. Background removal should happen before upscaling where possible, because processing smaller files first is usually more efficient. Then you resize, then you compress, then you review the outputs as a batch.
This doesn’t remove the need for QC. It removes the need to make the same edit hundreds of times. That’s the difference between automation that helps and automation that creates cleanup work later.
Sizing for More Than Just Your Main Product Photo
The size of Etsy listing photos matters just as much for secondary slides as it does for the hero image. The difference is that secondary images often carry text, diagrams, or context. That changes how you should prepare them.
A size chart, feature graphic, packaging slide, or care instruction image needs clarity before style. Thin fonts, pale overlays, and busy backgrounds often look fine on a desktop monitor and then become hard to read on mobile.
Secondary images need a different standard of clarity
For these slides, keep the layout simple:
- Use large text with strong contrast
- Leave generous spacing around key information
- Avoid edge-heavy design elements that may feel cramped on small screens
- Keep branding consistent across the full image set
If you're also maintaining your wider Etsy shop visuals, this reference on Etsy banner size requirements helps keep brand assets aligned with listing media.
A clean listing usually mixes image types on purpose. The first photo sells the click. The next images answer questions. If every slot is just another angle with the same framing, you’re wasting space.
Common Photo Preparation Mistakes and How to Fix Them
Most Etsy image problems aren’t dramatic. They’re small, repeated mistakes that make a catalogue feel inconsistent or harder to shop.
The errors that show up most often
Wrong colour mode
CMYK exports can look dull online. Use sRGB for marketplace images.Over-compression
If wood grain, stitching, or jewellery edges look smeared, the file was pushed too far. Go back to the cleaner master and re-export.Poor thumbnail centring
A product can look fine full-size and still crop badly in search. Always preview the first image as a square.Mixed background standards across platforms
Etsy allows more flexibility than some marketplaces, but if you're also selling elsewhere, keeping a white-background version ready can save time. This guide on images with white background is useful when you need to prepare the same product set for multiple channels.
Fix the system, not just the file. If one image has a problem, a hundred more probably came through the same flawed export routine.
The right fix is usually upstream. Change the preset, crop rule, or folder process so the mistake stops repeating.
Frequently Asked Questions
What is the best size of Etsy listing photos for most sellers
For day-to-day operations, the safest answer is to work from a master image that comfortably clears Etsy’s minimum and then export in a consistent listing format. If you want the shortest practical rule, keep the shortest side at or above Etsy’s minimum and choose one aspect ratio standard for your catalogue.
Should I use square or landscape photos on Etsy
Square is usually easier to manage because Etsy thumbnails are square in search. Horizontally oriented images can still work well, especially as a master source file, but they need better centring and crop discipline.
Does Etsy care about DPI or pixel dimensions
For listings, pixel dimensions matter more. Sellers often get distracted by DPI labels when the actual issue is that the file is too small, too compressed, or poorly cropped.
How many listing photos should I prepare per product
Etsy allows up to 10 photos per listing and also supports a short video, according to the verified data in the brief. In practice, prepare a complete set that answers buyer questions, not just a stack of near-duplicate angles.
A strong set usually includes:
- Hero image with clean framing
- Detail view for texture or finish
- Scale image if size may be unclear
- Lifestyle shot for context
- Information slide for materials, care, or options
Should all Etsy photos in one listing be the same size
Yes, or close enough that the set feels intentional. Mixed dimensions make a listing look disorganised and create more work every time you update images.
What if I sell on Etsy and other platforms too
Use one organised source library, then export channel-specific versions from that master set. Etsy may favour thumbnail-safe framing, Amazon often needs strict white-background compliance, and Shopify usually benefits from square consistency. If you're refining your photography fundamentals as well, this overview of techniques for high-converting product images is a solid companion read.
Do I need special settings for infographics and size charts
Not special settings so much as stricter design judgement. Use larger text, simpler layouts, and high contrast. Many text-heavy listing images fail because the design was made for editing software, not for a buyer holding a phone.
If you're processing a handful of Etsy images, manual edits can work. If you're managing a real catalogue, the bottleneck is consistency. MerchLoom helps sellers run batch image workflows for marketplace-ready outputs, including reframing, cleanup, resizing, and export prep, without rebuilding the process for every collection.
Stop editing product photos one at a time
Upload your catalog or connect your store. Describe the result once. MerchLoom does the rest.
Try it free — no signup