
Master Virtual Try On Clothing For E-commerce
Master virtual try on clothing for e-commerce. Learn data prep, image processing, AR, costs, and UX strategies to boost sales & reduce returns.
Apparel teams usually arrive at virtual try on clothing the same way. Returns keep piling up, fit questions keep hitting support, and the product page still asks shoppers to make a sizing decision from a few static photos. The flashy part is the try-on button. The expensive part is everything behind it.
That's why most VTO rollouts succeed or fail long before a shopper opens their camera. If your catalogue is inconsistent, badly cropped, low resolution, or full of mixed lighting and wrinkled ghost-mannequin shots, the front-end experience won't save you. The model can only work with what you feed it.
For sellers managing hundreds of SKUs, this stops being a design problem and becomes an operations problem. You need source images that are clean enough for body mapping, standard enough for batch processing, and flexible enough to fit Amazon white background rules, Shopify square crops, and Etsy's larger image expectations without rebuilding the catalogue three times.
Virtual Try-On Beyond the Novelty
The practical reason to care about virtual try on clothing is simple. Apparel returns are expensive, and most of them start with uncertainty. Shoppers can't tell how a top will sit through the shoulders, whether a jacket will read boxy or fitted, or whether the drape in a studio flat lay reflects anything close to real wear.
That's why VTO has shifted from gimmick to retail infrastructure. In California, virtual try-on clothing moved from novelty to a measurable retail driver, and by 2025 to 2026 projections apparel and clothing were described as the largest revenue segment in the broader VTO market, supported by AR, VR, AI, and ML-based fitting experiences, according to Grand View Research's virtual try-on market report.

What shoppers see and what teams have to build
Shoppers see a smooth interface. Retail teams deal with asset prep, catalogue mapping, QA, and edge cases.
A lot of the broader commerce discussion around AR is useful here. Studio Liddell's piece on Benefits of AR for online stores is worth reading because it frames AR as a buying-confidence tool, not just a visual effect. That framing is the right one for apparel.
The hard lesson in production is that VTO isn't mainly a front-end innovation. It's a content system. Every garment needs source imagery that can survive segmentation, warping, texture preservation, and platform-specific formatting. If those basics are weak, your try-on output looks wrong in subtle but damaging ways. Sleeves distort. Logos soften. Hem lines shift. The customer may not know why it feels off, but they feel it.
Clean source images do more for virtual try on clothing than a clever demo ever will.
Why the unglamorous work matters
Teams often jump straight to model selection and widget placement. The real first decision is whether your catalogue is prepared for machine use, not just human viewing.
That means asking a few blunt questions:
- Are your garment photos consistent enough that the system can identify edges, seams, and silhouettes without manual cleanup?
- Can your image workflow scale across seasonal drops, not just a pilot set of ten products?
- Do your assets already meet channel requirements for marketplaces and your own storefront, or will every output need rework?
- Can you process revisions in batches when a supplier sends a second image set with different lighting and framing?
If you're also evaluating newer image workflows, it helps to understand how fast multimodal tooling is changing. A useful example is this overview of Gemini AI workflows for image tasks, especially if you're thinking about chaining preparation steps rather than treating each edit as a standalone task.
Choosing Your Virtual Try-On Model
Not every virtual try on clothing system does the same job. Some are basically overlays. Some depend on 3D garment logic. Some use generative AI to synthesise a result that looks plausible enough for commerce. Your choice changes the workload for photography, prep, QA, and integration.
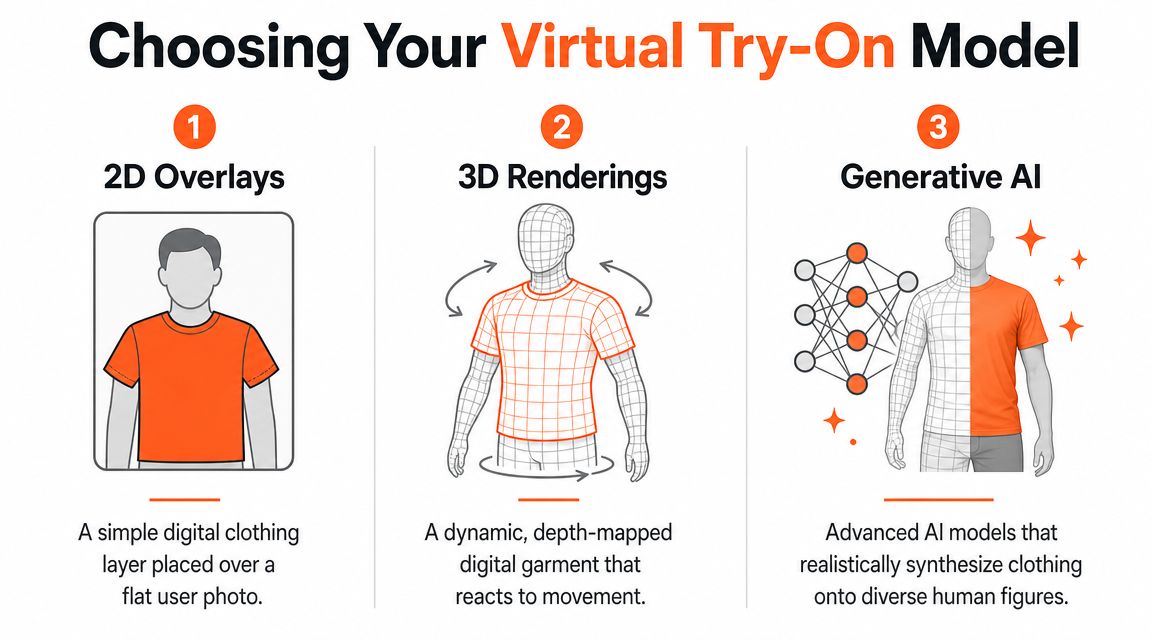
The three models that matter
The easiest way to evaluate options is to look at the trade-off between realism and image discipline.
| Technology Type | Realism | Cost | Image Requirement |
|---|---|---|---|
| 2D Overlays | Low to moderate | Lower | Very clean front-facing garment images with simple silhouettes |
| 3D Renderings | Moderate to high | Higher | Standardised garment captures and stronger technical asset prep |
| Generative AI | Moderate to high when it works well | Variable | High-quality source imagery, strict QA, and tolerance for occasional artefacts |
2D overlays
A 2D overlay system is the quickest way to launch something that looks like virtual try on clothing. It places a garment layer over a shopper image and adjusts the position enough to feel interactive.
This works best on straightforward products. Think fitted tops, basic tees, or simple outerwear in solid colours. It struggles when the garment shape matters more than the outline. Loose dresses, textured knits, asymmetrical cuts, or anything with complex drape often expose the limits immediately.
Operationally, 2D sounds easy but still demands strict catalogue prep. If your source shots have inconsistent margins, slight angles, or shadows around the garment, the overlay will inherit those flaws. You'll spend more time cleaning assets than expected.
3D renderings
3D systems are closer to what many teams imagine when they hear VTO. The garment reacts with more depth and can align more convincingly to pose and body position.
The trade-off is complexity. You need cleaner source material, more standardisation, and often a tighter content model for the whole catalogue. In practice, this means your image team, merch team, and engineering team all need to agree on how garments are photographed, named, versioned, and delivered.
Practical rule: If your catalogue photography is still inconsistent by brand, season, or supplier, a 3D-heavy rollout will expose that inconsistency fast.
Generative AI models
Generative AI is the most impressive category when the inputs are strong. It can produce results that feel less mechanical than a simple overlay and more adaptable than rigid rendering.
It also introduces the biggest trust problem. These models can smooth over missing information. That's useful until they invent detail you didn't sell.
Complex prints, logos, text, and unusual fabric behaviour remain weak points in many workflows. If you want a quick sense of how image edits are being packaged commercially, ButterflAI's examples of AI-powered product image modifications are a decent reference point. They're useful less as a vendor decision tool and more as a reminder that “AI image change” and “trustworthy ecommerce output” are not the same thing.
How to decide like an operator
A simple selection filter helps:
- Pick 2D first if you need a narrow pilot, have clean basics, and want the lightest implementation burden.
- Pick 3D-oriented systems if your catalogue discipline is already strong and fit visualisation is central to the shopping journey.
- Pick generative workflows carefully if your team can review outputs aggressively and reject anything that alters product truth.
Resolution planning also matters earlier than expected. If your source files aren't consistently usable across listing formats, you'll end up reprocessing assets before launch anyway. This guide to resolution in AI image workflows is useful because VTO performance and listing compliance are often tied to the same image-quality bottleneck.
Preparing Your Product Catalogue for VTO
The first real VTO task isn't vendor selection. It's cleaning the catalogue.
Retailers implementing virtual fitting rooms report about a 40% reduction in return rates, while other 2025 industry summaries cite conversion lifts of 30 to 40%, according to Mordor Intelligence's virtual fitting room market report. That's the business case. The operational reality is that those gains depend on source assets being good enough for the system to trust.
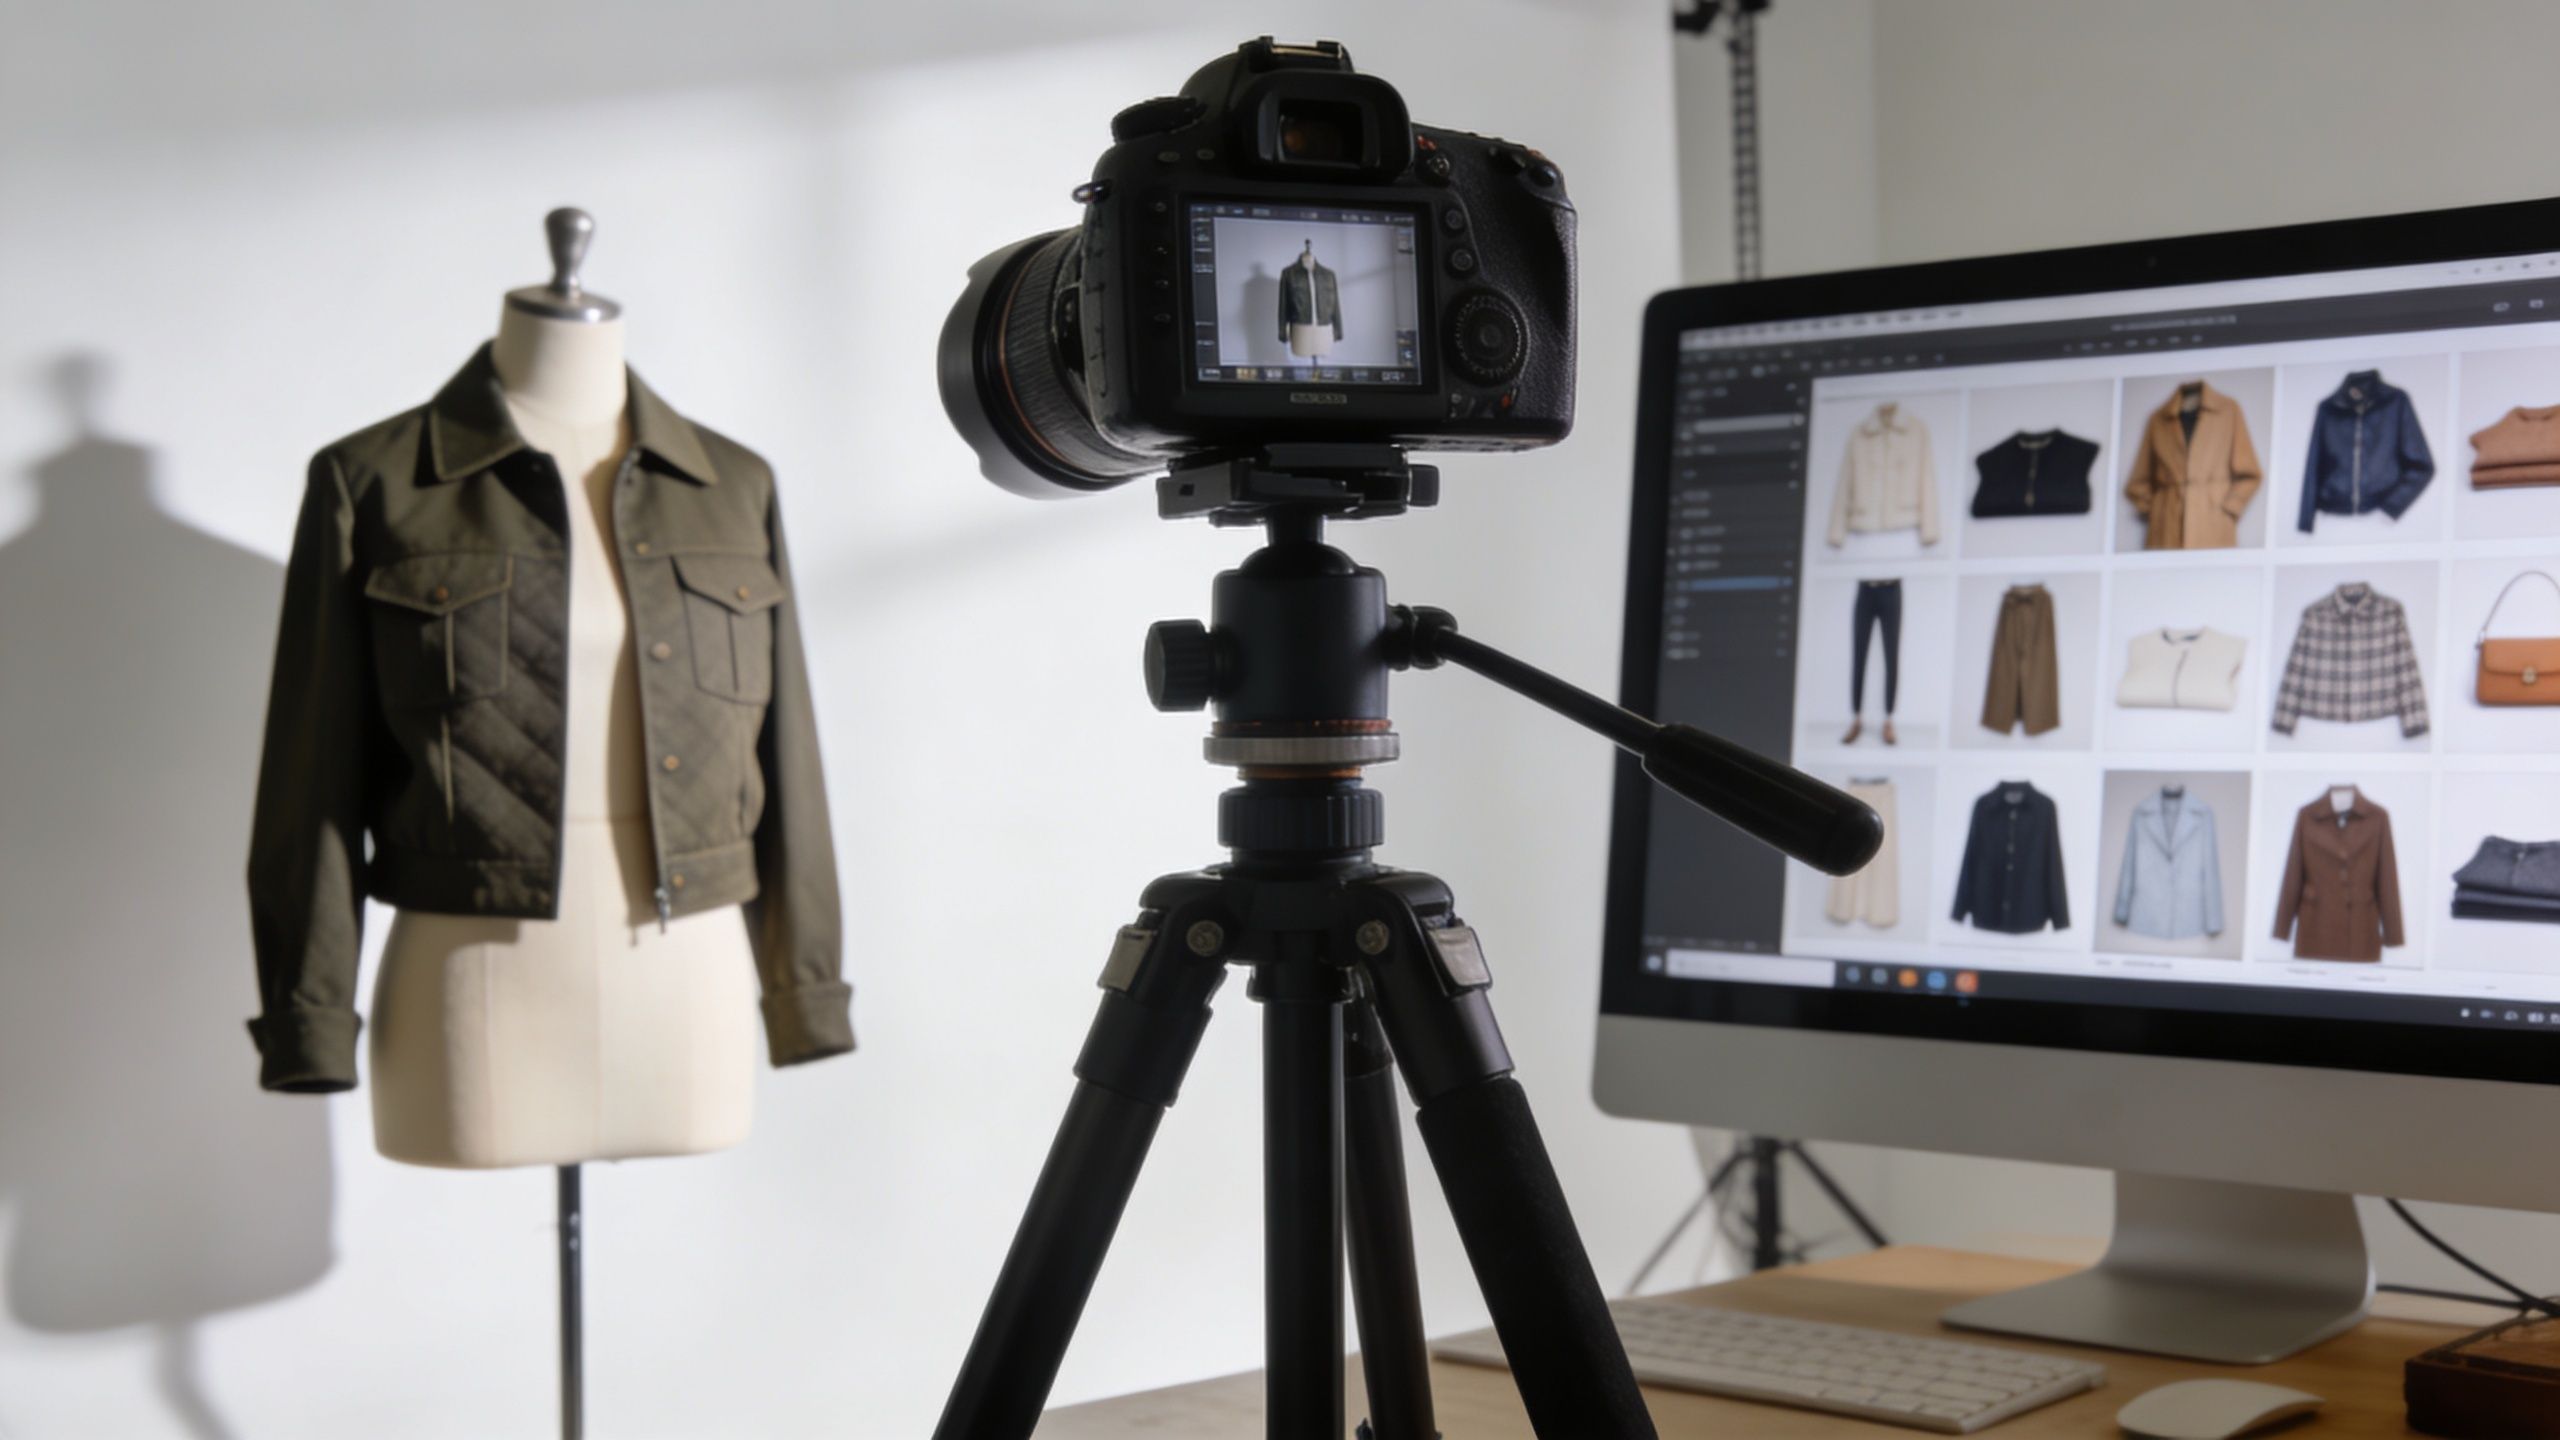
What a VTO-ready garment image actually looks like
A usable source image isn't just “high quality”. It has to be structurally predictable.
The best candidates usually share these traits:
- Clean separation from background so the garment edge is obvious and consistent.
- Straight, standard framing with the item centred, not drifting high on one image and low on the next.
- Stable colour and lighting so the model doesn't reinterpret one navy blouse as three different blues.
- Adequate resolution for both VTO processing and downstream marketplace use.
- Minimal visual noise such as hanger shadows, mannequin bleed, clipped hems, or crushed blacks.
If you manage a large catalogue, the challenge isn't fixing one image. It's enforcing these rules across all of them.
The batch workflow most teams end up needing
For catalogue-scale virtual try on clothing, the prep pipeline usually looks like this:
Background removal first
Remove clutter before anything else. If the silhouette isn't clean, every later step gets harder.Reframe for consistency
Centre the garment and keep similar scale across products. This matters more than teams expect because try-on outputs look unstable when the source set has mixed visual proportions.Correct colour and exposure
This isn't just about prettier PDPs. It's about reducing interpretation drift inside the VTO model.Normalise dimensions by channel
You may need white-background marketplace images, square Shopify crops, and larger Etsy-ready exports from the same base asset.Upscale only when needed
Don't enlarge messy files and call it finished. Clean first, then scale.
A lot of sellers try to do these edits in disconnected tools. That works for ten images. It breaks at two hundred.
If you can't re-run the same prep logic across a full collection, you don't have a workflow. You have a one-off fix.
For sellers dealing with marketplace compliance, a strong starting point is understanding how images with white background standards affect the rest of the pipeline. White background prep often seems like a marketplace-only task, but in practice it doubles as the cleanest base for catalogue normalisation.
Why batch consistency beats manual perfection
Manual retouching can make a hero SKU look excellent. It doesn't solve seasonal volume.
When a VTO provider asks for a whole apparel feed, the hidden problem is variation across suppliers, old photoshoots, and category-specific styling. One dress might be shot ghost-mannequin on white. Another is a flat lay with soft shadow. A third has a warm studio cast and inconsistent crop. If you feed all three into the same try-on workflow, your output quality varies product by product, even if the front-end widget is identical.
That's why chained processing matters. Teams need a way to run the same sequence across an entire collection, review outputs mid-batch, then reprocess only the outliers. That's less glamorous than testing an AR demo, but it's what makes the launch manageable.
A short visual walkthrough helps illustrate how much image preparation affects the final retail output:
Where VTO prep usually fails
Most failures cluster in a few predictable places:
- Pattern-heavy garments where logos, text, florals, or geometric prints don't survive cleanly.
- Drapey products where one flat source image doesn't communicate how fabric falls.
- Inconsistent supplier imagery that looks fine to a merchandiser but breaks batch logic.
- Overprocessed source edits where aggressive cleanup removes useful edge detail.
If I were narrowing a pilot, I'd start with high-return items that have simple silhouettes and low pattern complexity. That gives the VTO model a fair chance and gives your ops team a manageable image-prep burden.
Integrating a VTO Provider and Deployment
Once the catalogue is ready, integration gets simpler. Not easy. Simpler.
The core technical VTO pipeline involves estimating pose or body landmarks and rendering a garment layer. When that pipeline is accurate, commercial vendors report about a 25% decrease in return rates and around a 28% increase in conversion, according to the research summary in this VTO pipeline overview on PubMed Central. That's why integration quality matters. A weak handoff between your assets, product data, and provider logic can erase the value fast.
Doing this for a whole catalog?
MerchLoom runs background removal, upscaling and AI editing across every product photo you have — one prompt, whole batch. Try 2 batches free, no signup.
Try it freeQuestions to ask before signing with a provider
Don't start with the demo. Start with the handoff requirements.
Ask the vendor:
- What exact image inputs do you require for tops, dresses, jackets, and multi-piece looks?
- How do you handle updates when a seller replaces a PDP image or changes colour variants?
- What happens with failed renders and edge-case garments?
- Do you support Shopify as an app, a script embed, or a custom API flow?
- Can your system version outputs so merch teams know which try-on asset belongs to which product revision?
These questions sound operational because they are. Most delays in deployment come from mismatched assumptions about file formats, product mapping, and exception handling.
The on-site experience
A good VTO placement supports the buying path. It doesn't hijack it.
On most apparel PDPs, the button performs best when it sits near the primary gallery and size selection, because that's where fit anxiety appears. Bury it below reviews and shoppers miss it. Put it above every other action and it can distract from the add-to-cart flow.
A few deployment habits help:
- Use VTO only where it adds decision value. Not every SKU needs it.
- Label the feature plainly. “Try it on” or “See it on you” is clearer than clever copy.
- Set expectations. If the output is a visual guide rather than a sizing guarantee, say so.
- Keep fallback states clean. Camera permissions fail. Uploads fail. Mobile browsers vary.
The best VTO experiences reduce hesitation. The worst ones create a new kind of doubt.
Why clean assets reduce developer friction
Prepared images make integration less brittle. That's true whether you're using an off-the-shelf Shopify app or building around a provider API.
When assets are standardised, engineering spends less time writing product-specific exceptions. Merchandising spends less time flagging strange renders. QA can compare like with like.
That same principle shows up in adjacent image workflows too. A reference like AI image combiner workflows is useful here because VTO deployment often depends on predictable asset composition. Even if you never combine images in that way, the integration logic is similar. Cleaner inputs mean fewer surprises downstream.
Measuring Success and Optimizing the Experience
Tracking VTO usage first is a common approach because it is straightforward. That metric matters, but it doesn't answer the core question. Did the feature change buying behaviour on the products where you enabled it?
The best available commercial benchmarks for VTO are roughly 25% lower return rates and 28% higher conversion for items that expose a digital mannequin experience, according to WearFits' analysis of trust in generative virtual try-on. Treat those numbers as a benchmark to test against, not a promise.
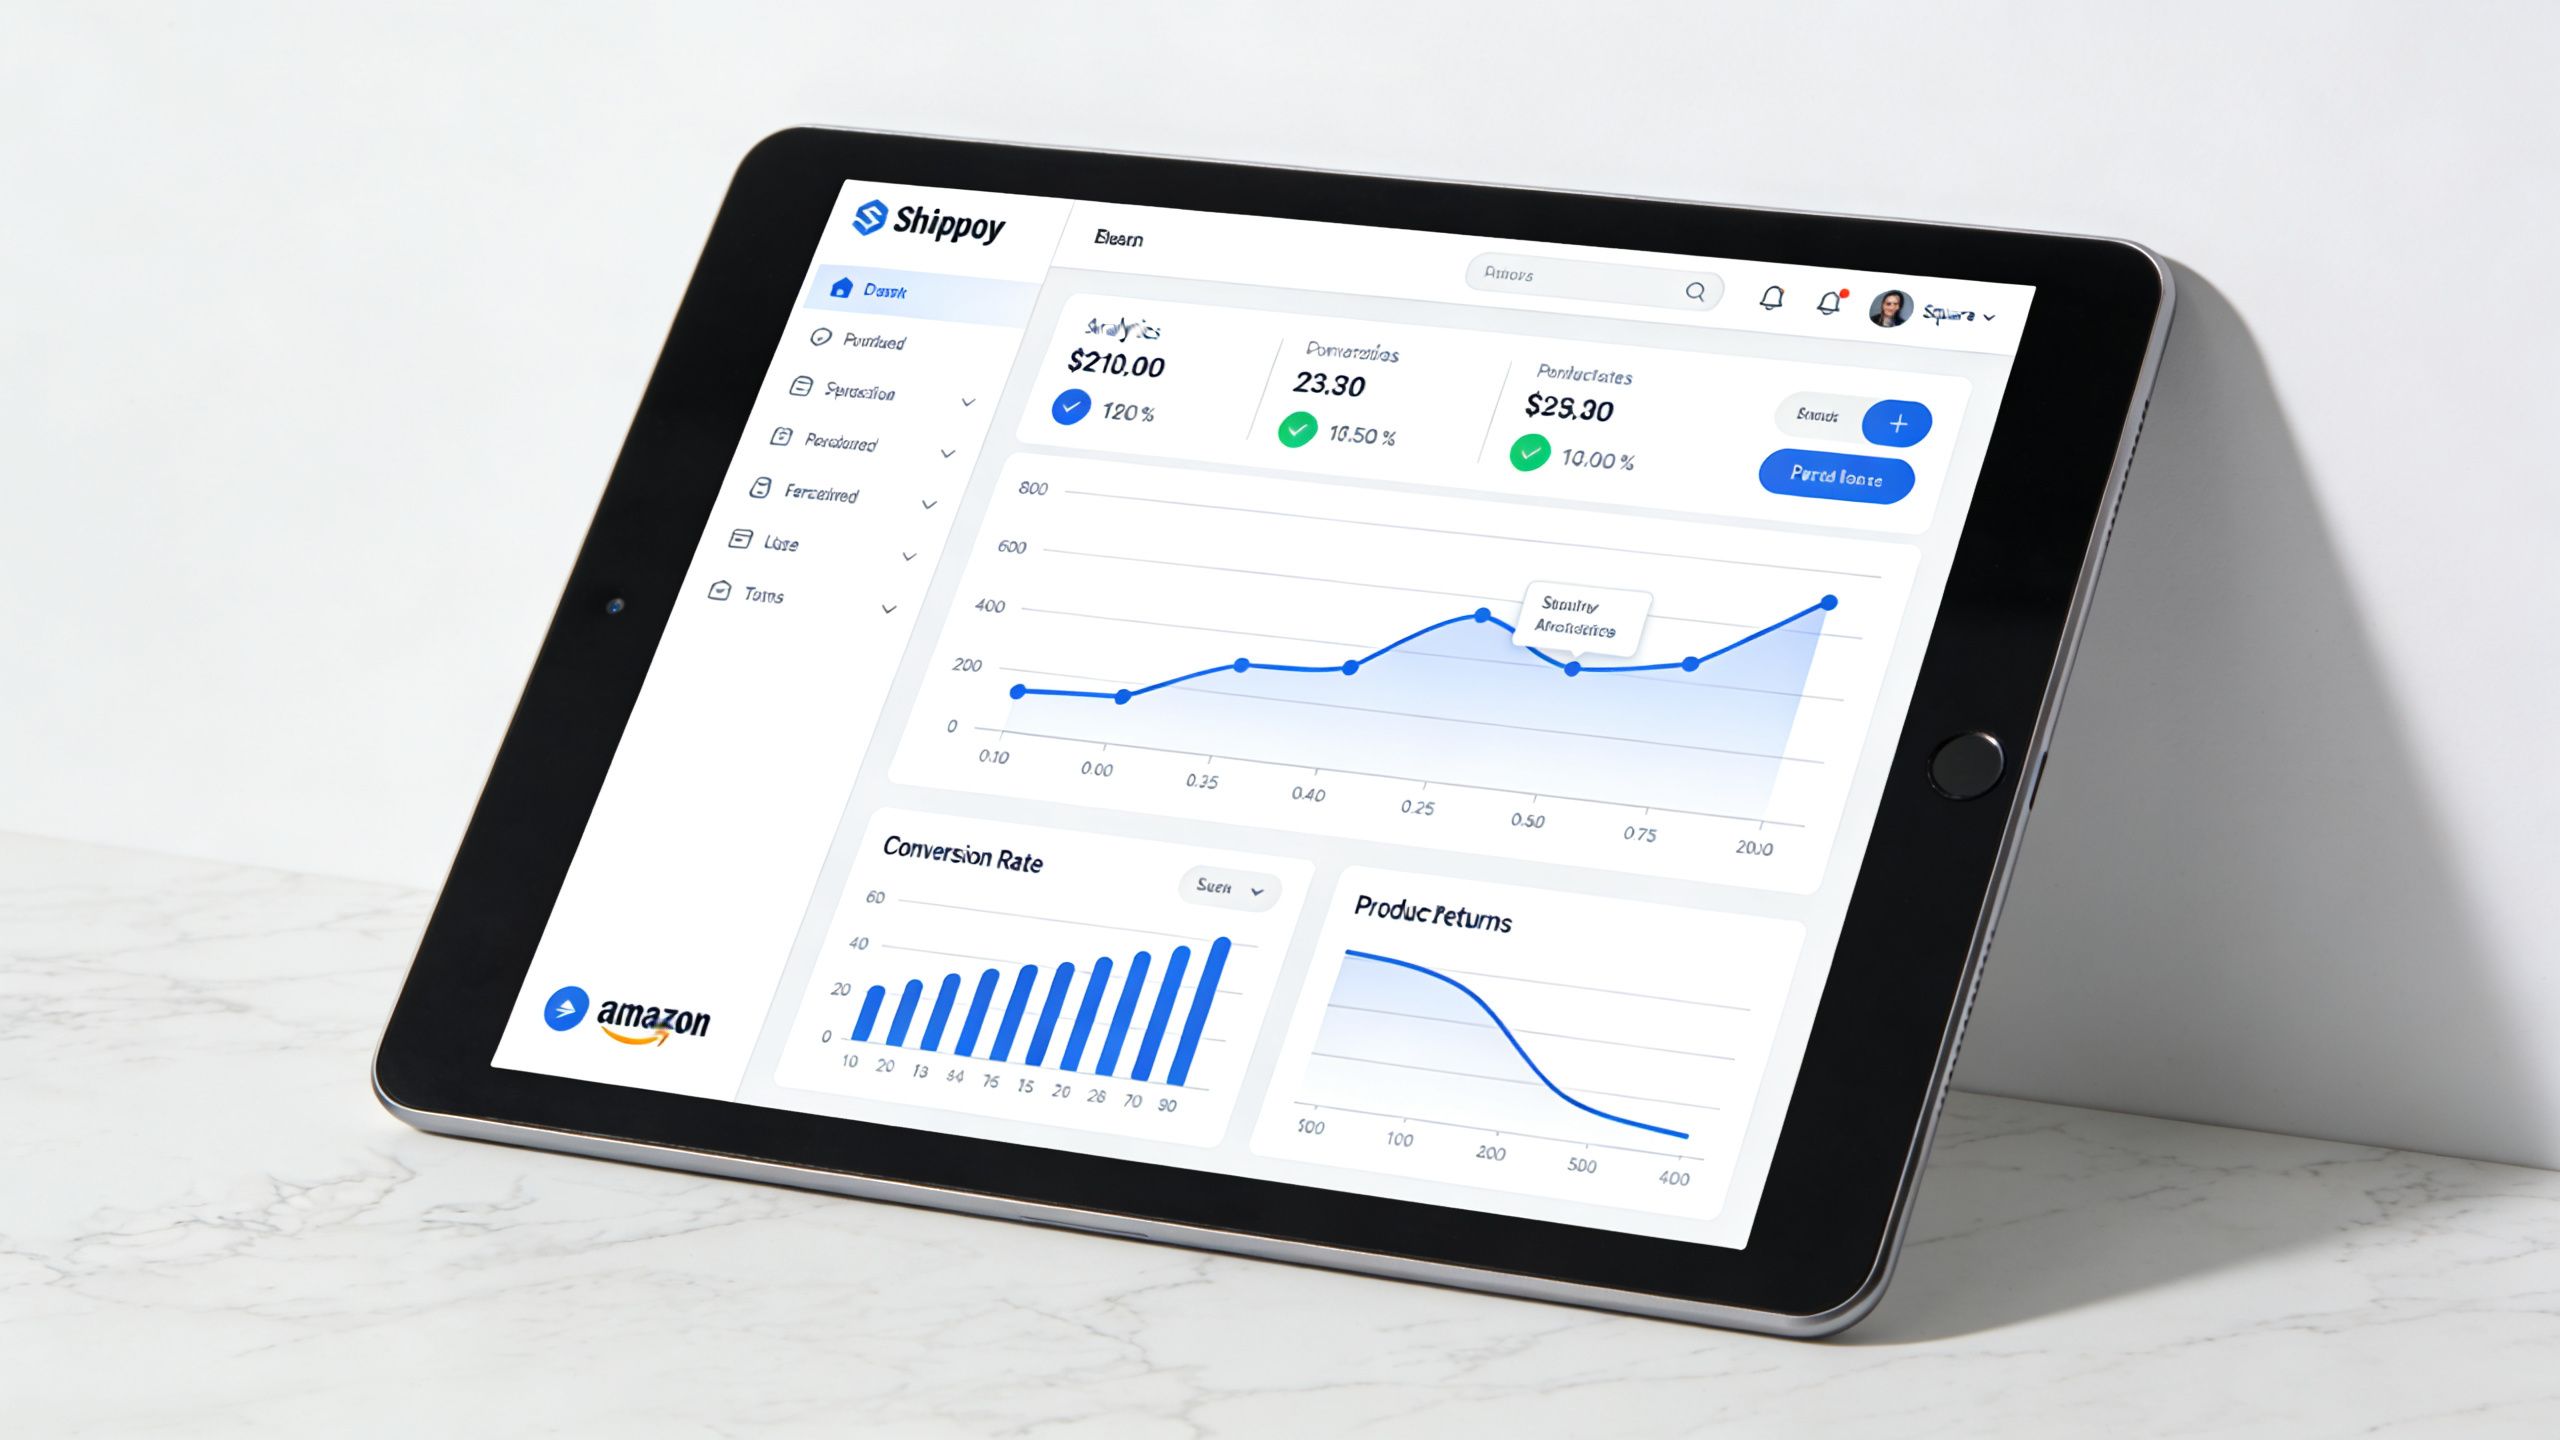
What to measure first
For a practical launch, track outcomes at the SKU group level. Comparing all site traffic before and after launch is too noisy.
I'd focus on:
- Conversion on VTO-enabled SKUs
- Add-to-cart rate on those same products
- Return rate and size-related return reasons
- Size exchange rate
- Usage rate of the try-on feature
- Drop-off between try-on interaction and checkout
If you need a broader KPI framework around ecommerce measurement, Carti's guide on how to optimize your store's performance metrics is a useful companion. It helps keep VTO analysis tied to store economics instead of novelty metrics.
A cleaner testing setup
Don't enable VTO across the whole catalogue and hope the analytics tell a story. Pick a controlled set.
A better approach is:
| Test group | Recommendation |
|---|---|
| Pilot SKUs | Use high-return products with simple visual complexity |
| Control SKUs | Match by category, price band, and traffic profile |
| Test window | Long enough to include returns data, not just conversion data |
| Review cadence | Weekly for usage, later for return outcomes |
This structure matters because return effects lag behind conversion effects. A feature can increase confidence immediately and still fail to improve fit outcomes later.
The qualitative layer that teams skip
Numbers tell you whether the feature moved. Shopper feedback tells you why.
Add a lightweight post-interaction question such as whether the try-on view increased confidence, clarified fit, or felt inaccurate. Keep it brief. You're looking for pattern recognition, not survey theatre.
If shoppers say the feature looks good but doesn't help them choose size, your problem is fit trust, not engagement.
That distinction matters. A visually impressive experience can still underperform commercially if it creates false confidence. The best optimisation work usually happens after launch, when you start pruning weak SKUs, refining image inputs, and tightening the set of products where VTO earns its place.
Navigating Cost and Data Privacy Concerns
Budgeting for virtual try-on software often fails when teams look only at the vendor's base licensing fee. The true cost includes image preparation, catalog cleanup, quality assurance, integration work, ongoing reprocessing for new inventory drops, and internal staff time spent verifying output accuracy.
That doesn't mean virtual try on clothing is a bad investment. It means the total cost of ownership sits in the workflow, not just the widget. Teams that underestimate prep usually end up paying twice. Once for launch, and again when they realise half the catalogue isn't fit for use.
Cost is mostly a catalogue problem
If your product imagery is already standardised, VTO is easier to justify. If your catalogue comes from mixed suppliers, old studio sets, and inconsistent framing rules, the prep layer can be the bigger project.
A few cost drivers deserve early scrutiny:
- Initial asset normalisation across the backlog
- Rework on complex garments that don't render cleanly
- Developer time for feed mapping and front-end placement
- Merchandising review cycles for approving or rejecting outputs
- Ongoing maintenance each time products or imagery change
Privacy questions are not optional
Virtual try-on increasingly depends on precise body modelling from user images, but most commerce content doesn't explain whether this biometric-style body data is stored, shared, or reused for model training, as noted in Style Arcade's analysis of the virtual try-on boom.
That's a serious issue. If a shopper uploads a body photo or uses live camera input, your team should know:
- What data is stored
- How long it's retained
- Whether it's shared with subprocessors
- Whether it's reused for training
- How users can delete or opt out
You don't need a legal degree to ask these questions. You do need clear answers before rollout. If you want a baseline for what transparent privacy communication should look like in an image-processing context, review a plain-language privacy policy such as MerchLoom's privacy page.
Frequently Asked Questions About VTO Implementation
Can I use my existing product photos for virtual try on clothing
Sometimes, yes. Usually with caveats.
Existing images work best when they're already clean, centred, well lit, and consistent across the catalogue. Old supplier shots, angled flat lays, heavy shadows, and mixed crop styles usually need reprocessing first.
Which products should I start with
Start with garments where fit uncertainty matters and the visuals are simple enough to render reliably. Tops, dresses, and jackets are often better pilot candidates than highly patterned or unusually structured pieces.
If a product depends on intricate prints, logos, or dramatic drape, test it later. Those are the items most likely to create mistrust if the rendering is off.
Does virtual try on solve sizing
Not automatically.
It can improve confidence and visual understanding, but that isn't the same as precise fit prediction. Treat it as a decision-support tool unless your provider can clearly demonstrate stronger fit logic and your own test data backs that up.
What makes a rollout stall
Usually one of three things:
- Weak source imagery that looked acceptable for a normal PDP but not for VTO processing
- Too many edge-case SKUs in the first pilot
- No measurement plan for separating visual engagement from real commercial impact
How do I know if the image-prep workflow is ready
A simple test helps. Take a representative batch from different product types and ask whether you can apply the same cleanup, framing, background, and export logic without manual rescue work on most files.
If the answer is no, fix the image pipeline before you scale the try-on feature.
Should I launch on every channel at once
Usually not.
It's safer to pilot on your own store first, where you control the PDP, the analytics, and the customer journey. Once the workflow is stable, you can decide how far to extend the asset strategy across marketplaces and social commerce formats.
If your catalogue is the bottleneck, MerchLoom is built for that unglamorous part of the job. It lets ecommerce teams process full image collections through chained AI steps like background removal, reframing, colour correction, and upscaling, so the same product set can be prepared consistently for VTO feeds, Amazon white backgrounds, Shopify squares, and Etsy-ready listings without rebuilding the workflow image by image.
Stop editing product photos one at a time
Upload your catalog or connect your store. Describe the result once. MerchLoom does the rest.
Try it free — no signup