
10 Product Photography Tips for E-Commerce Sellers
Use these product photography tips to standardize lighting, crops, marketplace specs, batch editing, and scalable workflows across your e-commerce catalog.
You're preparing another batch of listings alone. Two hundred products still need clean hero images, alternate angles, detail shots, crops, filenames, and marketplace exports. A few photos look warm, others look cool. Some products sit too small in the frame. One platform rejects images that another platform accepts. The work isn't one perfect shot. It's a repeatable system that survives hundreds or thousands of SKUs.
Lock your capture setup before you shoot. Mark the camera position, product position, light positions, and shooting order. Record the SKU and angle before every frame. Capture one flexible, high-resolution master, standardize lighting and filenames, derive platform-specific variants, review a representative sample, then process the remaining catalog. That same discipline also helps when you're creating product video tips from Viral.new, because consistent framing and product information matter in motion as well as still images.
High-quality imagery has become a measurable commercial investment. One 2026 industry roundup estimates the global e-commerce product photography market at $2.3 billion, while another projects growth from about US$163.91 million in 2025 to US$275.4 million by 2030, with an 11.6% CAGR. The same roundup reports that 75% of online shoppers rely on product photos when deciding what to buy, and 9 out of 10 consider high-quality product photos one of the most important buying factors. (Industry product photography data)
1. Pure White Backgrounds for Marketplace Compliance
A marketplace-ready hero image starts with the background, framing, and export settings, not a last-minute cleanup. Amazon requires the main image to use pure white, RGB 255,255,255, with the longest side at 1,600 pixels or more for zoom. The product should fill about 85% of the frame, without text, logos, watermarks, props, or borders. (Amazon product image requirements)
Near-white backgrounds can still fail automated Amazon checks. One Amazon sizing guide lists 1,000 pixels as the hard minimum on the longest side and 1,600 pixels or larger as the practical zoom target. (Amazon image sizing guidance) Capture one high-resolution master, then create channel-specific exports instead of reshooting each SKU.
Etsy requires 2,000 pixels on the shortest side, so cropping a small source file can leave you below the requirement. Shopify accepts images up to 4,472 by 4,472 pixels, while square files around 2,048 by 2,048 pixels help keep store grids consistent. (Etsy image size guidance) (Shopify image standardization guidance)
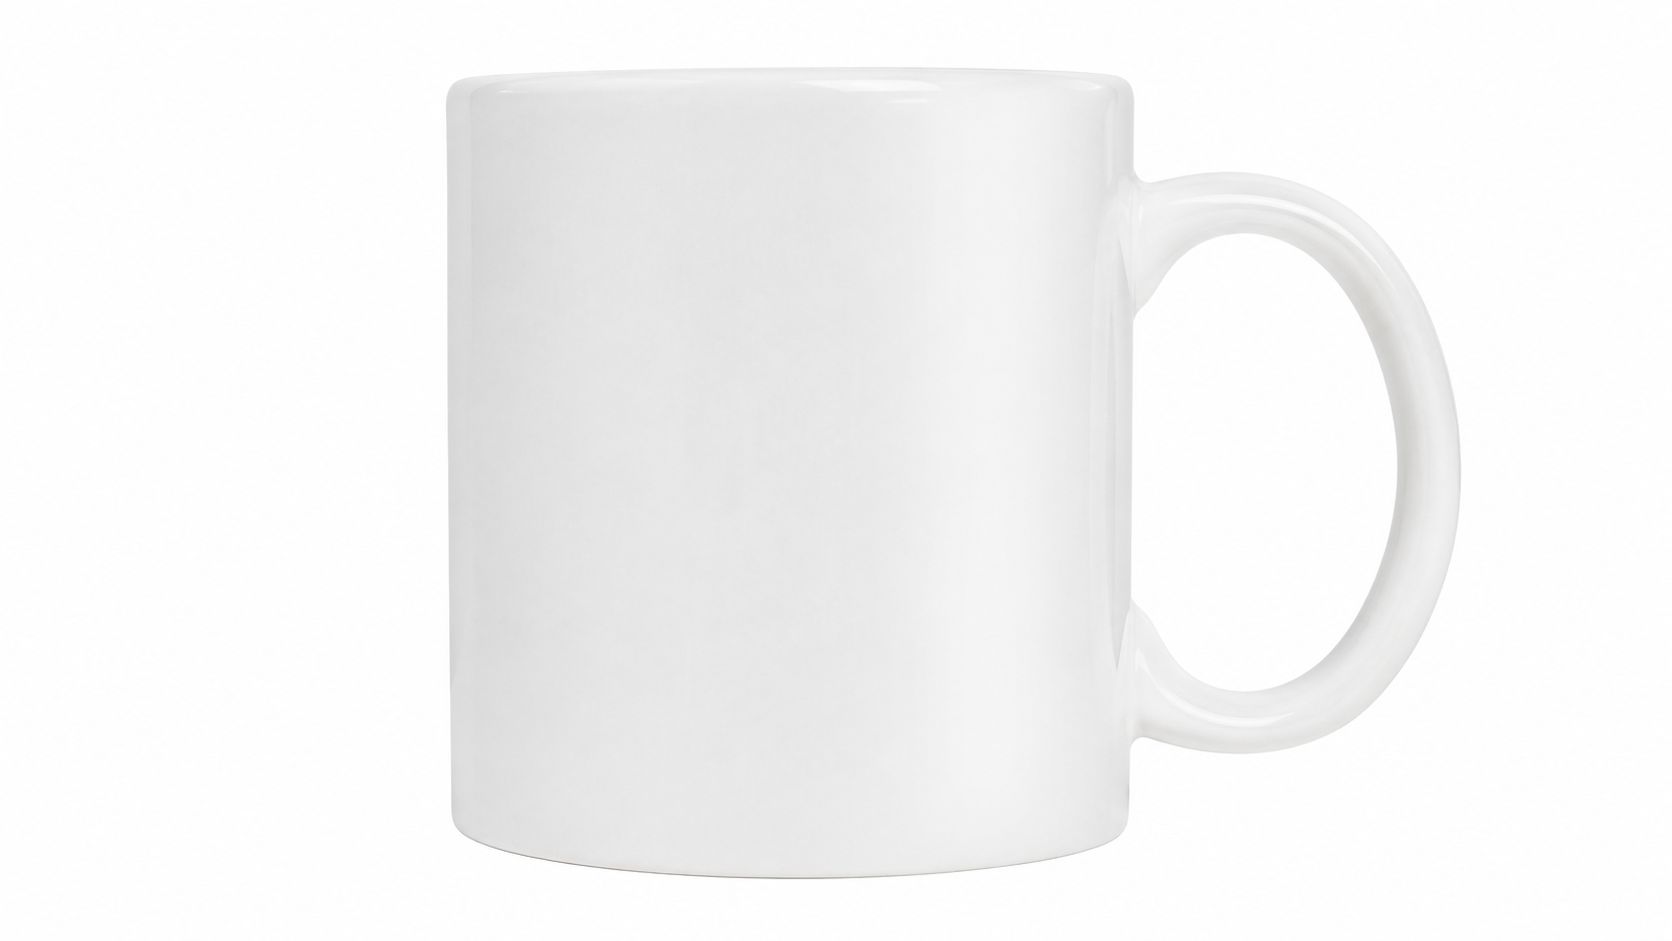
Build the background into the export preset
Use white paper or vinyl during capture, not beige fabric. In post-processing, sample corners and open background areas to confirm RGB 255,255,255. Export in sRGB, and save separate presets for Amazon, Etsy, and Shopify.
For a large catalog:
- Verify the background: Sample several open areas, including corners, rather than checking only beside the product.
- Keep dimensions variable: Set the longest-side or square-master rule once, then apply it across the batch.
- Inspect edges: Check handles, straps, glass, hair, and thin details for halos or missing pixels.
- Separate gallery roles: Place the clean white hero first, then use lifestyle images in later gallery positions where permitted.
Use square white-background product images as a reference when one master must produce several marketplace-ready variants. Validate a sample from each batch before processing the remaining SKUs.
2. Multiple Angle Coverage and Ghost Mannequin Setup
A front image rarely answers every buying question. Apparel buyers need to see the back, side seams, closures, fabric, and fit. Home-goods buyers may need a top view, angled view, underside, texture close-up, and an in-room reference. Marketplace sellers on Poshmark and Depop should assume that condition and construction need visual proof.
For apparel, ghost mannequin photography combines a garment photographed on a mannequin with a separate flat garment image. The mannequin shows shape, while the flat image supplies the hidden neckline or inner structure. Shoot the mannequin view first, then the flat garment, then detail views. Keep the order identical for every SKU so your files can be paired reliably.
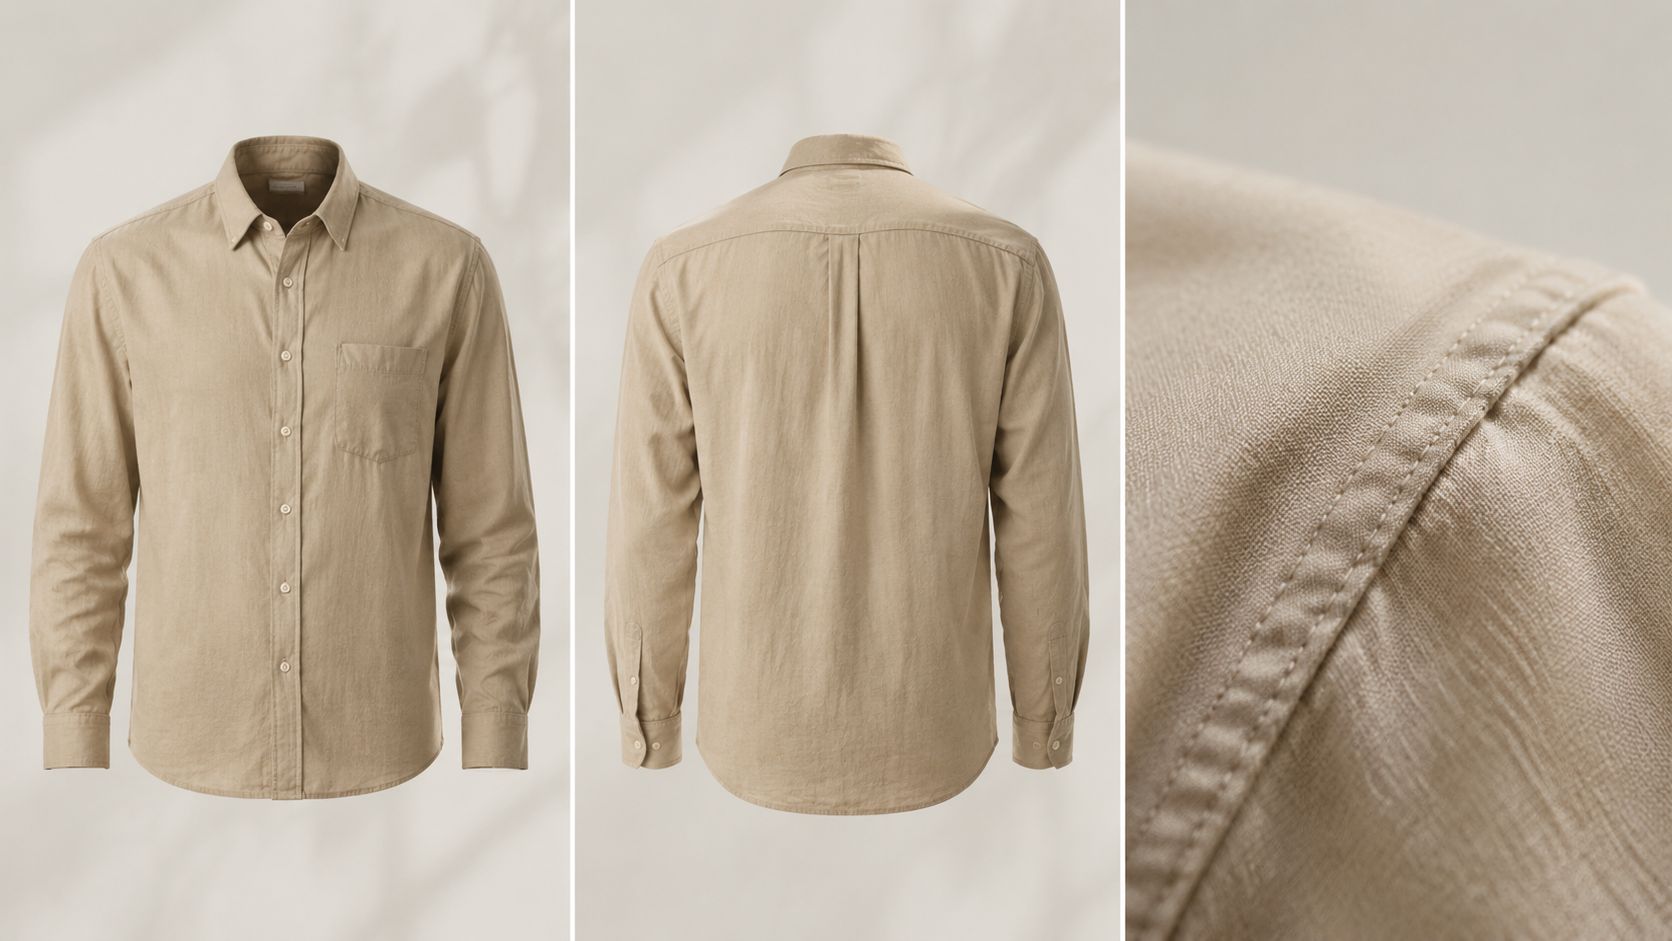
Use an angle sequence that can be repeated
Lock the tripod and product distance. Shoot every angle in one session under the same lights. Use filenames such as sku-001-front.jpg, sku-002-back.jpg, and sku-003-detail-hem.jpg. The filename should tell your processing workflow what the image is, not force you to open each file later.
Practical rule: Capture the whole angle set before changing the product, not one angle across the entire catalog.
That approach prevents lighting drift and reduces the chance of missing a back view on a single item. It also lets you create separate square, portrait, and horizontal exports from the same source set. Review the first complete SKU before continuing, then check a sample from each product family.
A ghost mannequin composite still needs human review. Look at collars, armholes, buttons, zippers, and fabric edges. Automated pairing can save repetitive work, but it can't reliably judge whether the inside of a garment looks physically plausible.
3. Lifestyle Context and In-Use Scenes
A clean product shot explains what the item is. A lifestyle image helps the buyer understand where it belongs. A coffee mug on white shows shape and finish. The same mug in a hand, on a kitchen counter beside a window, communicates scale and use without needing a long explanation.
The trade-off is production time. Styling a new room or hiring a model for every SKU doesn't work well for a large catalog. Build a small library of approved scenes instead. Use a kitchen setup for mugs and cookware, a bedroom setup for bedding, a neutral model and location for apparel, and a restrained desk scene for small accessories.
Reuse context without making the catalog look copied
Shoot lifestyle backgrounds separately from the products when possible. That lets you place multiple products into the same approved scene while preserving one lighting direction and one visual style. The product must still match the scene's perspective, scale, shadow, and color temperature. A badly composited product creates more doubt than a plain product image.
For Shopify fashion collections, keep the same model, location, and framing across related SKUs. Etsy home-goods listings can use room scenes that show how several pieces work together. Poshmark vintage sellers can show a bag worn with an outfit, while Amazon beauty sellers can use restrained in-use imagery to clarify how a product is applied.
Keep the clean product image first when the marketplace depends heavily on a clear thumbnail. Use lifestyle context later in the gallery, where it can add information without replacing the product-first view. For handmade goods, process images can also provide context, but they should support the item rather than become the main listing image.
MerchLoom can fit this type of catalog work by chaining product isolation, scene placement, and export steps across a collection instead of requiring you to edit one image at a time. Treat each generated scene as a draft that needs review for scale, shadows, product identity, and distracting artifacts.
4. Consistent Lighting and Color Temperature Across Batches
Color inconsistency makes a catalog harder to trust. A blue shirt photographed under a cool light can look different from the same product family photographed under a warm light. Buyers comparing variants may wonder whether the difference is intentional, and sellers can invite avoidable questions about color accuracy.
Choose one lighting setup and record it. A practical starting point is 5,500K daylight or 4,500K for a neutral look, then keep the selected temperature unchanged across the batch. Lock ISO, aperture, shutter speed, and white balance. If you use a softbox, mark its height, angle, and distance so you can rebuild the setup after a break.
Place a gray card or color reference in the first frame of every session. Use that frame to establish the correction profile, then apply the same adjustment to the session folder. Don't correct each product by eye unless the item requires an exception. Individual tweaks create a catalog that slowly drifts.
Test the batch before committing the catalog
Process a sample of 5 to 10 images from different product types. Include a white item, a dark item, a reflective item, and anything with a difficult material. Review them on a phone, tablet, and monitor. The purpose isn't to make every screen identical. It's to catch obvious casts, clipped highlights, crushed shadows, and inconsistent exposure before the full run.
This guide to white balance for product photography is useful when you're applying one correction approach to files shot under the same light. Keep the original files untouched, save the corrected exports separately, and document any exception so the next batch doesn't repeat the same problem.
5. Focus Stacking and Depth-of-Field Control for Detail
A watch with a sharp dial but blurry hands doesn't show the product clearly. Jewelry creates the same problem. The stone may be sharp while the band softens, leaving the buyer unable to inspect the finish in one image.
Focus stacking solves this by combining several frames captured at different focus distances. Use manual focus and move through near, middle, and far positions. A focus rail or macro slider helps maintain controlled movement, but the important part is repeatability. Record the number of focus positions and use the same sequence for similar products.

Keep the stack predictable
Use a fixed aperture, such as f/8 to f/16, for a product family. Capture near focus, middle focus, and far focus in that order. Number the files so blending software can identify the sequence without manual sorting. For a ring, that may mean the front stone first, the central setting second, and the rear band last.
Macro product photography guidance can help you plan a controlled detail workflow. Start with five representative products, review edge transitions and reflections, then apply the same stacking settings to the rest of the jewelry or watch catalog.
Don't stack every image by default. A flat T-shirt or a simple box may not need it. Focus stacking adds capture, processing, and review work, so reserve it for products where complete sharpness helps the buyer inspect construction, texture, or finish.
6. Resolution Upscaling for Marketplace Size Requirements
Catalog teams should treat resolution as a master-file decision, not a last-minute marketplace fix. Start with the largest clean original available. Enlarging a compressed download cannot restore missing detail. It can amplify artifacts, soften text, and make edges look artificial.
Platform targets differ. Etsy requires 2,000 pixels on the shortest side, Amazon's practical zoom target is 1,600 pixels or larger on the longest side, and Shopify accepts square images up to 4,472 by 4,472 pixels. These limits guide export planning, but they do not require every product image to use the largest possible file. Follow the platform guidance already documented earlier.
Upscale once, then derive smaller variants
Create one high-resolution master for each SKU, then generate platform-ready variants from it. Store masters separately from delivery files, and use consistent names that include the SKU, view, crop, and export destination. This structure lets a team update hundreds of listings without reopening manually edited files.
Upscaling can help older photography when the source is sharp and well lit. Apply one model and one quality setting across related SKUs, then validate a sample before processing the full catalog. Inspect labels, fine jewelry, fabric weave, reflective edges, and small printed details. An original of 500 pixels or smaller usually deserves a reshoot rather than aggressive enlargement.
Doing this for a whole catalog?
MerchLoom runs background removal, upscaling and AI editing across every product photo you have — one prompt, whole batch.
Try MerchLoomLarge exports require more storage and bandwidth. Compress JPEGs before upload, then check the actual marketplace thumbnail and zoom view. A file that looks sharp on a local monitor may render poorly after platform processing if the product occupies too little of the frame. Record the approved settings and reuse them for the next batch.
7. Background Removal and Replacement for Visual Consistency
Background removal is useful for more than compliance. It gives you an isolated product that can be placed on white, transparent output, a colored brand field, or a lifestyle scene. That one isolated asset can support Amazon, Shopify, Etsy, eBay, Depop, and Poshmark without reshooting the product for each channel.
The risk is inconsistency. Automated removal may clip a thin strap, leave pixels between branches, or create a pale halo around a dark object. Shiny packaging, fur, hair, glass, and translucent materials require closer inspection than a solid ceramic mug.
Test difficult edges before processing everything
Take 5 to 10 sample images from the batch, including the hardest products. Check the outline at high zoom and at thumbnail size. Look for over-clipping, stray background pixels, transparent gaps, and shadows that were removed too aggressively. If the results fail on one product type, adjust that workflow rather than applying the same settings to the entire catalog.
Choose one replacement treatment for each use case. Amazon's main image needs pure white. A Shopify product grid may use white or a consistent neutral. A transparent isolated product may be better for scene compositing. Don't switch between cream, gray, and white just because each product looks attractive on its own. The catalog should feel intentional.
AI background removal for product photos can reduce repetitive masking work, but human review remains necessary. Sample-check a portion of the processed files, with extra attention on products that have narrow handles, chains, transparent parts, or complex silhouettes.
8. Mobile-First Composition and Cropping for Platform Dimensions
Your desktop composition can fail on a phone. A product may occupy only a small part of the screen, while the important detail sits near an edge and disappears after a crop. Buyers scrolling through Shopify grids, Instagram feeds, Amazon results, and marketplace galleries need to recognize the item quickly.
Capture with 30% to 40% extra space around the product. That wider master gives you room to create a square Shopify crop, a 4:5 portrait crop for Instagram, and a 3:2 horizontal crop for Amazon or email placements. Those crops are not interchangeable. Build each as a named export preset.
Design for the smallest useful view
Keep the product close enough to read, but leave enough margin to protect sleeves, collars, handles, and other important edges. For clothing, a working margin of 100 to 150 pixels from the frame boundary can help prevent accidental cropping in downstream exports. Place the main focal point near the upper center when the product has a face, opening, label, or other primary feature.
Use one crop template per channel. Apply it to the entire folder, then inspect representative images on an actual phone. Pixel dimensions tell you whether the file meets a requirement. A phone review tells you whether the product feels large enough and whether the composition works while scrolling.
Don't crop every product from the same fixed center if the catalog contains very different shapes. Keep the crop ratio consistent, but allow controlled repositioning for tall bottles, wide rugs, long dresses, and irregular handmade goods. That's a catalog rule with a human exception, not a reason to return to manual editing for every file.
9. Shadows and Drop Shadows for Depth and Ground Plane
A product floating on pure white can look disconnected. A restrained shadow suggests a ground plane and gives the object visual weight. This matters for jewelry, cosmetics, small gadgets, and other products where the object's shape is difficult to read without a depth cue.
Shadow treatment must follow the light direction. If the main light comes from the upper left, the shadow should generally fall toward the lower right. Use the same direction across the catalog. A ring with a dark shadow and a necklace with no shadow can make two otherwise related products look as if they came from different studios.
Use a reusable shadow preset
A general drop-shadow starting point is a 45-degree angle, 5 to 8 pixel distance, 8 to 12 pixel blur, and 5% to 8% opacity. For luxury goods, a softer shadow beneath the product can work better, with a 90-degree drop, 3 to 5 pixel distance, and 4% to 6% opacity. These are starting settings, not universal truths. Product size, background, and light direction still matter.
Review 10 to 20 processed images before applying the preset to the full catalog. Check white products, dark products, transparent products, and reflective products. A shadow that looks subtle on a monitor may disappear on a phone. A shadow that looks polished at full size may become a dirty gray patch in a marketplace thumbnail.
Avoid hard edges and heavy opacity. The viewer should understand where the product sits without noticing the shadow as a separate graphic element.
10. Batch Processing Workflows and AI-Assisted Scaling
A catalog can change from manageable to error-prone as soon as hundreds of images enter the queue. Set the workflow before editing begins: capture one master, derive platform-ready variants, name outputs consistently, and place review checkpoints where mistakes can be stopped.
Use this order:
- Remove the background: Isolate the product before enlargement or scene work.
- Correct color: Apply the approved white balance, exposure, and color profile.
- Create platform crops: Derive square, portrait, and horizontal variants from the master.
- Upscale the needed files: Enlarge only outputs that require it.
- Add finishing treatments: Apply shadows, sharpening, and final export compression.
Begin with 10 representative products, including standard, small, shiny, and textured items. Inspect edge quality, color, crop placement, dimensions, and file size. Save the approved workflow as a named template such as apparel-white-bg, jewelry-detail, or home-goods-amazon, then reuse it across related SKUs.
Put review inside the process
Do not wait for the full batch to finish. Review the first group, then inspect another later sample and several random files. AI-assisted processing can apply plain-language instructions across a batch, but reflections, thin edges, printed artwork, and product identity still require human checks. AI-assisted batch image editing can help standardize repeated operations without removing those checkpoints.
MerchLoom is one option for running chained AI pipelines across a collection instead of processing one image at a time. It can import images from Google Drive, Dropbox, Shopify, WooCommerce, Amazon S3, Cloudinary, and other storage or commerce systems. You can specify background removal, color correction, platform reframing, upscaling, or scene placement. The first images can be tried with no account. Its pricing is pay-per-image, and credits never expire. It is not a full Photoshop replacement, so keep approval in the workflow.
11. Camera and Phone Settings for Repeatable Capture
The best camera setup is one you can rebuild when the next shipment arrives. A phone can produce useful product masters when you lock focus, exposure, white balance, and lens choice. A dedicated camera gives you more control for reflective jewelry, transparent packaging, textured materials, and small products, but it won't fix an unstable setup.
Mount the phone or camera on a tripod. Mark the camera height, product position, and light positions on the table or floor. Leave 30% to 40% extra space around the item so the master can support square, portrait, and vertical crops. Keep the original files separate from edited exports.
Lock the capture variables
Before the batch begins, set focus, ISO, shutter speed, aperture, exposure, and white balance manually where your device allows it. Auto settings can change between a white shirt and a black shirt, creating exposure shifts that are difficult to correct later. Clean the lens, inspect the product, photograph the gray card, and capture a test frame.
Use a fixed angle order and record each SKU before shooting. A simple capture sheet should include:
- SKU and variant: Match the physical item to the file name before the shutter release.
- Angle sequence: Use front, back, side, detail, and scale views in the same order.
- Product condition: Note defects, missing components, or packaging differences.
- Test-frame result: Confirm framing, focus, color, and background before continuing.
A marked tabletop setup is enough for many accessories, apparel pieces, and home goods. Use a separate controlled setup for difficult reflective or transparent products, but document its settings so that product family remains consistent.
11-Point Product Photography Tips Comparison
| Item | 🔄 Complexity | ⚡ Resource intensity | ⭐ Expected quality / 📊 Impact | 💡 Ideal use cases |
|---|---|---|---|---|
| Pure White Backgrounds for Marketplace Compliance | 🔄🔄, Strict color rules; binary pass/fail | ⚡⚡, Low gear; batch processing friendly | ⭐⭐⭐⭐, Ensures marketplace eligibility; clearer thumbnails | Compliance-first main images (Amazon, Etsy), bulk catalog hygiene |
| Multiple Angle Coverage & Ghost Mannequin Setup | 🔄🔄🔄🔄, Multi-shot workflow; compositing required | ⚡⚡⚡, Mannequin, more shoot time, postwork | ⭐⭐⭐⭐⭐, Strong conversion lift; fewer returns | Apparel, fit-critical garments, premium apparel catalogs |
| Lifestyle Context & In‑Use Scenes | 🔄🔄🔄, Styling, models or compositing needed | ⚡⚡⚡⚡, Models, sets, or high-quality compositing | ⭐⭐⭐⭐, Raises AOV and emotional engagement | Brand storytelling, social campaigns, hero product pages |
| Consistent Lighting & Color Temperature Across Batches | 🔄🔄🔄, Calibration and protocol enforcement | ⚡⚡⚡, Calibrated lights, color tools, profiles | ⭐⭐⭐⭐, Catalog-wide color trust; fewer color returns | Multi-session shoots, color-critical products (apparel, paints) |
| Focus Stacking & Depth‑of‑Field Control | 🔄🔄🔄, Multiple focus frames; blending required | ⚡⚡, Tripod/rail plus stacking software | ⭐⭐⭐⭐⭐, Razor-sharp detail; justifies premium pricing | Jewelry, watches, small high-detail goods |
| Resolution Upscaling for Marketplace Size Requirements | 🔄🔄, Software workflow; batch upscalers | ⚡⚡, Compute and increased storage/bandwidth | ⭐⭐⭐, Meets platform sizes; limited new detail | Legacy libraries, multi-channel sellers avoiding re-shoots |
| Background Removal & Replacement | 🔄🔄, Masking then fill/composite; QA needed | ⚡⚡⚡, Fast with AI; manual for tricky subjects | ⭐⭐⭐⭐, Flexible assets; required for white‑bg compliance | Multi-channel catalogs, ad creatives, holiday swaps |
| Mobile‑First Composition & Cropping | 🔄🔄, Planning + templates per platform | ⚡⚡, Extra crops/files; minimal gear | ⭐⭐⭐⭐, Better mobile engagement & conversion | Instagram/shopfronts, mobile-heavy stores, multi-platform exports |
| Shadows & Drop Shadows for Depth & Ground Plane | 🔄🔄, Subtle, consistent parameters matter | ⚡⚡, Post-template or light tweak | ⭐⭐⭐, Adds perceived depth; subtle quality cue | Luxury goods, small objects, product thumbnails needing grounding |
| Batch Processing Workflows & AI‑Assisted Scaling | 🔄🔄🔄, Workflow design, testing, templates | ⚡⚡⚡, Platform costs, compute, QA checkpoints | ⭐⭐⭐⭐⭐, Huge time savings and consistency at scale | Large catalogs (100s–1000s SKUs), multi-channel automation |
| Camera & Phone Settings for Repeatable Capture | 🔄🔄, Discipline: locked exposure/white balance | ⚡⚡, Tripod, checklist; low ongoing cost | ⭐⭐⭐⭐, Fewer reshoots; reliable masters for processing | In-house capture, small teams, repeatable catalog shoots |
Turn the Checklist Into a Catalog Pipeline
Start by defining one capture standard for each product family. Apparel may need front, back, side, detail, and ghost mannequin files. Jewelry may need a clean hero, a macro detail, and a focus-stacked view. Home goods may need a high angle, a texture close-up, and one scale or lifestyle image. The point isn't to force every SKU into the same gallery. It's to decide the image roles before you begin shooting.
Create platform export presets next. Amazon needs a pure white main image at RGB 255,255,255, with the longest side at 1,600 pixels or more for practical zoom support. Etsy needs 2,000 pixels on the shortest side. Shopify accepts squares up to 4,472 by 4,472 pixels, with square masters around 2,048 by 2,048 pixels commonly used for consistent grids. Keep these requirements in the workflow rather than relying on memory during export.
Then test the system on 5 to 10 representative SKUs. Choose products that expose weaknesses: a white item on white, a black item, a reflective item, a textured item, an irregular shape, and an apparel piece if clothing is part of the catalog. Inspect:
- Edges: Look for halos, clipped straps, missing fur, and stray pixels.
- Color: Compare the product with the original and review it on multiple screens.
- Crops: Open square, portrait, and horizontal outputs on a phone.
- Dimensions: Confirm each platform preset produces the required size.
- File size: Check that compressed exports still retain readable detail.
- Identity: Make sure AI-assisted scene or background work hasn't changed the product.
Once the sample passes, process the remaining catalog in checkpoints. Don't launch the entire folder and walk away. Review an early group, then review random outputs later. If one product family fails, pause that branch and correct its template instead of editing every finished file by hand.
MerchLoom can run these chained AI pipelines across a whole collection rather than one image at a time. You can try the first images with no account, and the service uses pay-per-image credits that never expire. Use it for repeatable background removal, reframing, color correction, upscaling, and scene work, but keep human review at the sample and checkpoint stages. It's an image workflow platform, not a full Photoshop replacement.
Your best product photography tips are the ones that reduce decisions during the next batch. Lock the setup, name the files, capture flexible masters, derive channel variants, and document exceptions. That process gives a busy seller a catalog that looks consistent without requiring every image to receive a separate creative treatment.
If you're preparing hundreds or thousands of product images, MerchLoom can run chained AI workflows for background removal, platform crops, color correction, upscaling, and lifestyle scenes across the collection. Try the first images without an account, review the outputs, and use the pay-per-image credits, which never expire, to move from a tested sample to the rest of your catalog.
Stop editing product photos one at a time
Upload your catalog or connect your store. Describe the result once. MerchLoom does the rest.
Try MerchLoom