
White Background Square Product Photos: A Full Workflow
Learn how to prep white background square product photos for Amazon, Etsy, and Shopify at catalog scale — shooting, cleanup, export, and batch automation.
You've got a folder full of product photos, but every file seems to have a different problem. One item sits too small in the frame. Another has a gray background. A third looks fine until Amazon rejects the main image. Fixing one photo is manageable. Fixing hundreds without visual drift requires a white background square workflow with fixed inputs, fixed processing order, and fixed quality checks.
Start by creating one master target before editing anything: 2000 × 2000 pixels, sRGB, RGB 255,255,255 background, square 1:1 canvas, and about 85% product fill. Keep the isolated transparent file separately, then create marketplace exports from that master. This prevents you from rebuilding the same product image for Amazon, Etsy, Shopify, eBay, WooCommerce, Poshmark, and Depop.
What Marketplaces Actually Demand
Amazon's main-image rule is the constraint that usually drives the entire catalog. The background must be pure white, RGB 255,255,255, the product should occupy roughly 85% of the frame, and the image must be at least 1,000 pixels on the longest side to support zoom. Amazon also recommends 2,000 pixels for best quality, according to this Amazon product image requirements guide. Sellers who upload off-white backgrounds, weak crops, visible halos, or non-square files can run into rejection or suppression.
Amazon's main image also uses a 1:1 square format for catalog thumbnails and detail-page consistency. Etsy accepts square 1:1 and 4:3 images, while Shopify can use several layouts, but square remains the safest shared master for catalog grids. A single square source reduces the chance that a product looks centered on one channel and cramped on another.
| Marketplace | Min Size | Recommended Size | Aspect Ratio | Background | File Limit |
|---|---|---|---|---|---|
| Amazon | 1,000 px longest side | 2,000 px | 1:1 main image | RGB 255,255,255 | Check current seller settings |
| Etsy | 2,000 px shortest side | 2,000 px or larger | 1:1 or 4:3 | No universal pure-white mandate | Check current listing settings |
| Shopify | Platform-dependent | 2,048 × 2,048 px is a common square target | 1:1 recommended | White improves consistency | Up to 4,472 × 4,472 px and 20 MB per file in cited guidance |
For a batch folder, use one predictable filename pattern such as SKU_first_M1.jpg. Keep the product name, variant, and image role in the filename when your catalog has color or size variations. Don't let a manual editor choose canvas dimensions item by item.
Practical rule: Treat the marketplace specification as the production brief. The white background square isn't a finishing preference. It's the format your downstream listings need.
Shooting Setup That Makes Cleanup Cheaper
Cheap cleanup starts before the first file reaches an editor. Mount the camera on a fixed tripod, choose a 50-85mm focal length, and shoot at f/8-f/11. This keeps the product sharp while avoiding the soft edge detail that makes automated isolation less reliable.
Use two diffused strobes or LED panels at roughly 45 degrees from the left and right. Add a soft front light or reflector to reduce the shadow directly beneath the product. A heavy contact shadow may look natural in a studio, but it creates extra work when every image must end on a clean white canvas.
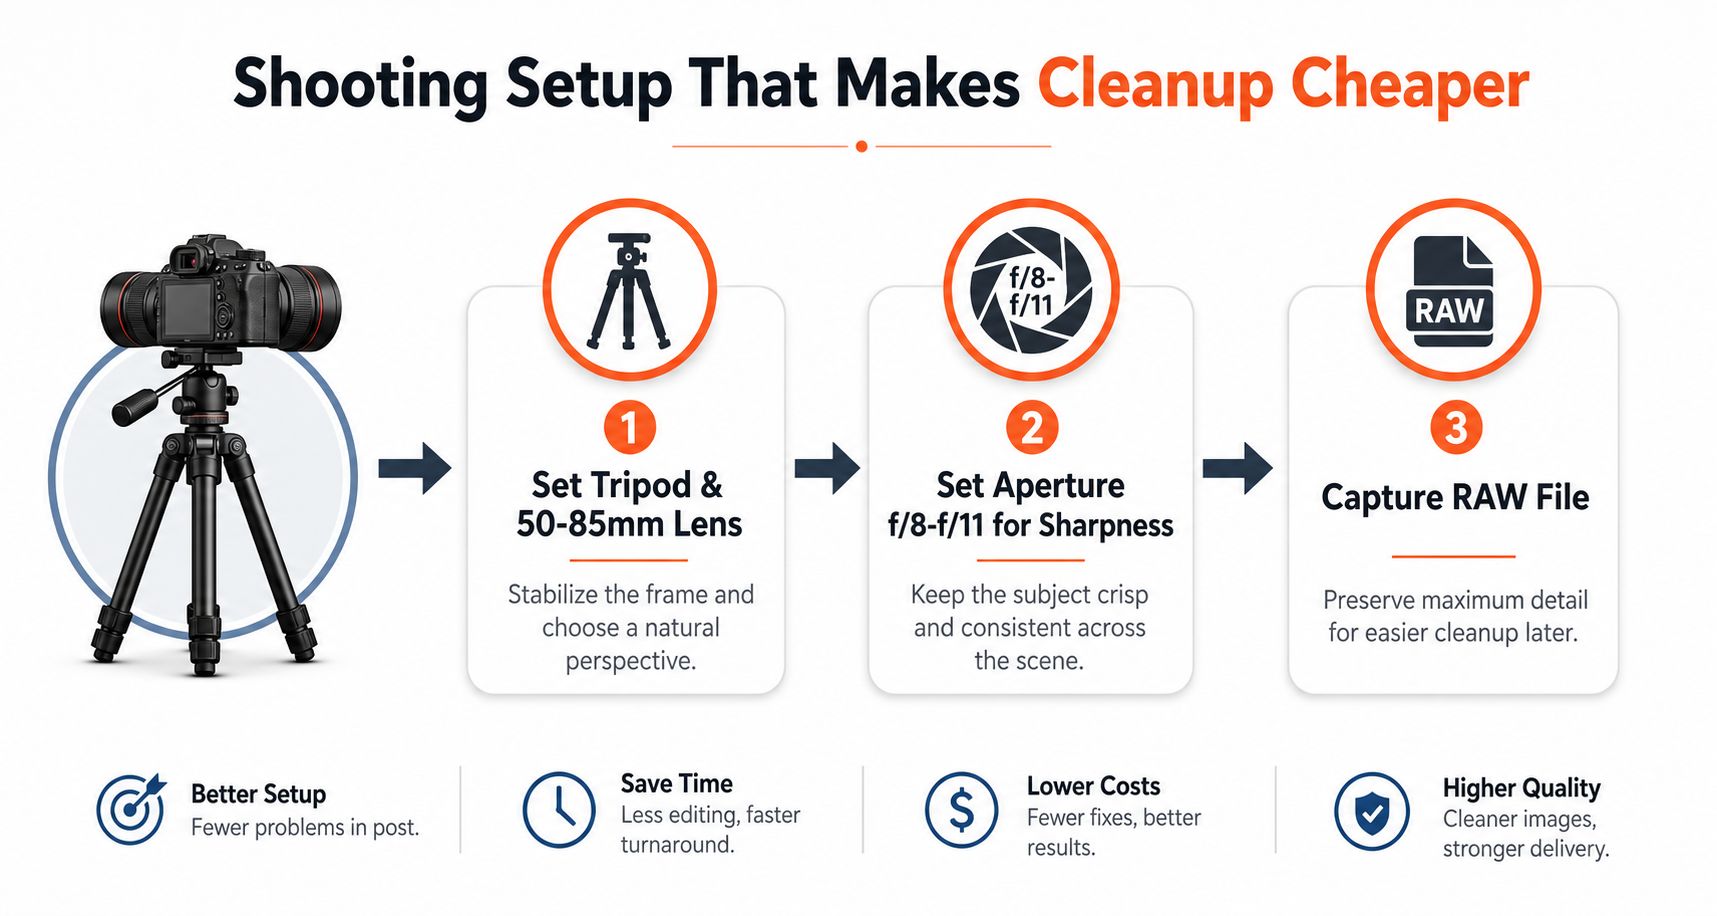
Lock the capture conditions
Place the product on a white acrylic sweep or a lit translucent white surface. The sweep removes the visible corner where the background meets the floor, which is one of the most repetitive cleanup problems in a large catalog. Keep the camera height, product distance, light positions, and sweep position fixed for the whole run.
Set a custom white balance with a gray card, capture in RAW, and lock ISO at 100. Lower noise produces cleaner edges during isolation, especially around dark products, glossy packaging, and pale fabrics.
Before importing a batch, check exposure. The background should meter between 95% and 98% white, not clipped 100%, so white products retain their edges and surface detail. For a more complete lighting reference, these Reddog Consulting Group photography tips cover practical Amazon-oriented setup considerations.
The key is repeatability. A good single frame doesn't compensate for a catalog shot with changing exposure, camera height, or product scale. Lock the setup once, then photograph every SKU against the same conditions. For additional lighting context, see this guide to product photography lighting.
Background Removal and Square Reframing
The processing order matters. Remove the background first. Reframe second. Upscale last. Starting with isolation keeps the working subject separate from the original canvas and avoids spending expensive processing time enlarging pixels that will be discarded.
Run the RAW files through a background-removal pass using a batch-capable editor, Photoshop actions, an API workflow, or MerchLoom. Export transparent PNG intermediates at the original resolution. Keep those transparent files. You may need the same isolated product later for a Shopify banner, a lifestyle scene, a comparison graphic, or a non-square channel.
Use a fixed reframing sequence
- Inspect the cutout. Audit a sample of images before releasing the whole batch. Zoom to 200% and look for gray fringes, background color, missing thin edges, and clipped transparent parts.
- Correct halos. Use a 1-2px defringe pass or a refine-edge brush where the background color has contaminated the product edge. Translucent items, reflective packaging, glass, and white products need the closest review.
- Create the canvas. Place the isolated subject on a new 2000 × 2000 pixel canvas with an RGB 255,255,255 background in sRGB.
- Set product scale. Scale the longest visible product dimension to roughly 85% of the canvas. Use the visual center rather than blindly centering the bounding box. A tall bottle or hanging garment may need slightly lower placement to appear balanced.
- Flatten and export. Create a JPEG for the marketplace version. Keep the transparent PNG as the reusable source.
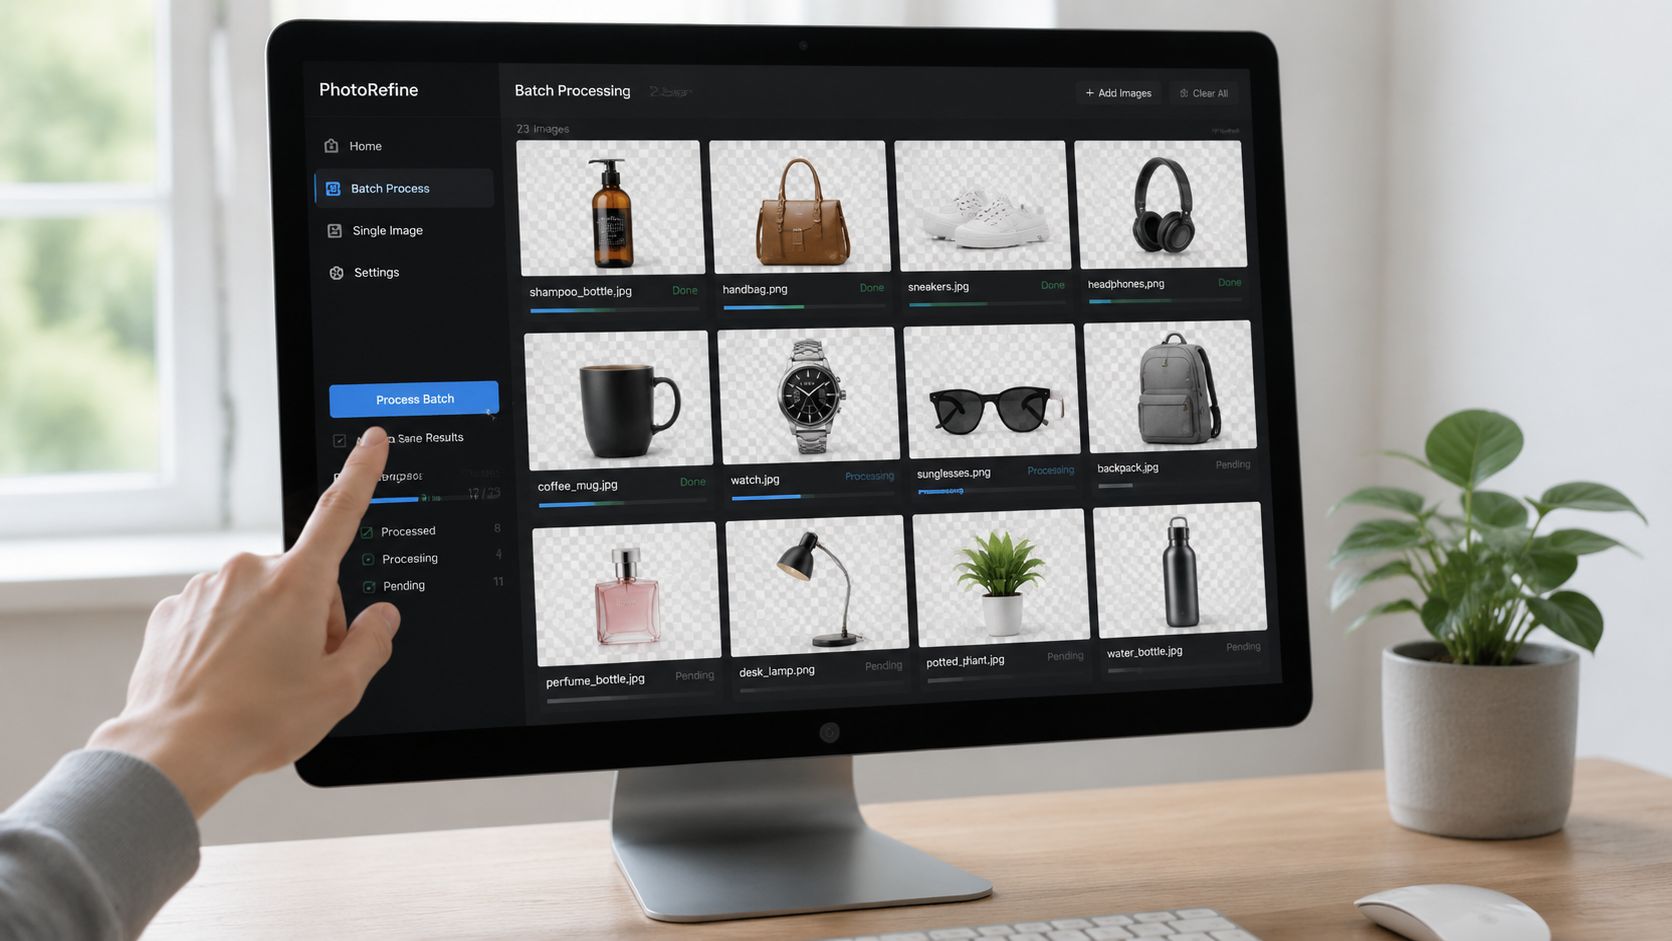
A common mistake is reframing before removing the background. It forces the isolation process to work inside inconsistent crops and can cut off products that were too close to the original edge. Use a fixed 1:1 template instead. This guide to making images square is useful when standardizing that canvas step across a collection.
Export Settings per Marketplace
Export profiles stop the catalog from drifting at the final stage. Don't ask an operator to remember platform rules while manually saving files. Create named presets for Amazon, Etsy, and Shopify, then send each approved master through the required profile.
| Marketplace | Min Resolution | Color Space | Background | JPEG Quality | Max File Size |
|---|---|---|---|---|---|
| Amazon | 1,600 px longest side | sRGB | RGB 255,255,255 | 80-85 | Check current seller settings |
| Etsy | 2,000 px shortest side | sRGB | No universal background mandate | 85-90 | Check current listing settings |
| Shopify | Up to 4,472 × 4,472 px | sRGB | Any background works, white is safest for consistency | 90 or PNG-24 | 20 MB per file |
Amazon's cited guidance supports a pure white RGB 255,255,255 background, while Etsy's image guidance targets 2,000 pixels on the shortest side. Shopify allows images up to 4,472 × 4,472 pixels and up to 20 MB per file in the cited guidance. Those differences are why one master should feed platform-specific exports instead of becoming a compromise file.
Use a filename such as SKU_VARIANT_M1_2000x2000.jpg. Include the variant when color or pack size changes the product. Keep the image role visible, so M1 means the main image and additional views can use M2, M3, and so on.
Keep color and payload controlled
Doing this for a whole catalog?
MerchLoom runs background removal, upscaling and AI editing across every product photo you have — one prompt, whole batch.
Try MerchLoomEmbed the sRGB profile. Don't rely on an editor to convert automatically during export. A white background can appear slightly different when color profiles are handled inconsistently, and those differences become obvious when products sit together in a collection grid.
Strip unnecessary EXIF metadata if it inflates the file without helping your listing. If you're unsure about color work, this explanation of how to compare color matching and grading helps separate product-color accuracy from creative styling.
If a hero image is under-spec, upscale after background removal and reframing. Don't upscale the entire raw catalog before you know which files fail the destination profile. Run the final image file size reduction workflow only after dimensions, color, and background pass inspection.
VA export checklist: confirm filename, square ratio, pixel dimensions, sRGB profile, background value, product fill, JPEG or PNG format, and file-size compliance before upload.
Running the Work Across a Whole Catalog
Batch processing only saves time when the order is fixed. Use this sequence:
- Background removal pass
- Color correction
- Square reframing
- Platform export
- Upscale only when an approved hero image falls short
Upscaling first wastes compute on background pixels and on images that may later be rejected for poor isolation. Removing the background before upscaling can save up to 87% in the described processing workflow, because the expensive enlargement step is applied to fewer pixels and only where it's needed.
Build one repeatable pipeline
A chained AI pipeline should take the same input fields and apply the same operations to every SKU. Pre-process with auto-crop and white balance, route the result through background removal, reframe to 1:1 with a 15% padding rule, then fan out to the Amazon, Etsy, Shopify, and other export profiles.
MerchLoom can run this type of chained workflow across a full collection instead of one image at a time. It can process imported catalog images, retain the outputs for review, and apply the same background, framing, color, and upscale logic across the batch. The first images can be tried with no account, and the service uses pay-per-image credits that never expire. It still needs human review, especially for reflective products, fine chains, transparent packaging, and irregular silhouettes.
Use a review gate rather than opening every file. Start with a random 5% sample, then reduce review to 1% after three consecutive runs clear your checks. Those percentages and run counts are the supplied operating targets, not a substitute for inspecting known difficult products.
For overnight runs, separate successful outputs from failures. Retry only failed jobs, not the entire collection. Keep a log with SKU, source filename, pipeline version, export profile, failure reason, retry status, and reviewer decision. This surfaces a repeated framing error before it reaches a live listing.
For broader batch-handling practices, this EventUploader batch photo guide provides useful context on organizing large image sets. Your own catalog log should remain the source of truth. The batch product photo editing workflow can then be reused whenever a new product collection arrives.
Troubleshooting Common Batch Failures
Most catalog failures repeat. That's useful because each one can have a fixed correction and a machine-checkable rule. Put those rules on a one-page QC sheet so an operator doesn't have to make a fresh judgment for every SKU.
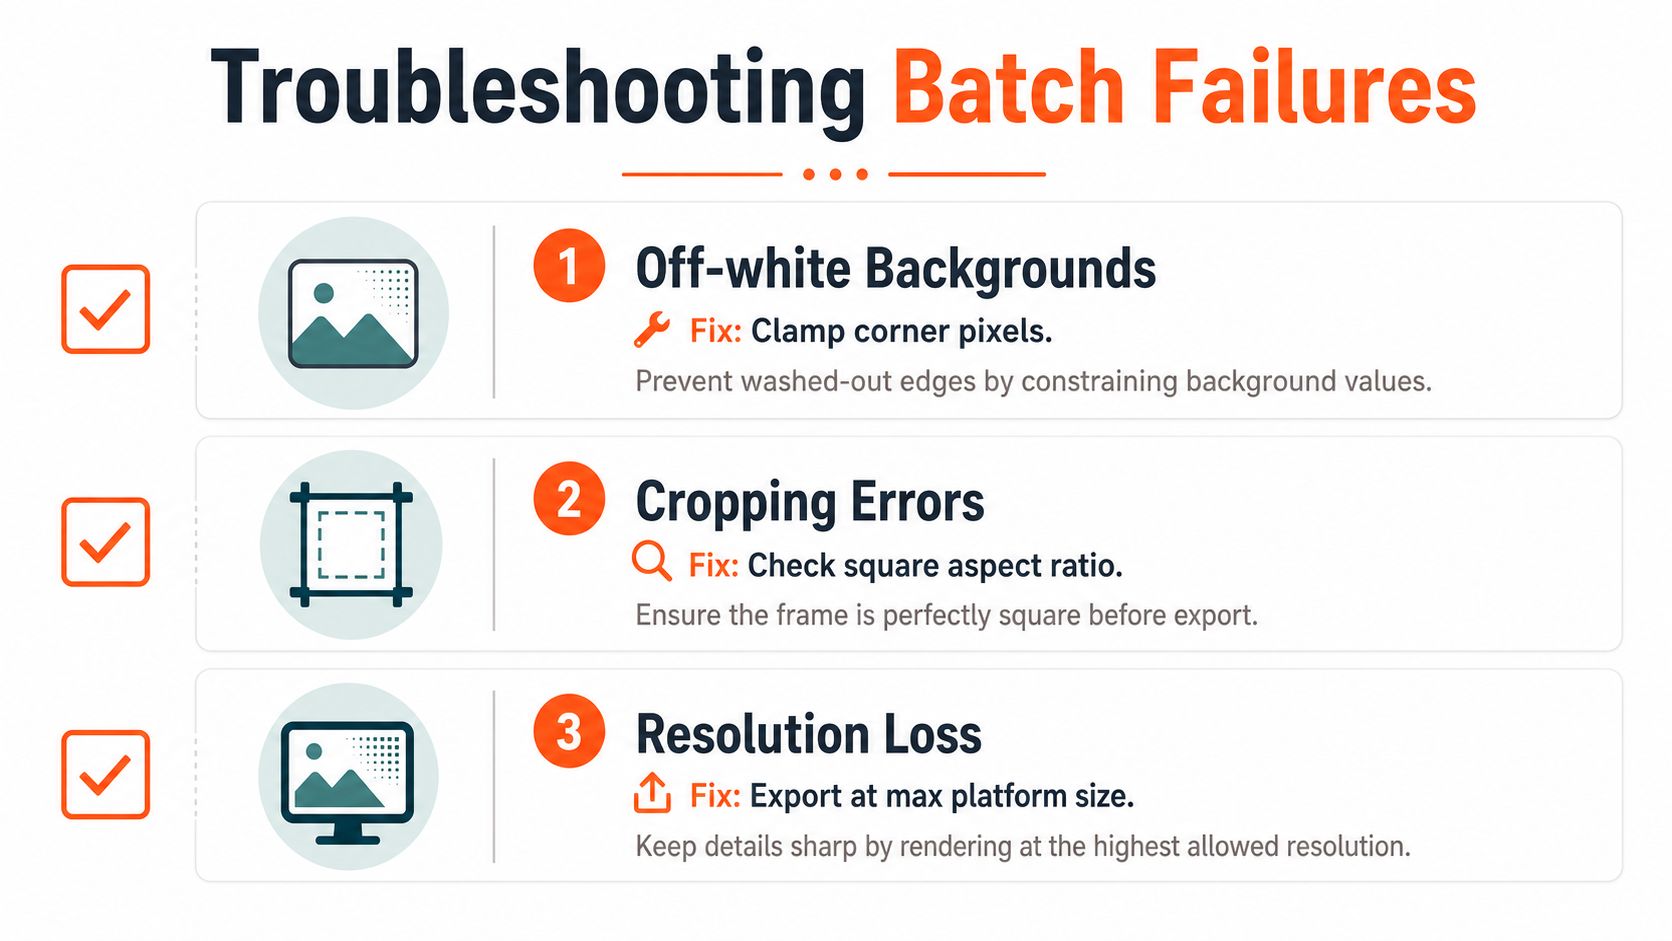
Off-white backgrounds
Off-white corners are common after photographing on a sweep or exporting through a color-managed editor. Clamp corner pixels to RGB 255,255,255 only when the difference is under 3. Then run a corner sampler that flags any corner value below 252.
Don't use a broad white fill to hide a contaminated edge. That can erase product detail and create a visible cutout. Correct the background mask first, then inspect the boundary at high magnification.
Halos and edge contamination
Gray or colored halos appear around translucent, reflective, and light-colored products. Apply a 1-2px defringe pass before export, then inspect the transparent mask for edge-channel luminance above 230. The check is especially important when the original sweep was brighter than the product.
Undersized hero files
Run a minimum-dimension check before upload. If a hero fails, upscale that file after isolation and reframing. Don't enlarge every image in the folder because one source is too small.
Ratio and crop errors
A square file can still have a badly positioned product. Recenter using a saliency mask rather than a blind center crop, and flag any aspect deviation over 0.5%. This catches files that look square in a file browser but fail exact canvas requirements.
JPEG artifacts
Flat white areas reveal compression blocks quickly. If artifacts appear, increase JPEG quality by 5 points and sample background regions for unusual 8 × 8 block variance. Keep the approved source so you can regenerate exports without repeating background removal.
Give the operator one page with these rules, plus filename, color profile, dimension, background, fill, and visual-edge checks. MerchLoom can run the chained workflow across the collection and route outputs for review, but the final QC decision should stay with a person who understands the products.
MerchLoom helps e-commerce sellers run chained AI image pipelines across entire collections, including background removal, square reframing, color correction, and marketplace exports. Try the first images with no account, use pay-per-image credits that never expire, and visit MerchLoom to prepare your next catalog without editing every product one at a time.
Stop editing product photos one at a time
Upload your catalog or connect your store. Describe the result once. MerchLoom does the rest.
Try MerchLoom