
How to Use Lunapic Remove Background for E-commerce in 2026
Lunapic remove background - Master the lunapic remove background tool to create professional product photos. Learn expert tips for e-commerce images and when
You finish a product shoot, dump the files into a folder, and realise the hard part isn't over. The photos still need clean backgrounds, marketplace-ready crops, and a consistent look across every listing. That's usually when sellers search lunapic remove background and try to get their first products live without adding another monthly bill.
That's a sensible place to start. Free tools matter when you're bootstrapping, testing demand, or fixing a handful of photos before a weekend launch. I started the same way. For a few products, Lunapic feels almost perfect because it's fast to open, doesn't ask for sign-up, and can get a basic cutout done well enough to publish.
The trouble starts when one product turns into a collection, then a seasonal drop, then a backlog of images waiting on your desktop. A tool that works for one photo can end up slowing down an entire catalogue.
Your Starting Point for Product Photo Editing
You shoot ten SKUs on a Saturday, upload one image into Lunapic, clean it up, and feel productive. By image six, the pattern changes. You are repeating the same clicks, checking the same edges, and losing time on work that does not improve the product itself. That is the essential starting point for product photo editing. It is not the first successful cutout. It is the moment you notice a single-image tool is starting to slow the whole listing process.
I started there too. For a small launch, Lunapic is a practical first tool because it is free, fast to open, and good enough for simple products shot against a plain background. That matters when cash is tight and you are still figuring out whether the product will sell.
Lunapic fits early-stage selling because it removes setup friction without forcing you into software subscriptions or a bigger editing system. If you sell handmade goods, test small wholesale runs, or list a few products on Etsy or Shopify, that trade-off can be smart.
Why sellers reach for it first
A free tool like Lunapic usually earns its place for three simple reasons:
- You can start immediately. No account setup, no training period, no cost just to test a few images.
- It handles basic product shots reasonably well. Items with clear outlines and decent lighting are the easiest wins.
- It gets you to the next task faster. If your main goal is marketplace prep, a rough cutout is often enough to begin adding a white background to a photo for product listings.
The trade-off shows up fast. Lunapic saves money at the beginning, but it asks for more manual attention on every extra image. For one hero photo, that is fine. For a growing catalogue, that is usually where the workflow starts to break.
Practical rule: Use free tools to get products live and test demand. Replace them when repeat editing starts eating into listing time, launch speed, or consistency.
That is the point many new sellers miss. The question is not whether Lunapic can remove a background. The question is how long you can keep doing it one photo at a time before the free workflow costs more than it saves.
Removing Backgrounds with Lunapic's Main Tool
The main Lunapic remover is best for one kind of job: a straightforward product photo that needs to go live today.
That is why a lot of sellers start here. Upload the image, let the automatic removal run, then inspect the result before you download it. The workflow itself is simple, and the CapCut guide to Lunapic background removal walks through that basic process clearly.
The part new sellers usually miss is what happens after the first decent result. One clean mug photo feels fast. Ten similar images are still manageable. Fifty SKUs with slightly different shadows, straps, reflections, and edges turn a free tool into a stop-and-check job that keeps breaking your listing flow.
A practical way to get a usable cutout
Start with the cleanest file you have. Good lighting, clear separation from the backdrop, and a product that is fully in focus will save more time than any setting inside Lunapic.
Then use this order:
Upload the image and let the tool finish Don't click away too quickly. Wait for the first cutout to load fully.
Zoom in before you judge it Thumbnail views hide problems. Check the outline at close range, especially around corners, straps, stitching, transparent areas, and small gaps inside the product.
Look at the hardest areas first Glossy packaging, jewelry, soft fabric edges, and anything with texture usually fail before the main silhouette does.
Clean only what affects the listing If a tiny flaw will never show on a collection page or product card, leave it. If it will show on zoom, fix it now.
That last step matters. Sellers waste a lot of time chasing perfect edges on photos that only needed to look clean at marketplace size.
Where Lunapic works well
Lunapic handles simple product shapes reasonably well. Boxes, candles, books, mugs, soap bars, and other products shot against a plain background are usually fine after light cleanup.
It gets less reliable with:
| Image type | Likely result in Lunapic |
|---|---|
| Logo on flat background | Usually clean |
| Mug, candle, box, book | Often good after light cleanup |
| Sweater with loose fibres | Mixed |
| Faux fur, fringe, reflective metal | Time-consuming |
| Pattern-heavy fashion items | Often needs manual correction |
This is the trade-off I ran into early. For a few hero images, Lunapic saved money. Once I had to prep full sets for new listings, the time cost showed up fast because each image needed its own check, its own cleanup, and sometimes a full restart.
Small habits that prevent rework
A few habits make the tool more usable:
- Resize oversized originals before upload. Huge files slow down review and make cleanup less efficient.
- Check the edge before you export. Re-uploading the same image because you missed a rough outline is where free workflows start wasting real time.
- Use a different method for white-background source photos. If the product is getting lost against white, a guide on removing a white background in Photoshop can be a better fit than forcing Lunapic to guess.
- Don't treat single-image editing like a scalable system. Lunapic is fine for one-off fixes. It becomes a bottleneck when every new SKU adds another round of manual review.
A fast first cutout is not the same as a fast workflow.
That distinction matters in e-commerce. If you are listing a couple of products, Lunapic can still earn its place. If background removal starts delaying launches, slowing variant uploads, or creating inconsistent edges across the catalog, you have reached the workflow breaking point.
Fine-Tuning Edges for a Professional Finish
Automatic removal gets you close. Manual cleanup is what makes the image look sellable.
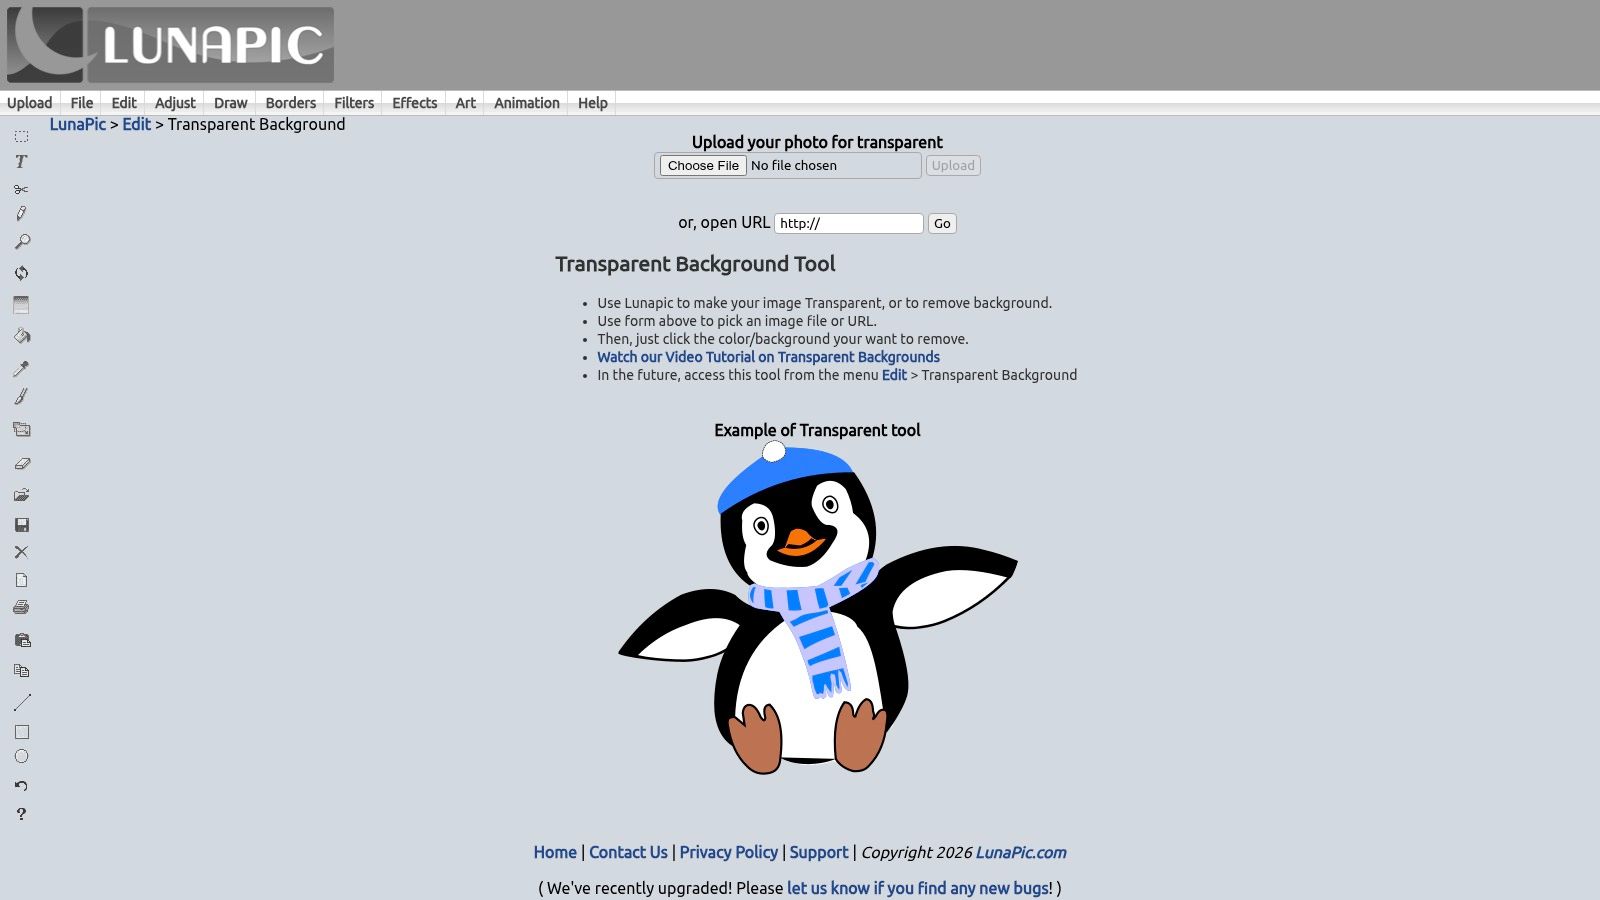
For marketplace sellers on Amazon.ca and Etsy Canada, Lunapic's Transparent Background tool is often used for cutouts that need a bit more hand-finishing, especially for vintage and thrift inventory where no two source photos are alike (Offshore Clipping guide to Lunapic background remover).
Clean the edge before you change the canvas
If the cutout edge is rough, don't rush to place it on white or export for your storefront. Fix the edge first.
The documented workflow on the Transparent Background tool includes these refinement options:
- Alpha Channel blending with opacity from 0 to 100%
- Scissors Crop for manual polygon tracing, with up to 50 vertices feasible
- PNG-24 export to preserve transparency
That source reports 65% accuracy on solid-colour backgrounds, but only 41% for intricate patterns like Indigenous textile prints in the cited eBay.ca seller survey, which explains why manual refinement matters so much for apparel and textured goods.
Which Lunapic tool to use for each problem
Use the tool that matches the flaw:
Halo around the product
Reduce the leftover fringe with the eraser at high zoom. If the halo is coloured, clean it before adding a white background or the edge will still look dirty.Jagged wool, fringe, or knit edges
Use a lighter touch. The cited source reports 31% edge feathering artefacts, so over-correcting can make fabric look clipped and fake.Reflective or metallic products
Watch for missing detail. The AI can confuse reflection with background and cut into the item itself.Patterned textiles
Use polygon tracing when the automatic selection keeps collapsing into the print.
A good companion read if you're comparing manual edge cleanup styles is this guide on removing white background in Photoshop. Even if you stay in Lunapic, it helps clarify what “clean” edges should look like.
Here's a quick visual walkthrough if you want to watch the mechanics before doing a cleanup pass:
One simple finishing move
The source includes a practical tip many sellers miss: applying Effects > Sharpen (radius 1.2) after removal can improve edge crispness by 22% in the cited benchmark context. It won't rescue a bad cutout, but it can make a decent one look more intentional.
A professional finish usually comes from restraint. Remove only the background, not the character of the product.
Doing this for a whole catalog?
MerchLoom runs background removal, upscaling and AI editing across every product photo you have — one prompt, whole batch. Try 2 batches free, no signup.
Try it freeSave the final file as PNG if you need transparency. If you flatten too early into JPG, you lock in any edge mistakes.
Preparing Images for E-commerce Marketplaces
You finish one clean cutout in Lunapic, upload it to Amazon, then realize the same file looks cramped on Shopify and awkward on Etsy. That is the point where background removal stops being the job. File prep, sizing, and consistency become the primary work.
A transparent background file is the master, not the final asset. For a small catalog, that is manageable by hand. Once you are listing the same product across multiple channels, the weak spot shows up fast. One image needs a white main image version, another needs a tighter crop for collection pages, and another needs extra room for ads.
Lunapic is still useful at this stage because it gets you to a workable starting file without added software cost. I used it the same way on early product launches. The mistake is treating that first export as finished.
The file decisions that affect listings
Marketplace prep is mostly about control.
Keep a transparent PNG master first. That gives you one reusable source for a white background marketplace version, promotional graphics, and any future channel you add. If you flatten too early or keep only one cropped export, you end up redoing edits you already paid for with your time.
Then build copies for each destination:
- Amazon main image: white background, centered product, enough resolution for zoom
- Shopify collection image: matching framing across the category so the grid looks intentional
- Etsy thumbnail: clear product visibility at small sizes
- Paid social creative: more flexible crops for square, vertical, and banner placements
The framing point matters more than new sellers expect. If one product fills 85% of the frame and the next sits tiny in the middle, the store looks inconsistent even if both cutouts are technically clean.
Consistency beats clever editing
Buyers rarely care which tool removed the background. They do notice uneven crop depth, soft edges on one listing, harsh edges on another, and color shifts between products in the same range.
That consistency carries into paid acquisition too. If you are using product cutouts in ads, your source images need enough space and clarity to survive multiple placements. This Creatives guide for DTC brands is useful for connecting listing images with the formats used in performance creative.
For Amazon, formatting mistakes can waste as much time as the background cleanup itself. Keep this guide to Amazon product image size requirements nearby before you export final files.
A simple rule helps. Edit once. Export many versions on purpose.
Sellers who follow that rule spend less time reopening old files every time they add a marketplace, launch a sale, or test a new ad format.
When Your Free Workflow Starts Costing You
The breaking point usually shows up on a normal workday. You finish a product shoot, upload a few images to Lunapic, clean one by one, then realize the editing queue is now holding up the listing, the launch email, and tomorrow's social posts.
That is the moment a free workflow starts charging you in time.
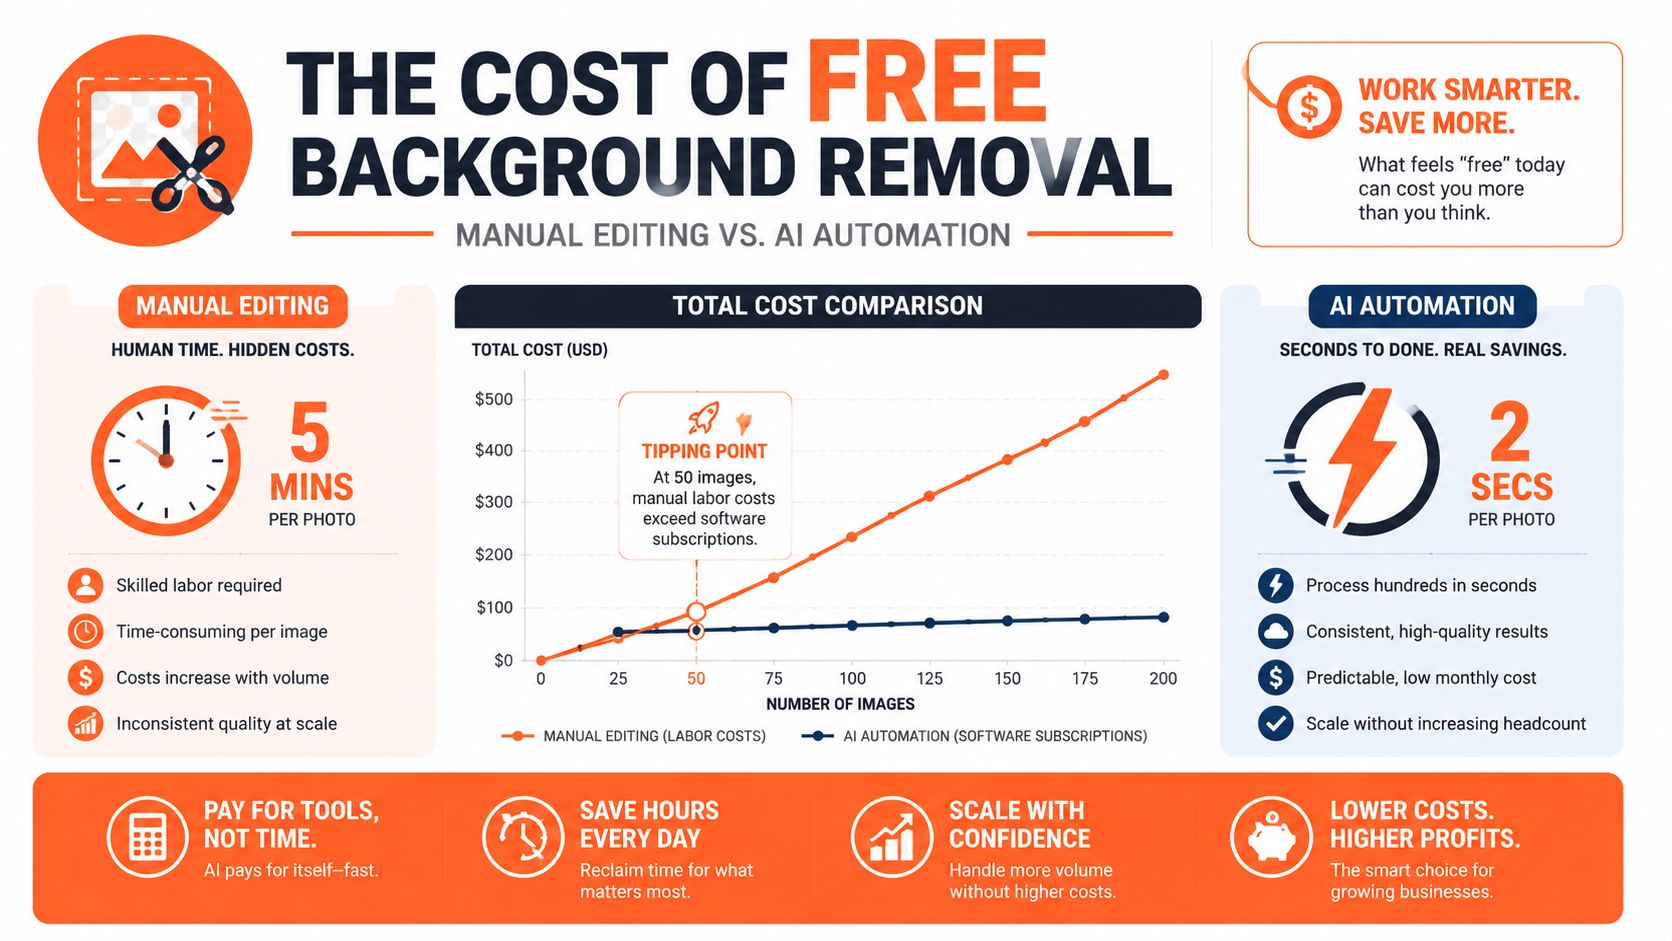
Lunapic still works for occasional cleanup. I used it that way on my first few products. For a hero shot or a quick replacement image, it does the job. The trouble starts when your catalog stops being a handful of SKUs and turns into regular drops, restocks, or multi-variant listings. A single-image tool forces you to repeat the same decision over and over, and repetition is what eats the day.
Time is the cost that sneaks up on you
Free stops feeling free when image prep starts delaying revenue work.
If you are still shooting a few products a month, manual editing is manageable. If you are uploading a seasonal collection, adding marketplace listings, or refreshing a whole category page, the workflow breaks in predictable places. Hair, fabric texture, transparent packaging, reflective products, and busy shadows all need extra cleanup. Then you still have to export, crop, rename, and upload.
Here is a practical way to judge it:
| Workflow situation | What usually happens |
|---|---|
| A few hero images | Lunapic is still efficient |
| A small product refresh | Fine, but repetitive |
| A full collection upload | Editing starts taking longer than listing work |
| Multi-platform launch | Re-cropping and re-exporting pile up fast |
| Frequent new arrivals | The image queue never really clears |
Signs you have hit the workflow ceiling
You have probably outgrown single-image editing if any of these are happening:
- New products sit unpublished because photo cleanup keeps getting pushed back.
- Your catalog looks inconsistent because each batch was edited a little differently.
- You keep reopening old files to make one more size or crop for another channel.
- You schedule launches around editing capacity instead of inventory and demand.
- You need speed across Shopify, Amazon, Etsy, and social but your process still depends on manual file-by-file work.
This is also where simple alternatives start to look attractive. If you want another low-friction option before moving into a full batch workflow, this guide on Canva background removal for product images helps compare a more design-friendly setup.
What to change
Use a simple rule. Keep free tools for exceptions, not for production.
That means Lunapic can stay in your stack for the occasional rescue job, quick mockup, or one-off edit. But once product launches depend on steady image volume, you need a process that handles sets instead of individual files. The goal is not fancy editing. The goal is getting consistent, usable assets out fast enough that photos stop blocking the rest of the business.
That same speed issue affects marketing. If you want to test short-form product content or push new arrivals quickly, asset prep has to keep up with promotion. Viral.new's TikTok sales strategy is a good reminder that sales content moves faster when your product images are already ready to reuse.
Scaling Your Photo Workflow with Batch Processing
The breaking point usually shows up on a normal workday. You have 30 new SKUs to list, each one needs a main image, a few alternate angles, and marketplace-ready sizes, and you are still opening files one at a time in Lunapic. That is the moment a free single-image tool stops feeling efficient and starts slowing down the rest of the store.

What a scalable workflow actually does
A batch workflow fixes the part that breaks first. It handles groups of product photos with the same rules, so you are not repeating background removal, crop decisions, resizing, and export settings over and over.
A useful setup should let you:
- Upload a full product set at once
- Apply the same editing steps across every image
- Keep framing and output sizes consistent
- Review files during processing instead of after everything finishes
- Match costs to volume if your catalog grows in bursts
That last point matters in real stores. Some months you are updating five listings. Other months you are pushing a seasonal drop, a supplier change, or a full catalog refresh. A tool that works for one-off edits can become expensive in time when volume spikes.
Why sellers move on from Lunapic
I started the same way many small sellers do. Lunapic was good enough for a first batch of listings because it was free, quick to access, and decent for simple cutouts. It stopped working well once I needed repeatable output across dozens of images.
Batch tools solve a different problem than Lunapic does. They are built for production.
Less repetition
The workflow runs across a set instead of relying on the same manual cleanup file by file.Better consistency
Product images in the same collection keep the same crop logic, spacing, and output specs.Higher throughput
New listings keep moving even when image count jumps before a launch.
That consistency matters as much as speed. Clean cutouts help, but listing images also need predictable framing, sizing, and polish across channels. This guide on how to make product photos look professional covers the presentation side that sellers usually notice after background removal is already done.
The practical rule is simple. Use Lunapic for rescue edits, one-off fixes, or a quick test product. Use batch processing once photo prep starts deciding how fast your catalog goes live.
If you've reached the point where background removal is slowing down launches, MerchLoom is built for that exact transition. It processes entire image collections through chained AI steps, handles marketplace-ready reframing and resizing, and uses pay-per-image pricing with no subscription. That's a better fit when you need catalogue output instead of one-photo fixes.
Stop editing product photos one at a time
Upload your catalog or connect your store. Describe the result once. MerchLoom does the rest.
Try it free — no signup