
GIMP Resize Image: E-commerce & Batch Processing
Effectively gimp resize image for your e-commerce store. Learn batch processing for Amazon & Shopify, optimize quality, and discover faster alternatives.
You've got a folder full of product photos. Some came off a phone, some from a DSLR, some from a supplier, and none of them match. A few are too large for quick web use, a few are too small for marketplace standards, and some need to become square without making the product look stretched. That's the point where “gimp resize image” stops being a basic edit and starts becoming operations work.
For a casual user, resizing one image in GIMP is easy enough. For a seller managing a catalogue, it's different. You're trying to keep listing images consistent across Shopify, Amazon, Etsy, and social channels while avoiding blurry exports, distorted products, and repetitive manual steps that eat half the afternoon.
I still think GIMP is one of the best places to start because it's free, capable, and flexible. But there's a hard ceiling to manual workflows once you're handling collections instead of single images. If you want to stay organised, you need to understand both the resizing tools and where those tools start slowing you down.
Why Mastering Image Resizing Matters for Sellers
A lot of sellers treat resizing like cleanup. It isn't. It shapes how your catalogue looks, how consistently your products appear across channels, and how much rework your team has to do every time a new collection lands.
One week it's a handful of hero shots. The next week it's a seasonal drop, a supplier refresh, or a stack of thrift inventory that all need new listing images. Some need a white background for Amazon. Some need square crops for Shopify collections. Some need larger files for Etsy listings and social posts. If the source files aren't standardised early, every downstream step gets messier.
That's why I tell sellers to think of resizing as catalogue preparation, not just editing. It affects page presentation, mobile viewing, and whether a product looks trustworthy at a glance. If you want a wider overview of the bigger clean-up stack around resize, crop, background work, and listing polish, this 2026 merchant guide for image post-processing is a useful companion read.
The other issue is platform compliance. Amazon, Shopify, Etsy, and social formats don't ask for the same thing. If you resize casually, you end up making duplicate files, renaming exports badly, and losing track of which version belongs where. That's manageable at ten images. It's painful at scale. Sellers working through Amazon specs can save time by checking these Amazon product image size requirements before they start exporting.
Practical rule: Resize with the final use in mind. Don't make one “good enough” file and hope it works everywhere.
GIMP gives you enough control to build that discipline. But control only helps if you know which resizing function to use, and when.
Scale Image vs Scale Layer vs Canvas Size
Most GIMP resizing mistakes come from using the right tool for the wrong job. GIMP separates resizing into Scale Image, Scale Layer, and Canvas Size. That distinction matters a lot once you're working on mockups, grouped product sets, or marketplace-specific exports.
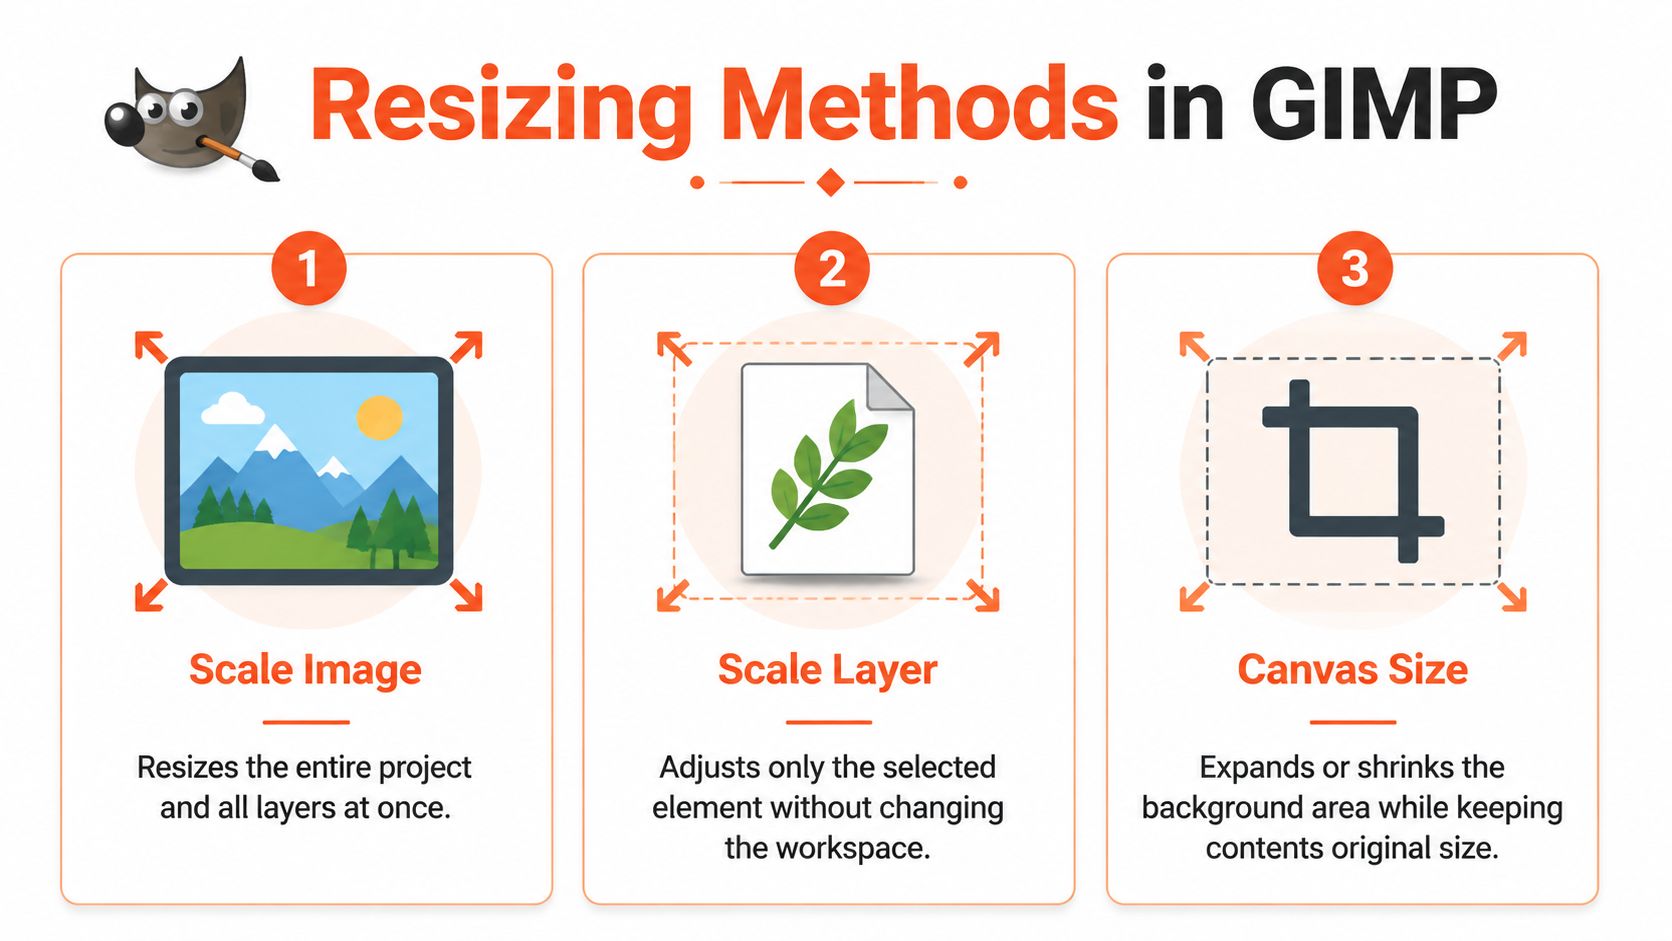
GIMP's layer-based resizing architecture separates overall image scaling, individual layer scaling, and canvas resizing for composition work. The Scale Tool also gives a real-time preview, which is useful when you're checking consistency across a batch of product images, as demonstrated in this GIMP resizing walkthrough on YouTube.
Use Scale Image for final listing dimensions
If you're taking one finished product photo and preparing it for a listing, Scale Image is usually the right choice. It resizes the entire project and every layer in it.
That's the tool you'd use when a product photo is already edited and you need to bring it to a target size for upload. For example, if your source file is oversized and you want a marketplace-ready export, Scale Image keeps the whole composition intact while changing the output dimensions.
This is the most common answer to the gimp resize image question because it matches the most common seller task: make the final image fit the platform.
Use Scale Layer for overlays and mockups
Scale Layer is different. It changes only the selected layer, not the entire file. That matters when you're building a product mockup, adjusting a logo placement, or resizing a garment graphic inside a layered composition.
If you import multiple assets with File >> Open as Layers, each one can be adjusted independently. That's useful when one listing template contains a product base, a logo layer, text, and a background element. You don't want to resize the whole image just because the overlay is too big.
A lot of Photoshop users coming into GIMP mix these two up. If that's your background, this comparison on how to scale image in Photoshop helps translate the mindset between tools.
Use Canvas Size when the image size is fine but the frame is wrong
Canvas Size doesn't scale the image content. It changes the surrounding workspace, much like changing the matboard behind the picture.
This is what you use when the photo itself is fine, but the platform wants a different shape. A common seller job is taking a rectangular product shot and placing it on a square canvas so collection thumbnails look consistent. Another is adding white space around an item without stretching the object itself.
Here's the practical split:
| Task | Best GIMP tool | Why |
|---|---|---|
| Resize one finished listing image | Scale Image | Changes the full image output |
| Resize one element in a mockup | Scale Layer | Leaves the rest of the project alone |
| Add border or square background area | Canvas Size | Changes frame area, not object size |
If your whole export needs to be smaller, use Scale Image. If one object needs to be smaller, use Scale Layer. If the empty space needs to change, use Canvas Size.
Sellers who get this right early avoid a lot of rework later. Sellers who don't usually end up with stretched thumbnails, broken mockups, or duplicate files they can't trust.
Optimizing Resolution DPI and Interpolation
Once you've picked the right resize method, the next problem is quality. Many resized product photos go wrong at this stage. The dimensions may be correct, but the file looks soft, jagged, or oddly distorted on the listing.
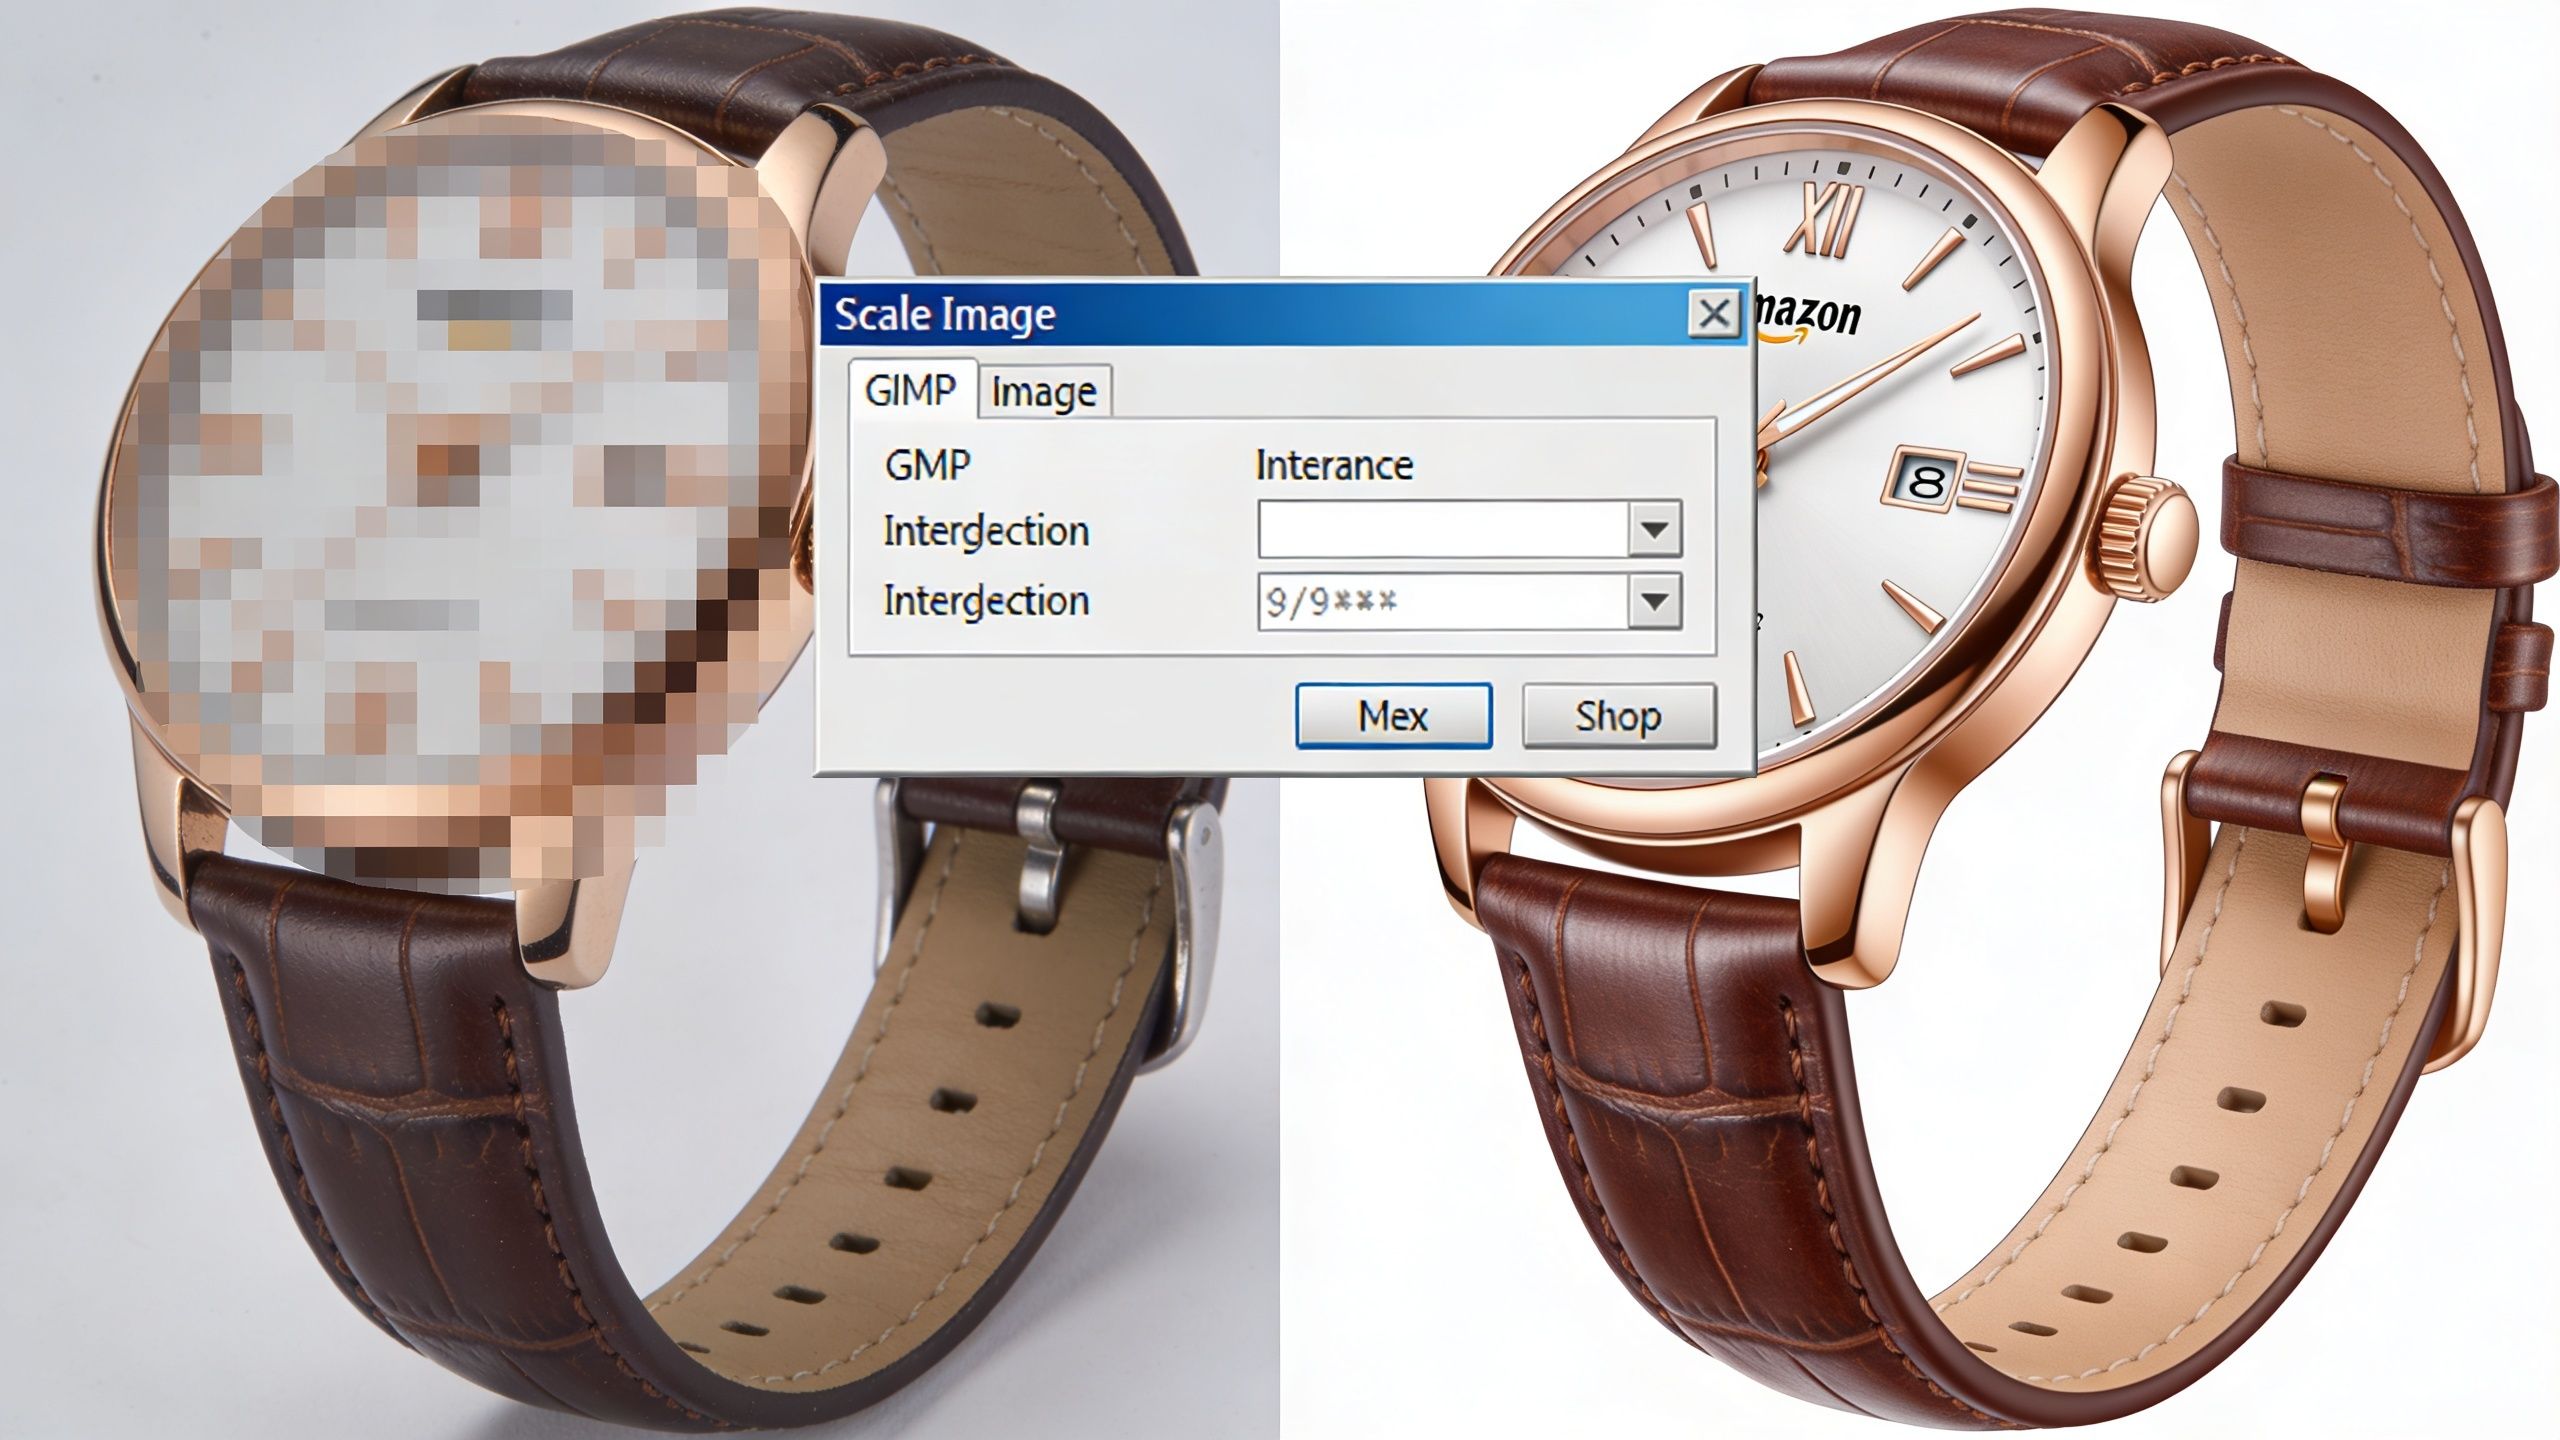
GIMP's Scale Image tool supports multiple interpolation methods. Cubic computes pixel colour from the average of eight nearby pixels, while Sinc (Lanczos3) uses a more advanced mathematical approach for higher-quality results. The same tool also lets you scale by percentage or absolute pixels, and the chain-link lock keeps width and height proportional. That matters for marketplace standardisation, especially when preparing images for Amazon, which requires a minimum 1000 x 1000 pixels for main product images, as outlined in the University of Michigan GIMP Scale Image reference.
DPI is usually a workflow setting, not a rescue button
For web listings, sellers often work at 72ppi. For example, a product image might be scaled from 3000 x 2000 pixels down to 600 x 400 pixels while keeping 72ppi for web display, using the same reference above. That doesn't magically improve or ruin the image on its own. The visual result still comes from pixel dimensions and how well the image survives the scaling process.
Where DPI becomes more practical is when you're balancing digital and print use. GIMP supports units including pixels, millimetres, inches, and percentages, which helps if the same product asset has to feed both listing images and print workflows without rebuilding the file from scratch.
If you need to convert resolution settings outside GIMP, this image DPI converter guide is worth keeping bookmarked.
Pick interpolation based on direction
This is the setting many sellers ignore, and it shows.
For downscaling, Cubic is the safer everyday choice for product listings. When you're reducing large originals for web use, it usually keeps detail clean without introducing harsh artifacts.
For upscaling, Sinc (Lanczos3) is the better option inside GIMP when you need the highest-quality result available from the resize tool. It's the one I'd reach for if a source image is close to acceptable but needs help reaching final listing dimensions.
A simple perspective on the process:
- Cubic for reducing size when you want reliable listing exports
- Lanczos3 for enlarging when you need better detail retention
- Never open the chain icon unless you intentionally want distortion
Working rule: Interpolation decides whether a resized photo looks merely smaller or visibly damaged.
When GIMP resizing isn't enough
Interpolation can only do so much. If the source file is too small or too weak, standard resizing won't create real detail. At that point, you're in enhancement territory rather than ordinary scaling.
For that situation, a dedicated tool like the AdCrafty image upscaler can be useful for testing whether an undersized product image can be pushed further before you rebuild the listing asset.
The main lesson is simple. Don't treat all resize jobs as equal. Downscaling a clean studio image and enlarging a weak supplier photo are completely different operations, and GIMP gives you enough control to handle each one properly if you use the settings with intent.
Automating Workflows for Your Entire Catalogue
A five-SKU shop can resize images in GIMP and get by. A 500-SKU catalogue is different. By the time you have marketplace variants, seasonal refreshes, supplier image inconsistencies, and channel-specific dimensions, resizing stops being an editing task and turns into production work.
GIMP can handle catalogue prep, but the bottleneck shifts fast. The true cost is not clicking Scale Image. It is checking whether each file needs crop correction, background cleanup, renaming, export formatting, and sometimes enhancement before it is ready for Amazon, Etsy, Shopify, or a feed partner.
BIMP is the practical first upgrade
For teams that want batch processing without writing scripts, BIMP is the obvious next step. It lets you resize a folder in one pass and apply the same basic actions across a batch.
Doing this for a whole catalog?
MerchLoom runs background removal, upscaling and AI editing across every product photo you have — one prompt, whole batch. Try 2 batches free, no signup.
Try it freeThat helps when the catalogue is consistent. If every source file is already clean and the only job is bringing oversized images down to a standard listing size, BIMP saves real time.
Its ceiling shows up once image quality varies across the catalogue:
- Static actions only: every file gets the same treatment, even when the problems are different
- Limited decision-making: it will not separate weak supplier photos from clean studio shots
- Manual oversight still required: naming rules, export destinations, QA checks, and failed files still need a person
Scripts give more control, but they create maintenance work
GIMP scripting and command-line batch mode can push further than a plugin. If you have technical support in-house, you can build repeatable resize and export routines around your own file rules.
I have used that approach for catalogue cleanup, and it works until the catalogue changes faster than the script. New supplier formats, new marketplace specs, and mixed image quality create constant exceptions. Someone still has to maintain the logic, test outputs, and catch the files that fall outside the rule set.
A practical comparison looks like this:
| Approach | Best for | Main drawback |
|---|---|---|
| Manual GIMP edits | One-off fixes and small product sets | Slow, inconsistent, easy to bottleneck |
| BIMP | Basic batch resizing on uniform files | Same treatment for every image |
| Scripts | Technical teams with fixed workflows | Ongoing setup, testing, and maintenance |
| Automated pipeline tools | Large, changing catalogues | Less manual control over each individual file |
Enhancement often becomes a second workflow after resizing. If a product image is too weak for listing use, teams usually need another tool or another pass. For that step, some sellers test tools that enhance image quality with Flaex.ai, while others use a dedicated HD photo converter for catalogue image cleanup before final export.
A visual example of the kind of batch process sellers often piece together manually is below.
The scaling problem is workflow orchestration
At catalogue scale, resizing is only one step in the chain. You are also standardizing proportions, checking background consistency, matching channel requirements, deciding when to upscale, and making sure filenames and exports land in the right place.
That is the gap many sellers run into with GIMP. The software can do the image edit. It does not run the operation for you.
Basic batch scripts help, but they still leave the team managing the sequence by hand. A pipeline tool such as MerchLoom is the next logical step once volume is high enough that image prep needs routing, consistency, and throughput, not just another resize action.
Fixing Common GIMP Resizing Errors and Frustrations
Most GIMP resizing problems aren't mysterious. They come from a short list of common mistakes, and once you know them, you can usually fix them fast.
One of the most frustrating is when the Scale Tool seems to resize a layer mask instead of the actual image content. Forum users report this regularly in multi-layer work, especially on secondary layers, and it's a real problem for sellers building mockups. The same discussion notes that 28% of Canada's Shopify stores cite image-editing bottlenecks in multi-layer catalogues as a top pain point, according to the Pixls.us discussion referenced in the brief.
Blurry result after resizing
If the image gets soft after a resize, check the direction of the resize and the interpolation setting you used. Downscaling usually responds well to Cubic. Upscaling often needs Lanczos3 if you're trying to preserve as much detail as possible.
Also check the source. If the original file is already weak, GIMP won't invent clean detail just because you typed larger dimensions.
Stretched or squashed product photos
This is almost always the chain-link lock problem. If width and height aren't linked, the image can distort during scaling.
Fix it by reopening the resize dialogue and making sure the chain icon between width and height is linked before you enter new dimensions. For listing work, proportional resizing should be your default.
Don't eyeball proportions on product images. If a mug becomes slightly taller or a shoe becomes slightly narrower, shoppers notice even when they can't explain why.
The Scale Tool affects the wrong thing
When GIMP resizes a mask instead of the image layer, stop and check what's active in the Layers panel. In layered mockups, it's easy to select the mask thumbnail rather than the image thumbnail.
A fast troubleshooting routine:
- Check the active layer thumbnail and confirm you've selected the image, not the mask.
- Clear any active selection if the transform is behaving oddly.
- Re-select the intended layer before using Scale Tool.
- Test on a duplicate layer if the file is already messy.
Canvas changed but the product didn't
That's not a bug. It usually means you changed Canvas Size when you meant to use Scale Image or Scale Layer.
Use this simple question: are you trying to change the object, or the space around it? If it's the object, don't touch Canvas Size.
When to Move Beyond Manual GIMP Workflows
A seller uploads 40 new SKUs on Monday, gets a supplier refresh on Wednesday, and needs marketplace-specific image sets by Friday. That is where manual GIMP work starts to crack. The resizing itself is not the bottleneck. The repeated decisions around every file are.
For one product image, GIMP is still a solid tool. For a few listing updates, it holds up well. The strain shows up when image work becomes part of weekly operations and every batch includes mixed source quality, different aspect ratios, and different channel requirements.

At catalogue scale, small choices stop being small. One person crops before resizing. Another removes backgrounds first. A third exports marketplace versions before anyone has agreed on final framing. Each step might be defensible on its own, but the batch gets slower and the outputs stop matching.
Manual resizing breaks down in a few predictable ways
The first issue is sequence. Teams often complete the right tasks in the wrong order. They clean up files before standardising dimensions, upscale assets before cropping, or generate multiple exports before the master image is approved.
A second issue is variation. Supplier images, in-house photos, old mockups, and marketplace downloads rarely arrive in a consistent format. GIMP can process all of them, but it forces someone to make judgment calls file by file.
Then quality control starts to slip.
After a few dozen images, it gets easier to miss a stretched thumbnail, an off-centre product, or a file that went through the wrong workflow. I have seen this happen even with careful teams. Nobody made a dramatic mistake. They just had too many repetitive calls to make.
Why operation order matters more than sellers expect
Strong resizing workflows depend on order. Standardise the frame. Remove what does not belong. Enhance only after the image is clean and correctly cropped. Export channel-specific versions last.
That order saves time and reduces rework. If the framing changes late, every background edit and export done earlier has to be redone. If a low-quality source gets enlarged before cleanup, the defects become harder to manage across the rest of the process.
Good catalogue operations depend less on editing skill and more on getting the sequence right every time.
The shift is from editing to pipeline thinking
This is the point where experienced sellers stop asking, "How do we resize faster in GIMP?" and start asking, "Why are we still making the same decisions by hand?"
That is a workflow question, not an editing question.
Automated pipelines solve a different problem than batch scripts. A basic script can resize a folder. It usually cannot decide which files need background removal, which ones need reframing for square thumbnails, which ones should be upscaled only after cleanup, and which should be routed out for manual review. That is the scalability gap many catalogue teams run into.
For teams comparing newer AI-driven workflow options, this broader look at Gemini AI for image automation workflows is useful context.
GIMP still has a place. I would keep it for exception handling, layered mockups, and awkward source files that need human judgment. But once a catalogue is moving every week, manual resizing becomes an operations problem. At that point, the practical next step is to keep GIMP for edge cases and shift repetitive production work into a system built for batches, routing, and consistent output.
If your team spends more time touching files than publishing products, MerchLoom is worth a look. It is built for catalogue-scale image processing, with ordered steps like background removal, reframing, and upscaling handled as one repeatable pipeline instead of a manual checklist.
Stop editing product photos one at a time
Upload your catalog or connect your store. Describe the result once. MerchLoom does the rest.
Try it free — no signup