
AI Image Extender Free: A Practical Guide for E‑Commerce
Use an AI image extender free for product photos. Step-by-step setup, marketplace sizing, batch tips, and when to switch to a paid workflow.
You've got hundreds of product photos sitting in folders, but each marketplace wants a different frame. A mug that looks fine as a square Shopify image may feel cramped in an Amazon layout or lose important breathing room after a mobile crop. Reshooting every SKU isn't a workflow. It's a backlog.
Start with the largest source file you have, then extend only the sides or top and bottom needed for the target listing. Keep the product untouched, export a clean PNG for editing, and check the generated edges at full size before you process the next batch. That basic discipline matters more than chasing a tool that promises perfect results.
Why Sellers Need an AI Image Extender in the First Place
An AI image extender uses outpainting to generate new pixels beyond the original frame. For an e-commerce seller, the value isn't making one photo wider. The value is turning one controlled product shoot into several usable catalog assets without moving the product or booking another shoot.
Platform requirements make this practical. Amazon's main image needs a pure white background, RGB 255,255,255, and the longest side should be at least 1,600 px for zoom. Amazon also lists a general minimum of 500 px and maximum of 10,000 px on the longest side in its image guidance, so your export settings need to match the listing type, not just the editor canvas. See the Amazon Seller Central image requirements before building a repeatable export preset.
Etsy recommends 2,000 px on the shortest side, while Shopify supports product images up to 4,472 × 4,472 px. Guidance for Shopify product images commonly uses 2,048 × 2,048 px and a square frame. Those targets are more useful than vague instructions such as “upload a high-resolution image.”
| Marketplace | Min Long Side | Recommended | Aspect Ratio |
|---|---|---|---|
| Amazon | 500 px generally, 1,600 px for zoom | Pure white RGB 255,255,255 for the main image | Marketplace template |
| Etsy | Not specified in the cited guidance | 2,000 px on the shortest side | Listing-dependent |
| Shopify | Not specified as a minimum | 2,048 × 2,048 px square | 1:1 |
The generated background should support the product, not compete with it. A white extension can create room around a bottle, shoe, or boxed item. A lifestyle extension can give a social asset more composition space, but it needs stricter review because AI may invent props, shadows, or surface details. Product imagery needs controlled variation across the full collection. A single attractive result means little if the next fifty files have different lighting or framing.
For broader catalog presentation ideas, review AI product staging. The same principle applies here: define the visual rule first, then repeat it across every SKU.
Preparing Product Photos Before You Extend
The extender can only infer what your source gives it. A soft, compressed, tightly cropped product photo creates weak reference pixels, and the model will have less reliable information at the boundary.
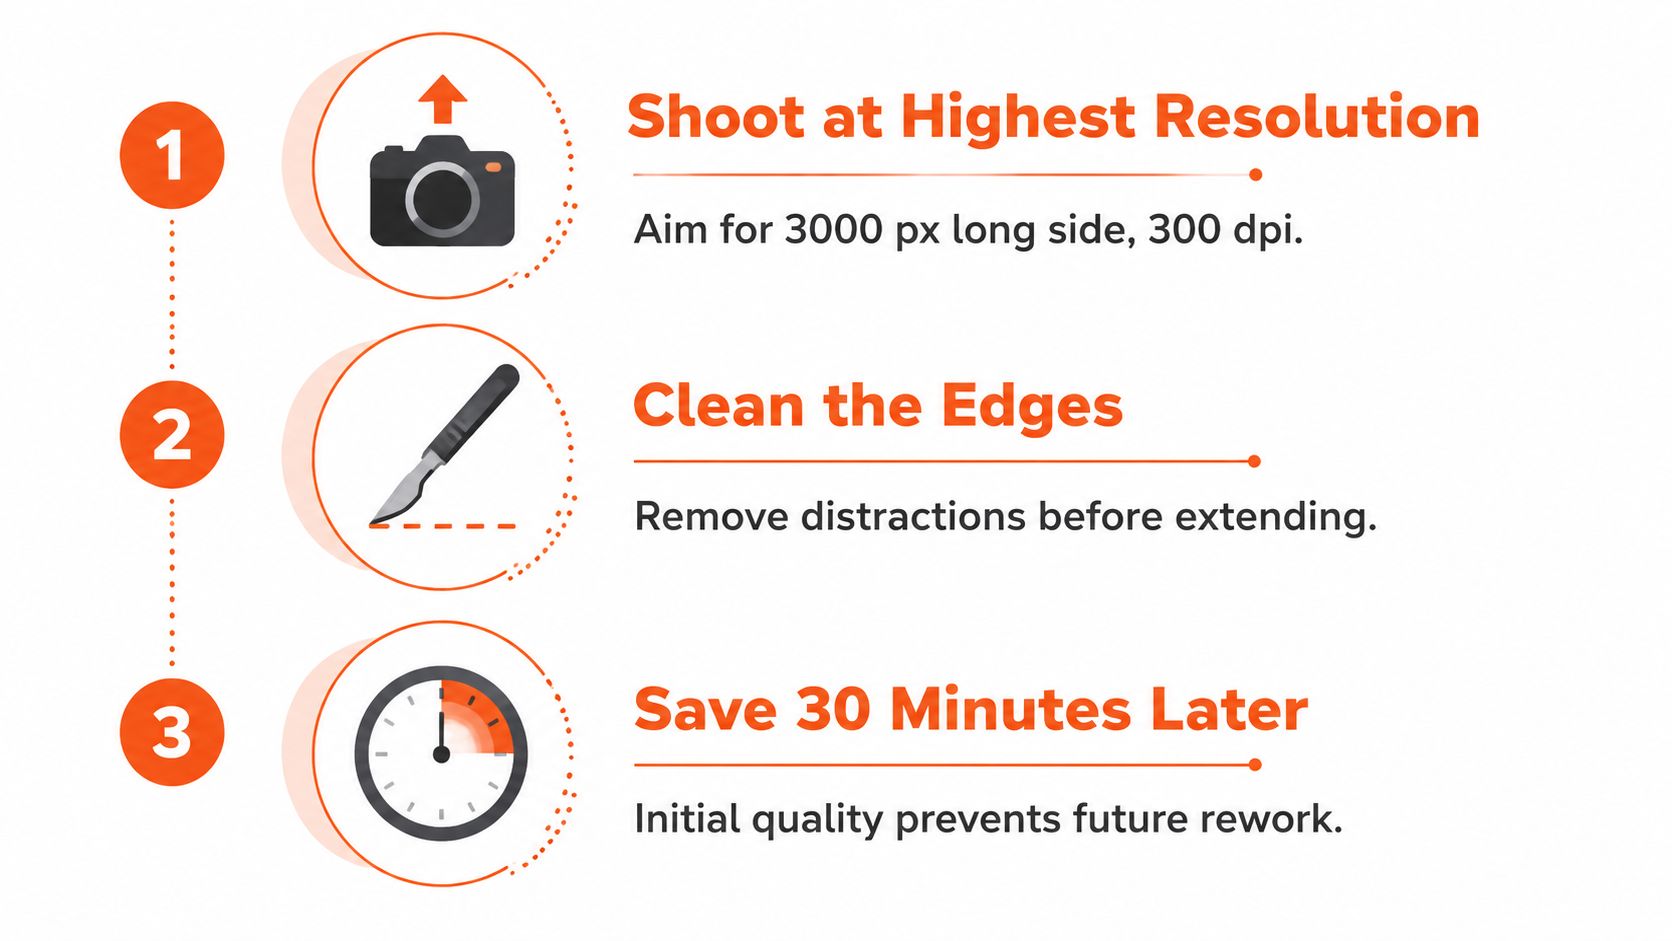
Use this preparation checklist on every SKU:
Start with the largest source file available. If you can control the shoot, aim for 3,000 px on the long side at 300 dpi. The AI can generate surrounding content, but it can't restore fine product detail that was discarded during an earlier resize.
Clean the background before extension. For marketplace white-background images, use RGB 255,255,255. Remove unwanted stands, dust, tape, and background color shifts before asking the model to continue the scene. A consistent base gives the extender fewer competing signals.
Leave working space around the product. Keep roughly 5% to 10% padding on each side where possible. The object edge should remain fully visible. If the original crop cuts into a handle, sole, cap, or garment edge, outpainting may invent a replacement rather than preserve the shape.
Inspect compression. Heavy JPEG artifacts create blocks and banding near the boundary. A JPEG saved above 80% quality is generally suitable for this preparation stage, but PNG is preferable once you start editing.
Use PNG during the working process. Repeated JPEG exports introduce generation-on-generation compression. Keep the source and intermediate extension in PNG, then create marketplace-specific JPEG files only at the final export step if the channel calls for it.
Name files for sorting. Use a pattern such as
MUG-001_2000x1500.png. For larger catalogs, include color and channel, for exampleMUG-001_Blue_Amazon_2000x1500.png. Consistent names prevent a clean image from being attached to the wrong variation.
Practical rule: Never judge the extension only at thumbnail size. Zoom into the original boundary, the product silhouette, and any repeating background pattern before approving the file.
Run the same checks before every batch. Don't prepare ten products carefully and then upload the remaining catalog directly from a phone folder. The product photography at home workflow is useful for standardizing the source stage before AI processing begins.
Free Ways to Extend a Product Image in 2026
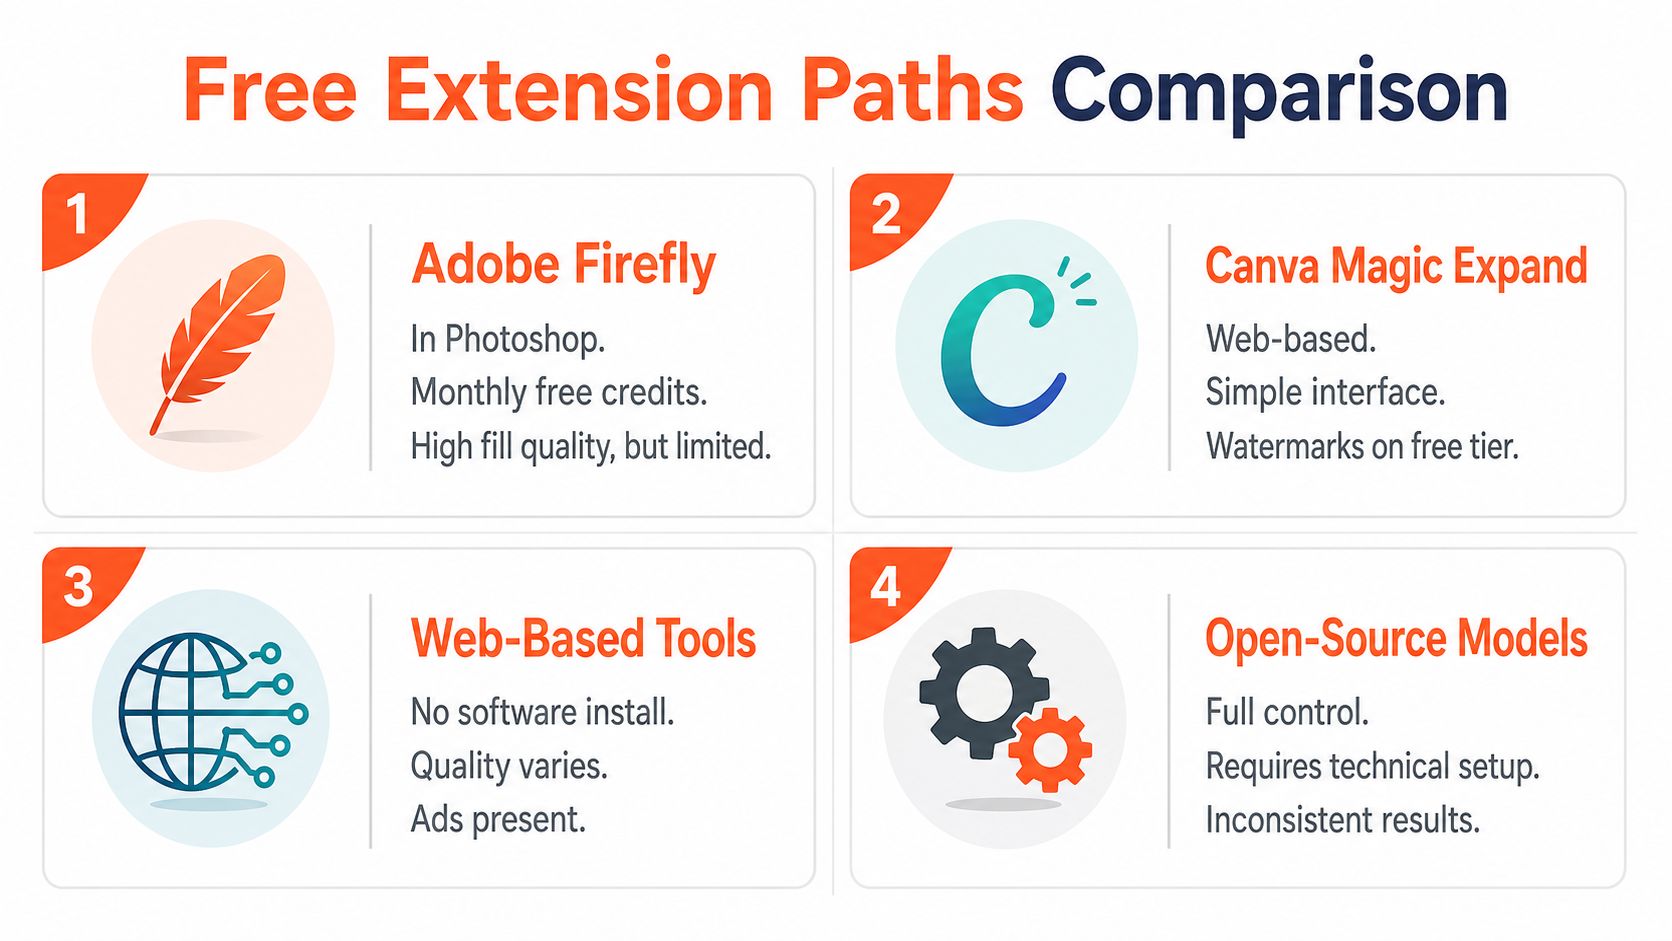
Free access is useful for testing a visual rule. It's less reliable as a production system. The common options fall into four groups, and each has a different operational limit.
Cloud editors with free credits
Adobe Firefly outpainting through Photoshop is a practical way to test controlled expansion when you already work in Photoshop. The free-access model uses monthly generative credits, so it suits a small test set rather than a large recurring catalog. Its strongest advantage is manual control. You can inspect variations, mask problem areas, and retouch without leaving the editing environment.
The trade-off is speed. You're still opening, extending, reviewing, and exporting files individually. That becomes tedious once the same setting must be applied to a collection.
Browser generators for quick trials
Microsoft Bing Image Creator can test prompt ideas at no direct image cost, but watermarks and inconsistent aspect-ratio behavior make it a poor choice for final marketplace files. Use it to explore whether a proposed background concept works. Don't build a catalog process around it.
Leonardo.ai offers a free tier with 150 daily tokens, according to the cited market overview source, making it more workable for a solo seller processing a modest number of files over time. The daily reset is still a constraint. If a listing deadline lands after the available queue is exhausted, your process stops until access returns.
Local models for repeated testing
A local Stable Diffusion XL setup with the OpenOutpaint extension avoids per-image charges after installation. It requires a GPU with 8 GB or more of VRAM, plus technical setup and enough time to maintain the environment. The benefit is control over repeat runs. The downside is that setup, model selection, storage, and troubleshooting become part of your store operations.
None of these four paths natively handles the full catalog chain of CSV ingestion, extension, marketplace resizing, naming, and export validation. That's why a tool can be free for one image while still being expensive for a collection.
| Path | Useful for | Main constraint |
|---|---|---|
| Photoshop with Firefly | Controlled manual tests | Monthly credits and one-file workflow |
| Bing Image Creator | Prompt and concept experiments | Watermarks and inconsistent output framing |
| Leonardo.ai | Modest recurring batches | Daily tokens and queue availability |
| Local SDXL with OpenOutpaint | Repeated local generation | Hardware and technical maintenance |
For adjacent visual work, an AI 3D texture generator can help when you need a texture concept for packaging, surfaces, or staged creative assets. It isn't a substitute for checking the actual product image. Keep the product silhouette and marketplace compliance rules separate from concept generation.
For a broader free photography process, see AI product photography free. Choose your free path by catalog size, but treat that choice as a workflow decision, not a feature comparison.
A Repeatable Workflow From Source to Marketplace
The reliable method is a fixed chain. Don't extend the same image five different ways and hope one version fits every channel. Create one source file, define the required outputs, and use a naming pattern that lets you sort and review them quickly.
Start with one approved source
Use a source of at least 1,800 × 1,800 px when the product is intended for square outputs. Keep the original file untouched. Make a working copy, then remove distractions, correct the background, and position the product before you expand the canvas.
Generate the target frames
For a standard product collection, create these working targets:
Doing this for a whole catalog?
MerchLoom runs background removal, upscaling and AI editing across every product photo you have — one prompt, whole batch. Try 2 batches free, no signup.
Try it free| Channel | Target size (px) | Aspect ratio | Max file size | Format |
|---|---|---|---|---|
| Amazon main image | 2,400 × 2,400 | 1:1 | Not specified | PNG working file, final format per listing workflow |
| Shopify hero | 2,000 × 2,000 | 1:1 | Not specified | PNG or JPEG |
| Instagram feed | 1,080 × 1,080 | 1:1 | Not specified | JPEG or PNG |
| Facebook ad | 1,200 × 628 | Approx. 1.91:1 | Not specified | JPEG or PNG |
The Amazon target above gives you room above the required longest-side threshold, but it doesn't override the white-background and product-only rules. Amazon's main image should show only the product being sold. Don't add text, logos, watermarks, badges, props, or accessories unless they're included in the sale. A commonly used compliance checklist also includes 85% or more frame fill and JPEG as the preferred format, but inspect the current marketplace rules for your category before publishing.
Extend, then resize
Extend the canvas to the target frame before the final export. For a square Shopify image, keep the product centered and preserve equal visual margins across the collection. For a Facebook ad, add space where copy will sit only if that copy belongs in the ad design, not in the product image itself.
If a free tool returns 1,024 × 1,024, don't repeatedly regenerate the file. Upscale it once with a bicubic pass, then review sharpness and product edges before making the channel exports. Flag any image that needs manual retouching instead of letting a flawed result enter the catalog.
Use a filename such as SKU_color_channel_size.png, for example MUG-001_Blue_Shopify_2000x2000.png. Export the working PNG, then make a final JPEG only where it fits the marketplace process. The cited workflow guidance calls for exports below 5 MB in this chain. Keep that as an internal target for the files described here, and verify the current upload rules for each channel.
For creative direction after the product files are ready, examples of most successful ecommerce ads can help you study framing and negative space. Don't copy the visual treatment into a marketplace main image without checking its compliance requirements.
A chained process for these transformations is described in AI image workflow automation. The important part is consistency. One source, known dimensions, one naming rule, one review queue.
Quality Checks That Scale Across a Catalogue
A free AI image extender can produce a convincing single result and still fail as a catalog process. The failure usually appears at the boundary between original and generated pixels, in repeated textures, or in inconsistent product framing across related SKUs.
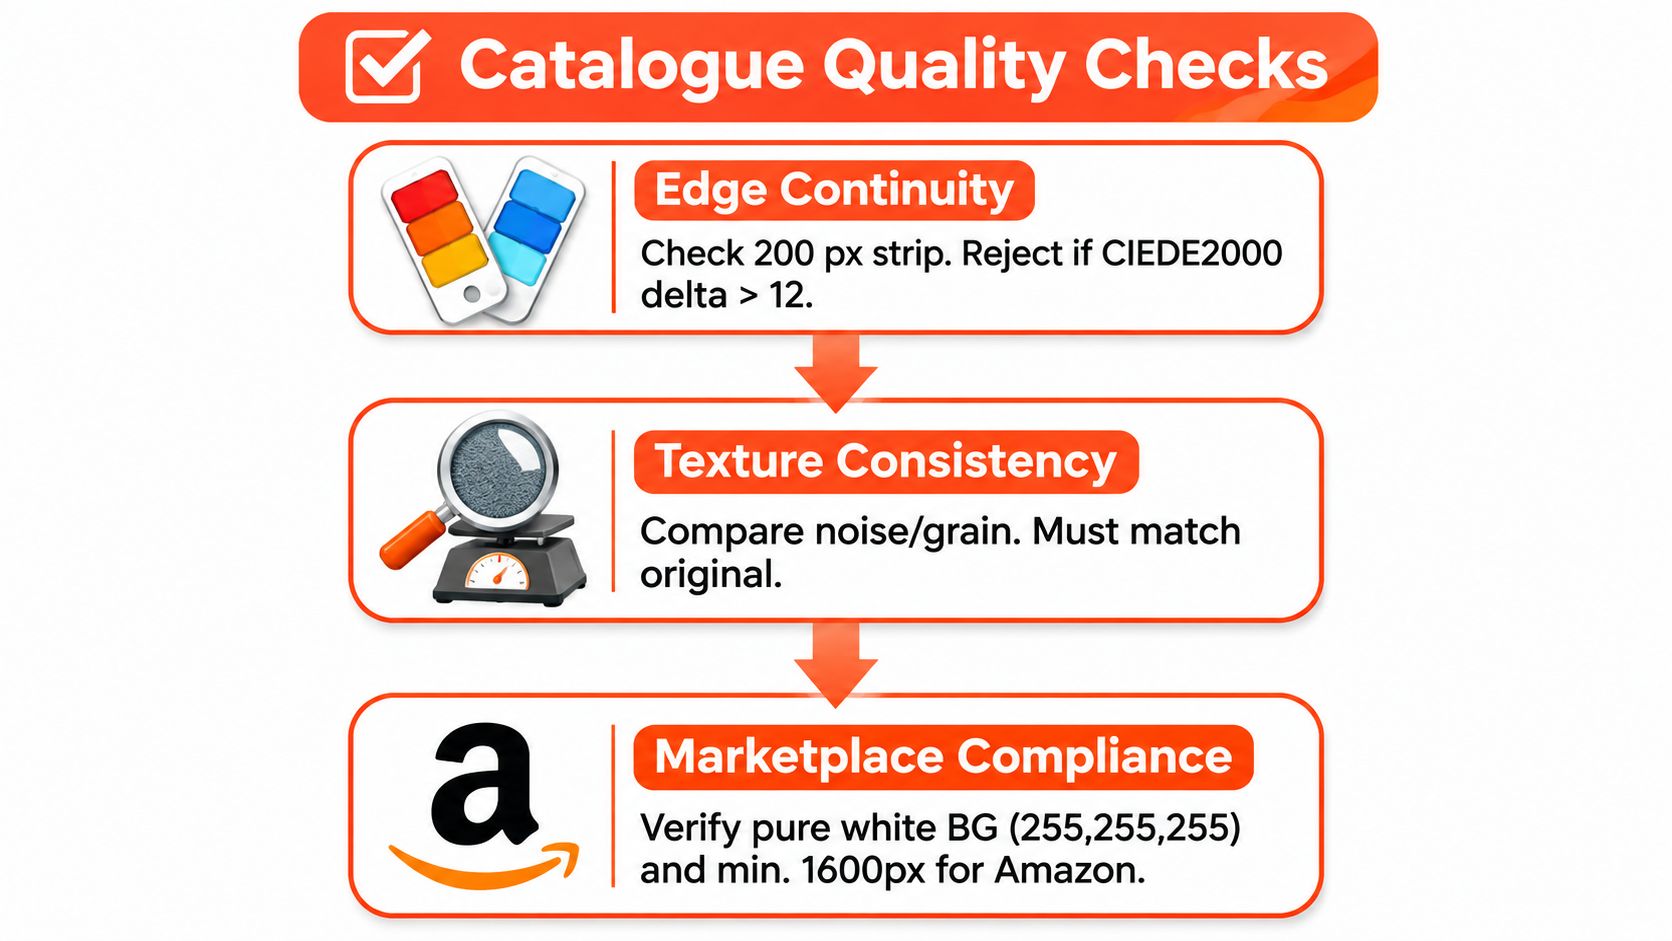
Use three gates for every export.
Edge continuity
Sample a 200 px strip across the original and extended boundary. Compare color and texture rather than judging only the overall impression. Reject the image when the mean color difference exceeds 12 on the CIEDE2000 scale, as specified in the practical quality-control framework supplied for this workflow.
This check catches visible shifts in white balance, background tone, and surface brightness. It's especially important for white products on white backgrounds, where a faint gray band can make the product look poorly photographed.
Texture and lighting consistency
Look at the first generated area beside the original edge. The new background should follow the same lighting angle, shadow softness, grain, and focus behavior. It must not introduce a second light source or a sharper texture than the source image.
Check repeated motifs manually. AI models can duplicate a leaf, tile, stripe, or packaging detail in a way that looks acceptable at listing size but obvious when a shopper zooms in. For product imagery, a clean neutral fill is often safer than an elaborate generated scene.
Marketplace compliance
Check the final file, not the working canvas. For Amazon, verify RGB 255,255,255, the required longest-side resolution, product-only composition, and the absence of text, logos, watermarks, badges, props, or unsold accessories. For Etsy, inspect the shortest side against the 2,000 px recommendation. For Shopify, confirm the square frame and use a consistent catalog setting.
The research on image outpainting also supports testing both object-centric and scene-centric examples. An ICCV study compared extension tasks across datasets including CelebA-HQ, CUB, AFHQ Cat, Flowers, Paris StreetView, Cityscapes, and Places2 Desert Road, using metrics such as FID, PSNR, SSIM, and LPIPS. The operational lesson is straightforward: test product shots and lifestyle scenes separately because boundary blending and semantic consistency fail in different ways. The ICCV outpainting study gives the technical background.
Benchmark results also show why extra canvas isn't enough. On the LHQC benchmark, Block-FID for right extension was 22.53 for Taming, 14.68 for MaskGIT, and 6.45 for NUWA-Infinity, with the latter showing roughly a 71% reduction relative to Taming in that comparison. The LHQC outpainting benchmark supports a practical rule: approve boundary fidelity, not just successful generation.
When Free Stops Working and a Batch Pipeline Makes Sense
Free stops working when the seller spends more time correcting output than creating it. The problem isn't only generation access. It's the repeated manual loop of uploading, prompting, downloading, renaming, resizing, checking, and uploading again.
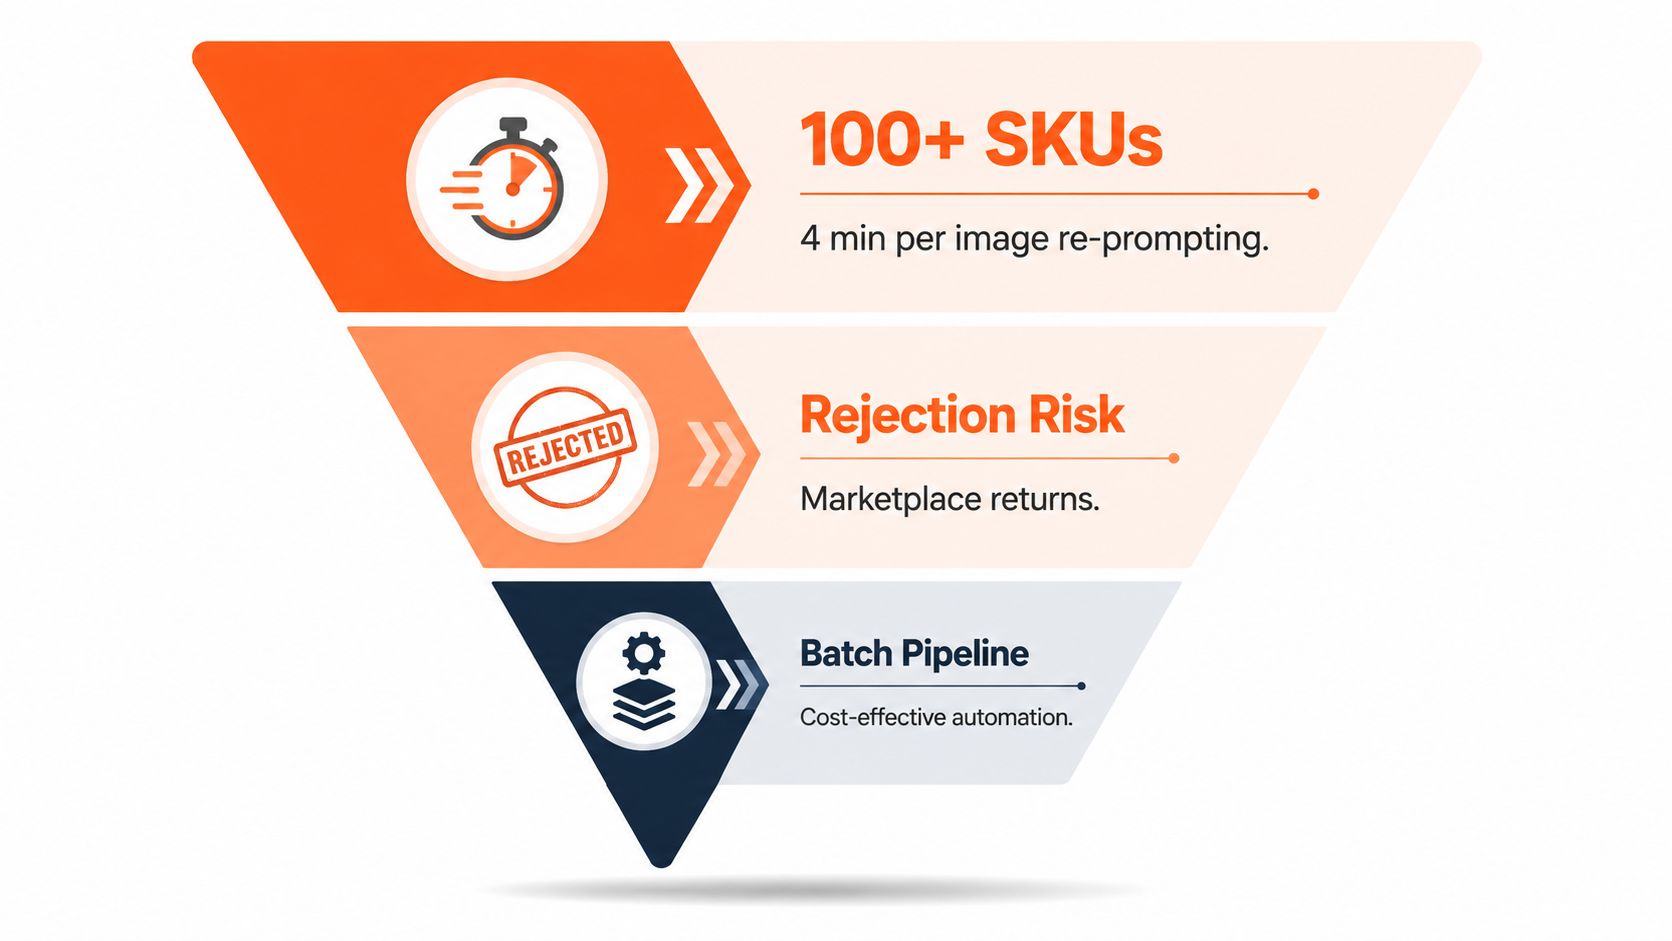
Past a few dozen images, three costs become obvious:
- Prompt repetition: Each file needs a new generation and often a second attempt when the background drifts.
- Marketplace rework: A file with the wrong dimensions, background value, or framing has to be exported again before it can go live.
- Style drift: Separate free sessions can produce slightly different shadows, tones, and margins across the same collection.
A fixed pipeline removes the per-image setup. It can apply a locked prompt template, preserve the same margin rule, generate channel dimensions, and place files into a review queue. It still needs human approval. AI can alter a product edge or create a plausible but inaccurate background, so automation should route questionable files for review rather than publish them blindly.
Market sizing shows why this workflow is becoming a commercial concern. The global AI image upscaler market was estimated at USD 6.3215 billion in 2025 and is projected to reach USD 44.708 billion by 2033, implying a 27.8% CAGR from 2026 to 2033. North America held 39.7% of regional revenue in 2025, while media and entertainment held 27.2% of end-use demand, according to the AI image upscaler market analysis.
That growth doesn't make every free tool suitable for catalog work. Your switch point is operational: move to a batch pipeline when fixing outputs takes longer than extending them.
Quick Checklist and What MerchLoom Adds at Scale
Run this checklist on the next collection:
- Prepare the source: Use the largest clean file available, remove distractions, and preserve product edges.
- Choose the extension path: Test a representative product shot and a lifestyle shot before committing the catalog.
- Set channel dimensions: Use Amazon, Etsy, Shopify, and advertising targets as separate outputs.
- Review the boundary: Check seams, lighting, repeated patterns, product silhouette, and sharpness.
- Export predictably: Keep a consistent filename, working PNG, final format, and marketplace-specific folder.
A paid batch option such as MerchLoom can run background extension, margin standardization, color matching, resizing, and export steps across a collection instead of one image at a time. It can also route outputs that fail sharpness or framing rules into one review queue, replacing a browser full of separate tabs. MerchLoom isn't a photographer or a full Photoshop replacement. It removes the manual download, rename, re-export, and re-upload loop that makes free processing difficult once the catalog grows.
The platform's MCP documentation is relevant if you're connecting repeatable image workflows to other systems. You can try the first images with no account. MerchLoom charges per image with credits that never expire, so you can test the process before deciding whether it fits your catalog.
If you're preparing hundreds of marketplace photos, try MerchLoom with a small representative batch first. Use it to chain extension, resizing, naming, and review steps, then keep only the workflow that produces consistent files your team can approve.
Stop editing product photos one at a time
Upload your catalog or connect your store. Describe the result once. MerchLoom does the rest.
Try it free — no signup