
Centering an Image: E-commerce Framing Guide 2026
Go beyond basic CSS for centering an image. Master consistent product framing for Shopify, Amazon, and Etsy catalogs with AI batch workflows.
You start with one product photo. It looks slightly off, so you nudge it left, crop again, add a bit more white space, export, and move on. By the tenth image, that still feels manageable. By the hundredth, it becomes the kind of repetitive work that drains an afternoon and still leaves you with a catalogue that doesn't quite line up.
That's why centering an image matters more in e-commerce than it does in a one-off design task. A casual user might only need to centre one photo for a blog post or social upload. A seller has to make hundreds of images feel organised, consistent, and compliant across storefronts, ads, and marketplaces. If you're also working on the capture side, this guide to enhancing product visuals for retailers is a useful companion because framing problems often start at the shoot, not only in editing.
For growing sellers, the primary issue isn't whether you know how to centre a product once. It's whether you can keep every item aligned when one listing needs a white-background main image, another needs a square Shopify card, and another needs a taller social crop. That's where background prep and framing start to overlap, especially when you're dealing with cutouts and clean canvases like the workflow discussed in white photoshoot background setups for product images.
The Two Realities of Centering an Image
A lot of advice about centering an image assumes you're working on a single asset. You open Photoshop, drag guides into place, line up the subject, export, and you're done. That works for a feature image, a hero banner, or a blog illustration where the job is mostly visual and the output only needs to look right in one context.
Catalogue work is different. A seller with a seasonal collection isn't centering one handbag or one candle. They're trying to keep a whole range visually aligned even when the products have different shapes, packaging, and proportions. A tall bottle, a wide shoebox, and a delicate necklace don't occupy space the same way, but shoppers still expect the grid to feel balanced.
One image versus one system
The first reality is manual centering for a single image. It's fine when you need judgement and don't mind spending a few minutes on one file.
The second reality is repeatable centering across a collection. That's a systems problem. It includes:
- Consistent framing: The product shouldn't jump around from tile to tile.
- Reusable outputs: The same source image often needs multiple crops.
- Operational sanity: Someone on your team needs to be able to rerun the process without guessing your spacing choices.
A centred image isn't just tidier. In catalogue work, it becomes the reference point for everything that follows, from cropping to background handling to marketplace exports.
The mistake I see most often is treating batch image prep like a longer version of one-off editing. It isn't. Once you're processing a full collection, centering stops being an aesthetic preference and becomes part of production.
Manual Centering Methods for Single Images
If you only need to centre one image, the classic methods still work well. The key is knowing which method matches the job.
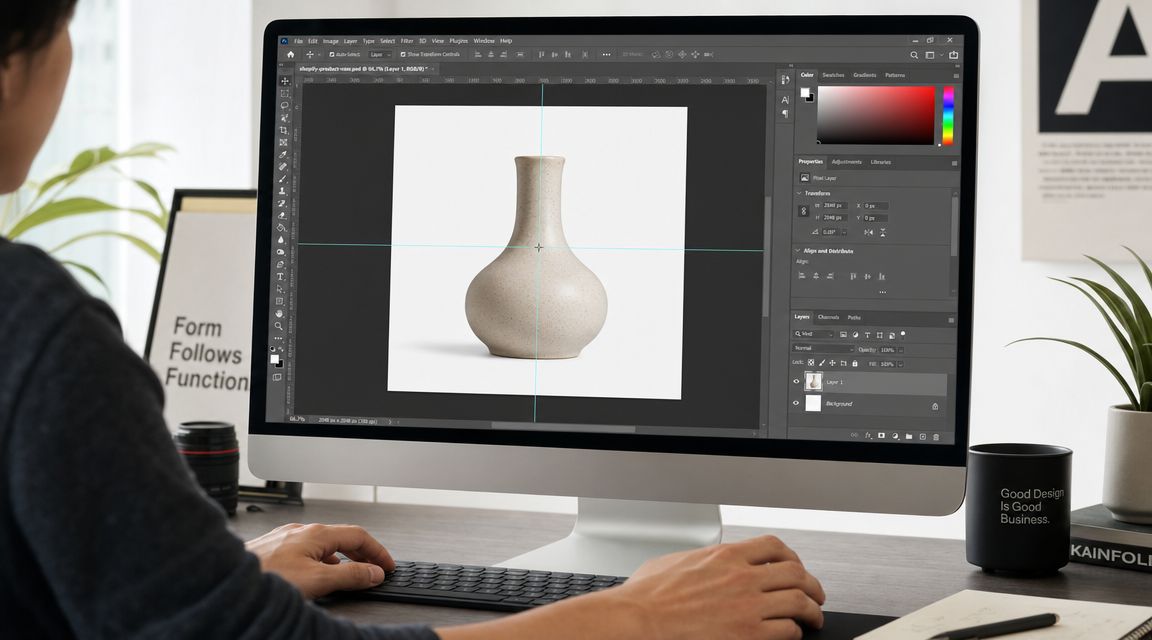
In Photoshop or GIMP
For a product photo, the usual manual workflow is simple:
- Place the image on a canvas sized for your target platform.
- Turn on rulers, guides, or smart alignment tools.
- Select the product layer.
- Align it against the horizontal and vertical centre of the canvas.
- Check the visual weight, not just the mathematical position.
That last part matters. A product can be technically centred and still look wrong if it has an uneven silhouette. A handbag with a long strap or a boot photographed at an angle often needs a visual adjustment after the software alignment.
If you're resizing during the same pass, it helps to keep the subject scale consistent too. This practical guide on how to scale an image in Photoshop without distorting the result covers the resizing side that usually sits right beside centering in a real workflow.
In HTML and CSS
For web layouts, there's a different set of rules. The strongest baseline pattern is to make the image a block element and use auto margins, as shown in Cloudinary's guide to centering images in HTML with display: block and margin: auto. If the image sits inside a more complex responsive container, Flexbox (justify-content: center) or CSS Grid (place-items: center) tends to be more reliable, especially when vertical alignment also matters.
Here's the practical split:
| Use case | Method that usually works |
|---|---|
| Simple content image in a page column | display: block; margin: auto; |
| Card layouts or responsive modules | Flexbox |
| Full container alignment both ways | CSS Grid |
Practical rule: Manual CSS centering is for layout. Manual canvas centering is for image preparation. They solve related problems, but they aren't interchangeable.
Where manual methods start to break
These methods are solid for one-offs. They're not built for a seller cleaning up an entire collection before listing to Shopify, Amazon, Etsy, and social channels. The work becomes repetitive, subjective, and hard to standardise. Two people on the same team will make slightly different framing choices, and those tiny differences show up fast in a product grid.
Why Manual Centering Fails for Product Catalogs
Manual centering falls apart when the output has to behave like a catalogue instead of a single image. The problem isn't only speed. It's consistency under pressure.
The University of Utah recommends centering informative images so they're “easier to see and understand on any device”, and even gives a concrete responsive pattern using a figure width of 80% with automatic horizontal margins in web layouts, in its guidance on centering images for responsive pages. That advice translates well to commerce because centred framing gives both shoppers and downstream systems a stable reference point.
The assembly-line problem
A product catalogue behaves like an assembly line. If the input images are inconsistent, every later step becomes harder.
One image is cropped too tight. Another has too much empty space on the left. A third places the product slightly low in frame. When those images feed into templates, thumbnails, and alternate aspect ratios, the inconsistencies spread.
Common failures look like this:
- Uneven grid presentation: Products appear to jump around in collection pages.
- Messy recrops: Square, portrait, and mobile variants don't preserve the same framing.
- Extra QA work: Someone has to spot and fix exceptions one by one.
That's why batch product photo editing workflows for online stores matter. The issue isn't whether a human can centre a file. It's whether the centering standard can survive the whole production run.
Marketplace rules expose inconsistency
Manual centering also struggles because marketplaces don't care how carefully you edited one hero shot. They care whether the whole listing set fits the template. Sellers often need the same source image adapted into different crops with safe padding and stable subject position. If the original framing drifts, every derivative output inherits that drift.
Shoppers may not describe the problem as “bad centering.” They'll just see a storefront that feels less organised and less trustworthy.
A small batch can survive manual clean-up. A growing catalogue usually can't. Once image prep becomes recurring operational work, centering needs a rule, not a mood.
Automated Centering with AI Image Workflows
Doing this for a whole catalog?
MerchLoom runs background removal, upscaling and AI editing across every product photo you have — one prompt, whole batch.
Try MerchLoomThe practical alternative is automated centering based on subject detection and reframing rules. Instead of dragging each image into place by hand, you define the output and let the system process the batch.

This approach makes sense because automated image processing is statistically grounded. The image statistics material in the imager documentation on local image properties and distributions shows why this is feasible: natural images have structured distributions, and image analysis often works by examining local neighbourhoods, regions, histograms, and related properties rather than treating every pixel in isolation. In plain terms, software can often identify where the subject sits and how to centre it consistently across many files.
What smart reframing actually does
For catalogue work, the useful version of automation isn't “AI magic”. It's a sequence of concrete operations:
- detect the main subject
- position it around the centre of the target canvas
- preserve deliberate padding
- extend or rebuild surrounding space when the original crop is too tight
- export multiple platform-ready variants
That's much closer to real retail work than a basic editor tutorial. It also aligns with adjacent workflows used by teams producing branded assets, including resources on AI solutions for company swag, where consistent presentation across many outputs matters just as much as the quality of any single image.
How batch centering changes the job
In a modern workflow, a seller doesn't have to make the same framing decision over and over. They can connect a source folder, define an output recipe, and apply it to the collection. One example is AI image workflow automation for product catalogues, where a platform can process full image sets through chained steps such as background removal, reframing, resizing, and export.
MerchLoom fits naturally into this kind of setup because it processes image collections through reusable AI pipelines. In practice, that means you can take a batch of source photos, centre the product on the canvas, extend the image around the subject when needed, and produce marketplace-specific outputs without editing each file by hand.
Automation is most useful when it removes judgement calls you've already standardised. If your team agrees on framing rules, software should enforce them.
That's the shift worth making. You stop “centering an image” as an isolated task and start treating centering as one repeatable step inside a broader catalogue workflow.
Mastering Product Framing for Marketplaces
Marketplace framing isn't only about placing the subject in the middle. It's about defining what “acceptably centred” means for each channel and keeping that standard intact when the file is resized, cropped, or reviewed. The alignment problem described in the University of Washington work on learning image alignment under unknown geometric transforms is much closer to catalogue reality than a simple editor button, because product imagery often involves scale differences, positioning errors, and shape-related edge cases.

Platform framing guide
Here's the practical version sellers can work from.
| Platform | What to prioritise | Why it matters |
|---|---|---|
| Amazon | White background, strong product presence, even spacing | Main images get reviewed against strict visual expectations |
| Shopify | Square consistency across collections | Product grids look cleaner when scale and padding match |
| Etsy | High-resolution assets and a mix of clean product and contextual shots | Buyers often inspect detail and respond to presentation style |
The article on Amazon product image size requirements and framing constraints is useful if Amazon is your tightest channel, because once you frame for a strict marketplace, other outputs become easier to derive.
What good centering looks like in practice
For Amazon, your main product should feel anchored and deliberate. The background needs to be clean, and the product should occupy the frame confidently without feeling cropped. A mathematically centred object can still fail if the canvas leaves awkward white space on one side or clips a handle, lid, or edge.
For Shopify, consistency matters more than perfection on any single image. Collection pages punish variation. If one mug sits high and another sits low, the whole row looks sloppy even if each image is technically acceptable on its own.
For Etsy, you usually need more visual flexibility. Product-only images still need clean framing, but supporting images can be more contextual. If you sell apparel, styling matters as much as alignment, and guides on how to create compelling clothing images can help when your catalogue includes both flat product shots and model photography.
A practical framing checklist:
- Keep padding even: Similar breathing room makes products look related across a collection.
- Match subject scale: A small object shouldn't look tiny beside a larger item category unless that difference is intentional.
- Protect fragile edges: Handles, straps, and decorative protrusions often need more safety margin.
- Test the thumbnail, not only the full view: Many framing mistakes only become obvious at small sizes.
Centre the subject, but frame the category. Shoes, jewellery, furniture, and packaged goods each need slightly different padding logic.
That's why marketplace compliance and visual consistency should be managed together. Sellers get into trouble when they treat them as separate jobs.
Troubleshooting Common Centering Issues
The last mile is where centering breaks. Not because the idea is complicated, but because real product images are messy.
When the product shape fights the canvas
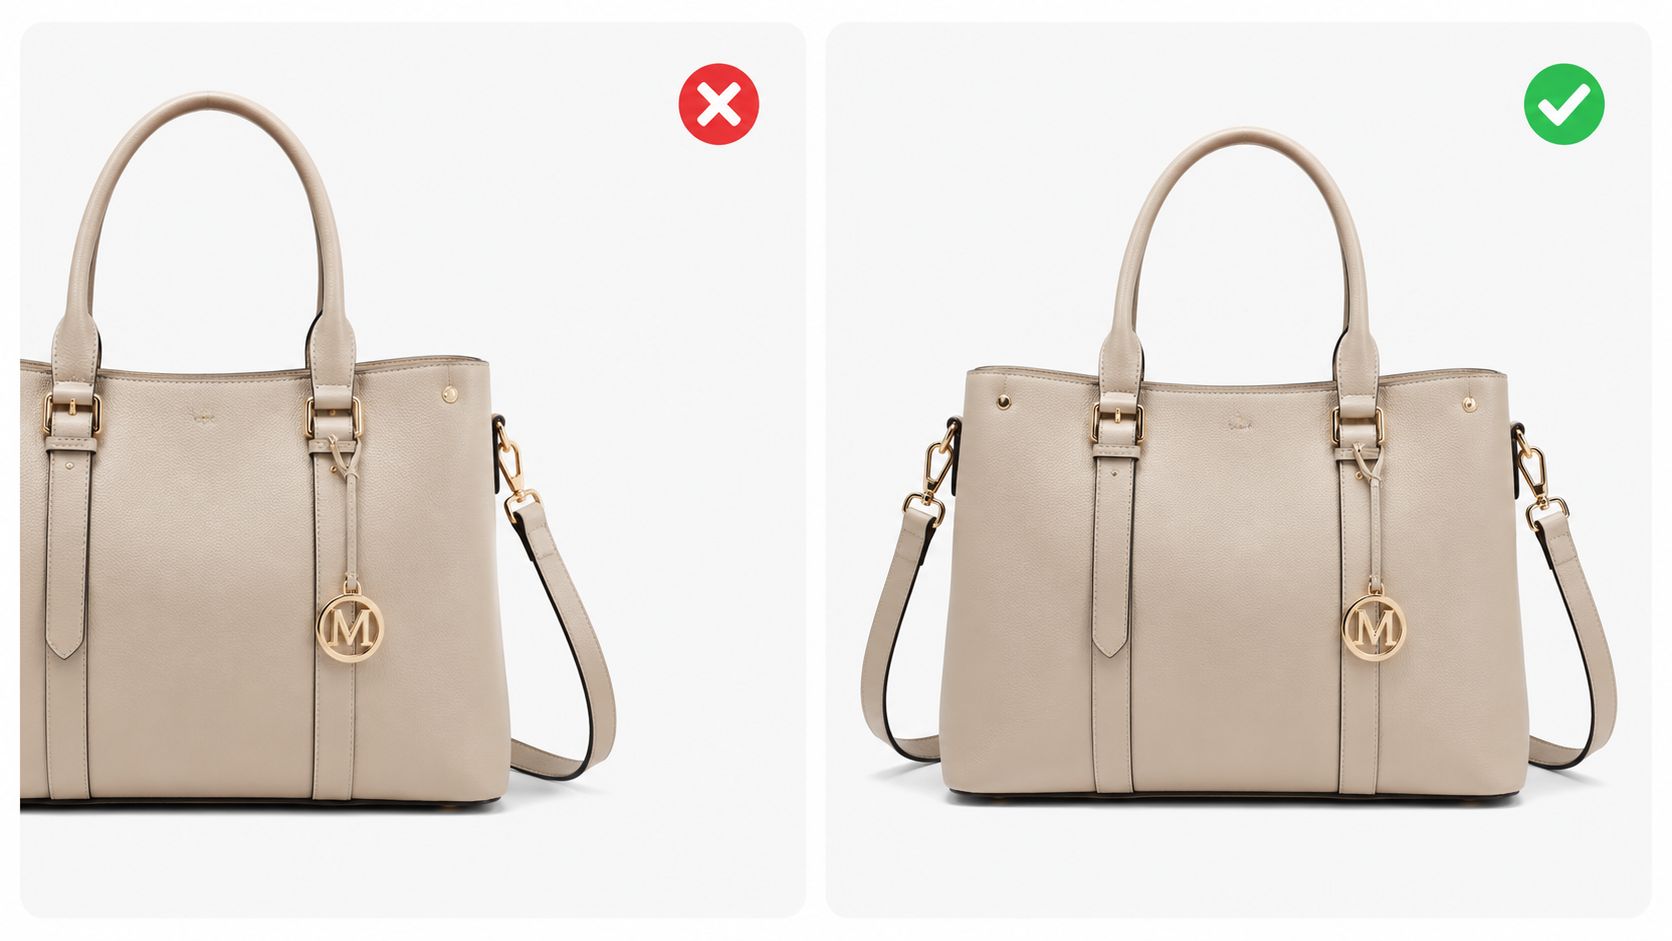
Some products don't behave nicely. Long necklaces, tall lamps, wide sofas, and bags with dangling straps can look off even when centred by coordinates. In those cases, use a visual-centre rule instead of a strict geometric one. Keep the perceived mass balanced and allow more padding on the side with projecting details.
If an automated workflow misreads the subject, don't throw out the whole batch process. Flag those items as exceptions. A good system should let you apply a manual override or adjusted padding rule only where needed.
When the editor lies
A common web problem is that the image looks centred in the CMS editor and shifts in the live output. W3Schools notes in its guide to centering images with CSS that an image with width: 100% can't be centred with margin: auto, which is one of the most common reasons responsive layouts break. Theme CSS and export quirks can also override what looked correct during editing.
Check these before blaming the image itself:
- Inspect the width setting: Full-width images won't respond to auto margins the way narrower block images do.
- Check the container styles: Parent elements often cause the visible misalignment.
- Test the final output: Preview in the live theme, exported PDF, or generated listing image, not only in the editor.
If centering fails after export, the issue is often layout logic, not the asset.
That's the broader lesson. The more images you manage, the less useful one-off fixes become. A reliable centering process needs rules for subject detection, padding, export, and exception handling. Otherwise you're just redoing the same corrections every time a new collection arrives.
If you're tired of re-centering product photos one by one, MerchLoom is worth a look as a practical batch workflow option. It lets sellers import existing catalogue images, define plain-English processing steps, and run centering, reframing, background work, and export rules across full collections instead of repeating the same edits manually.
Stop editing product photos one at a time
Upload your catalog or connect your store. Describe the result once. MerchLoom does the rest.
Try MerchLoom